 bluename
 How to Care for Your Aglaonema After Pest Treatment: A 2-Week Recovery Guide
You’ve just battled an infestation on your beloved Aglaonema, or Chinese Evergreen. The pests are gone, but now what? The plant looks stressed, maybe a bit worse for wear, and you’re worried the cure might have hurt it as much as the problem did. I’ve been there. That feeling of uncertainty after pest treatment is real. The truth is, the care you provide in the following days and weeks is absolutely critical. It determines whether your plant bounces back with vigor or continues to decline. This guide is born from my own hands-on experience, detailing the exact steps I took, the mistakes I made, and the recovery I witnessed over a crucial two-week period to nurse my Aglaonema back to full health.
The immediate aftermath of pest treatment is a vulnerable time. Your plant has endured an attack from insects and a subsequent treatment, whether it was insecticidal soap, neem oil, or a systemic solution. Its systems are stressed. My goal was to create a stable, supportive environment that would minimize further shock and maximize its natural healing processes. I focused on four pillars: isolation and assessment, environmental optimization, strategic watering and feeding, and long-term vigilance.
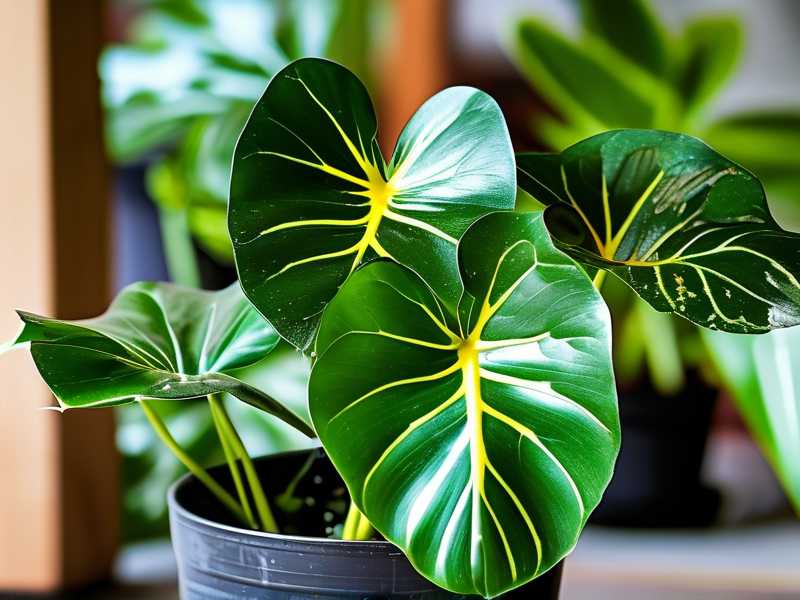
Step 1: The Critical First 48 Hours – Assessment and Isolation
Right after treatment, I didn’t just put my Aglaonema back in its old spot. I knew the first two days were for observation.
First, I kept it in isolation. Even if I didn’t see pests, eggs or larvae could linger. Isolating it for at least a week prevents any potential spread to other houseplants. I placed it on a separate table near a bright, north-facing window—no direct sun.
My initial inspection was thorough. I looked for treatment residue on the leaves (common with oil-based sprays), signs of chemical burn (browning or yellowing leaf tips or patches), and of course, any remaining pests. I used a magnifying glass to check the undersides of leaves and stem junctions. I found a few streaks of white residue from my insecticidal soap spray. Here was my first mistake from a past experience: I used to wipe leaves immediately after spraying. Now I know you should let the treatment sit for the recommended time (usually a few hours) before gently wiping the leaves with a damp, soft cloth to allow them to breathe. This prevents clogging the stomata, the tiny pores plants use for respiration.
Step 2: Optimizing the Recovery Environment
With the plant assessed, I turned to crafting the perfect recovery room. Stress recovery is all about reducing demands and providing ideal conditions.
Light: Aglaonemas prefer bright, indirect light, but a recovering plant is more sensitive. I moved mine to a spot with consistent, gentle light. Direct sunlight, even for a short period, can scorch leaves already stressed by treatment. I used a sheer curtain to diffuse the light from an east-facing window. According to the Royal Horticultural Society (RHS), providing stable, moderate light is key for plants in recovery, as it supports photosynthesis without causing additional water stress or leaf burn.
Humidity & Temperature: These are non-negotiable. Aglaonemas thrive in higher humidity. Treatment, especially if it involved rinsing or soil drenches, can disrupt the plant’s water uptake. I boosted humidity around my plant using a simple pebble tray filled with water placed underneath the pot (ensuring the pot wasn’t sitting in the water). I also grouped it loosely with a few other humidity-loving plants. I maintained a steady room temperature between 65-80°F (18-27°C), avoiding drafts from air conditioners, heaters, or frequently opened doors. The American Horticultural Society (AHS) emphasizes that stable temperatures and increased humidity significantly reduce transplant and treatment shock by minimizing moisture loss from leaves.
Step 3: Watering and Feeding: Less is More
This is where I’ve made my biggest mistakes in the past. Overzealous care can be deadly.
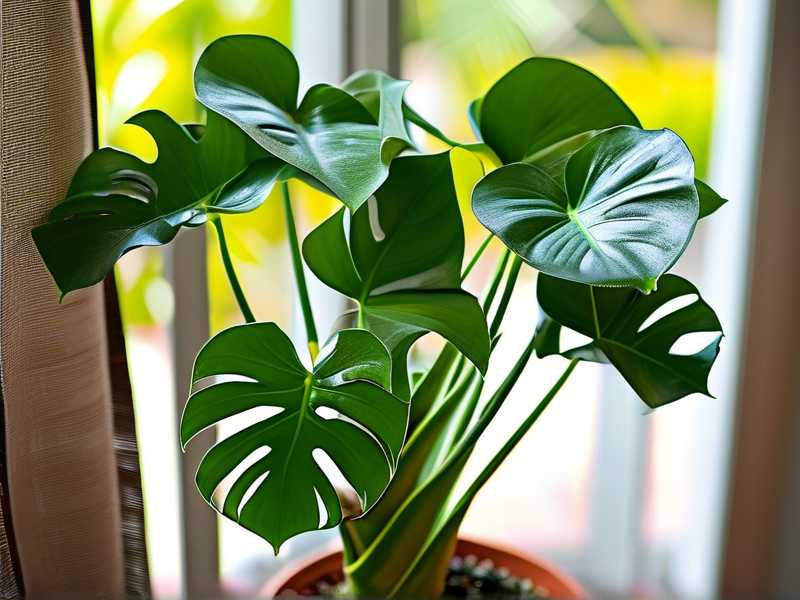
Watering: I held off on watering immediately. The soil was already moist from my treatment application. I waited until the top 1.5 to 2 inches of soil felt completely dry to the touch—this took about 5 days longer than its usual schedule. When I did water, I used lukewarm water and watered thoroughly until it drained freely from the bottom, ensuring I emptied the catchment saucer afterward. The goal is to avoid both drought stress and, more importantly, root rot. A stressed plant’s roots are less efficient and more susceptible to rot in soggy soil.
Fertilizing: I did not fertilize for the entire two-week recovery period, and I’d recommend waiting a full month. Fertilizer is a stimulant, and a recovering plant cannot process it effectively. Applying fertilizer now can lead to salt buildup in the soil and chemical burns on the roots, compounding the stress. My plant needed to focus energy on repair, not new growth.
My 2-Week Observation Log and The Pitfalls I Encountered
Here’s a day-by-day account of what I observed and the issues I had to troubleshoot:
- Days 1-3: The plant looked dull and slightly droopy. A few older leaves showed minor yellowing at the very edges—a sign of the stress it had been through. I resisted the urge to water.
- Day 4: I noticed a single leaf developing a small, soft brown spot. Panic set in. Was it a disease? Upon closer inspection, I realized it was a spot where the insecticidal soap had pooled and wasn’t wiped away properly. The Pitfall: Incomplete cleaning after treatment. The Fix: I carefully trimmed off the damaged portion of the leaf with sterilized scissors. I then gently wiped every single leaf, top and bottom, with a soft cloth dampened with distilled water.
- Days 5-7: The yellowing on the older leaves stabilized. No new spots appeared. The overall droopiness improved slightly. I performed the “knuckle test” and the soil was finally dry deep enough. I gave it its first post-treatment, thorough watering.
- Day 10: A turning point. I spotted the tiniest hint of a new, tightly furled leaf sheath emerging from the center of the plant. This was the first clear sign of recovery and new growth. The existing leaves looked perkier and had regained some of their glossy sheen.
- Days 12-14: The new leaf began to unfurl slowly. The plant’s posture was fully upright again. I did one final meticulous pest check with my magnifying glass and found zero evidence of insects. The recovery environment was working.
Long-Term Vigilance and Prevention
After the two-week intensive care period, I began to reintegrate the plant into my normal care routine, but with heightened awareness. I resumed my regular watering schedule, always checking the soil first. I waited until the start of the next month to apply a half-strength dose of balanced liquid fertilizer.
Most importantly, I made pest checks a part of my weekly watering ritual. A quick glance under the leaves takes seconds and can catch a new problem early. Prevention is always easier than cure. I also ensure good air circulation around my plants and avoid overwatering, as stressed or soggy plants are more pest-prone.
How long should I keep my Aglaonema isolated after pest treatment? A minimum of one to two weeks is wise. This allows you to monitor for any resurgence of pests and ensures the plant doesn’t spread any potential lingering issues to your other indoor plants. Only reintegrate it once you are confident the infestation is fully resolved.
Is it normal for leaves to yellow or drop after treatment? Yes, some leaf loss can be normal. The plant is shedding older, damaged, or heavily stressed foliage to redirect energy to new growth. If only the oldest leaves are yellowing gradually, it’s likely part of the recovery process. However, if multiple new leaves are yellowing or dropping quickly, reassess your watering and light conditions.
When can I repot my Aglaonema after dealing with pests? Avoid repoting immediately. Repotting is another major stressor. Allow your plant at least a full month, preferably a full growing season, to recover from the pest treatment before subjecting it to the shock of repotting. Only repot if the current soil is problematic or the plant is severely root-bound.
Watching your Aglaonema recover after a pest invasion is a lesson in patience and observation. Success lies not in dramatic interventions, but in providing consistent, gentle care. By creating a stable environment, practicing restraint with water and food, and maintaining a watchful eye, you give your plant the fundamental support it needs to heal itself. That first new, perfect leaf that emerges is the ultimate reward, a clear sign that your careful post-treatment care has guided your Chinese Evergreen back to health and resilience.





