 bluename
 How to Harvest Aglaonema Cuttings for Propagation: A Step-by-Step Guide from a Fellow Plant Lover
There’s a special kind of magic in watching a single leaf from your beloved Chinese Evergreen transform into a whole new plant. Yet, for years, the thought of how to harvest Aglaonema cuttings for propagation filled me with more anxiety than excitement. I’d stare at my overgrown, leggy Aglaonema ‘Silver Bay,’ wanting to give it a fresh start and share it with friends, but I was paralyzed by questions. What if I cut in the wrong place? What if the stem just rots in water? Is soil or water better? I’ve lost cuttings to mush, dealt with frustratingly slow roots, and learned that success hinges on the details most guides gloss over.
After countless experiments and a dedicated two-week observation period on my latest batch, I’ve perfected a reliable method. This guide is born from my hands-on experience—the triumphs and the pitfalls. I’ll walk you through the entire process, from selecting the perfect stem to post-propagation care, ensuring you can multiply your Aglaonema collection with confidence.
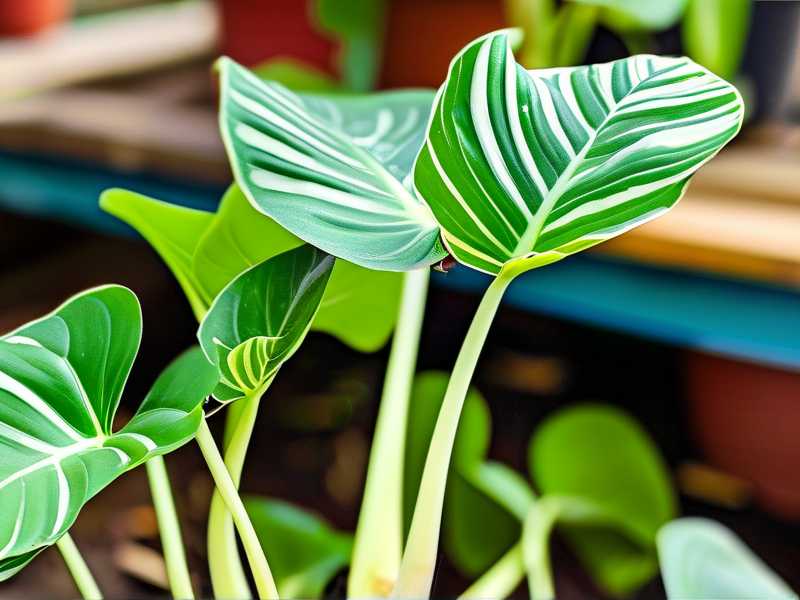
Understanding Your Aglaonema: The Foundation for Success
Before you make the first cut, it’s crucial to understand what you’re working with. Aglaonemas, or Chinese Evergreens, propagate primarily through stem cuttings or division. For harvesting cuttings, we focus on stem propagation. The goal is to take a piece of the plant that contains at least one node—the small, bumpy ring on the stem where leaves and roots emerge. This node is the command center for new growth; without it, your cutting is just a leaf that will eventually wither.
I learned this the hard way early on. I snipped a beautiful, variegated leaf with a bit of stem but no visible node, placed it in water, and waited. It stayed green for weeks, even months, giving me false hope, but it never produced a single root. It was a lesson in plant biology: roots generate from nodes, not from the stem itself or the leaf petiole.
Gathering Your Propagation Toolkit
Having the right tools on hand makes the process smooth and minimizes stress on both you and the plant. Here’s what I prepare before starting:
- Sharp, Sterilized Pruners or Scissors: Clean cuts heal faster and prevent disease. I wipe my blades with isopropyl alcohol.
- A Clean Vessel for Water Propagation (if choosing that method): A clear glass jar lets you monitor root growth.
- Well-Draining Potting Mix (for soil propagation): I use a mix of 60% indoor potting soil, 30% perlite, and 10% orchid bark for aeration.
- Small Pots with Drainage Holes: Essential to prevent waterlogging.
- Rooting Hormone (Optional but Recommended): A powder or gel can significantly speed up root development, especially for soil propagation. The American Horticultural Society notes that rooting hormones containing auxins can improve success rates, particularly for slower-rooting tropical plants.
- Gloves: Aglaonema sap can be a mild irritant for some people.
My Step-by-Step Process for Harvesting Aglaonema Cuttings
Step 1: Identifying and Selecting the Perfect Stem Look for a healthy, vigorous stem on your mother plant. The ideal candidate is mature but not old and woody, has several leaves, and shows no signs of pests or disease. I often target stems that have become a bit leggy—this prunes the parent plant back for a bushier shape and provides my cutting. Ensure the stem section you plan to take has at least 2-3 nodes. More nodes mean more potential root sites.
Step 2: Making the Precise Cut This is where precision matters. Using your sterilized tools, cut the stem about a quarter-inch below a node. Make a clean, angled cut. The angled cut increases the surface area for rooting and helps you remember which end is down! I take my cutting to be about 4-6 inches long, containing several leaves. Immediately after cutting, I remove any leaves that would sit below the water or soil line. Leaves submerged in water will rot and spoil it.
Step 3: The Crucial Callousing Period This is a step I used to skip, and it led to rot. After cutting, place the cutting in a dry, shaded spot for a few hours (1-2 is usually sufficient). This allows the cut end to form a slight callous—a dry layer over the wound. This callous acts as a barrier, dramatically reducing the risk of rot when you place it in water or moist soil. It’s a simple pause that makes a world of difference.
Step 4: Choosing Your Propagation Method: Water vs. Soil I’ve tested both extensively. Each has pros and cons, and my two-week observation journal highlighted their differences clearly.
- Water Propagation: I place the calloused cutting in a jar so that at least one node (preferably two) is submerged. I use room-temperature, filtered water and place the jar in bright, indirect light. Change the water every 5-7 days to keep it fresh.
- My 2-Week Observation: By day 10-14, I typically see small, white nubs emerging from the nodes. The advantage is visibility—you get the thrill of watching roots form. However, roots grown in water are different from soil roots and can be more fragile during transplant.
- Soil Propagation: I dip the calloused end in rooting hormone, then plant it in a pre-moistened potting mix, ensuring a node is buried. I firm the soil gently and place the pot in a warm, humid spot with indirect light. To boost humidity, I often cover the pot with a clear plastic bag, creating a mini-greenhouse, venting it every few days.
- My 2-Week Observation: You can’t see the progress, which requires faith! After two weeks, I gave a cutting a very gentle tug. It showed slight resistance, hinting at root formation. The Royal Horticultural Society (RHS) advises that soil propagation often produces hardier, more adapted roots from the start, reducing transplant shock.
Navigating Common Pitfalls and Their Solutions
My journey wasn’t all green shoots. Here are the problems I’ve faced and how I fixed them.
- The Dreaded Rot: This was my biggest issue. If the stem turns mushy and black in water, you didn’t callous it long enough or the water wasn’t changed. Solution: Cut well above the rot, re-callous, and start fresh with clean water. For soil, rot means it’s too wet. Let the medium dry out more between waterings.
- The Slowpoke (No Roots in Weeks): Aglaonemas root faster with warmth and humidity. Solution: I moved my cuttings to a warmer spot (above 70°F/21°C is ideal) and used a humidity dome (that plastic bag). This dramatically improved speed.
- Yellowing Leaves: The cutting is using energy to root and may sacrifice a lower leaf. This is normal. If all leaves yellow, it might be getting too much direct sun. Solution: Move to gentler, indirect light.
Caring for Your New Aglaonema Plants
Once your water-propagated cuttings have roots about 2-3 inches long (usually after 4-8 weeks), they’re ready for soil. Plant them in a small pot with well-draining mix and keep the soil consistently moist (not soggy) for the first few weeks as they transition. For soil-propagated cuttings, steady growth of new leaves is your sign of success. Treat both like a mature Aglaonema: bright, indirect light, watering when the top inch of soil is dry, and monthly feeding during the growing season with a diluted, balanced fertilizer.
Frequently Asked Questions
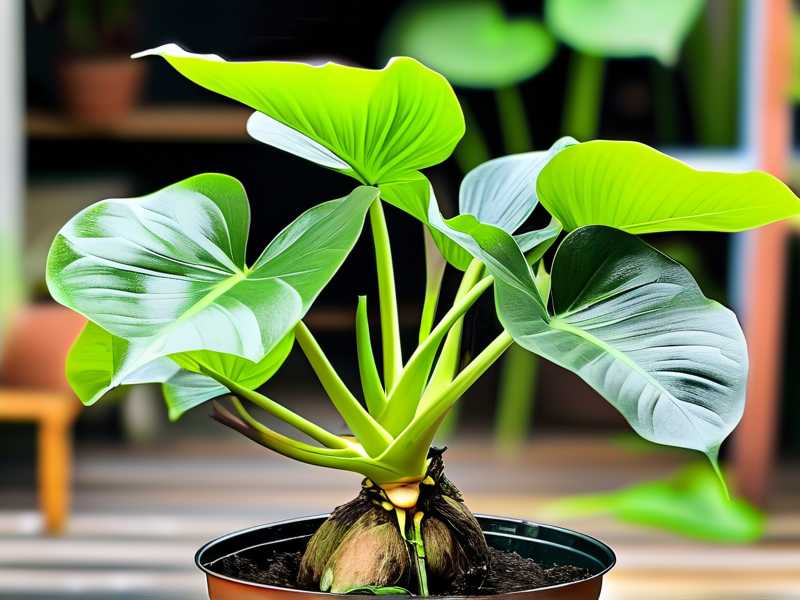
Can I propagate Aglaonema from just a leaf? While a single leaf with a piece of stem containing a node can work, a leaf alone (just the blade and petiole) will not develop into a new plant. It may root to sustain itself but will never produce a new stem. For guaranteed success, always include a section of stem with a node.
How long does it typically take for roots to grow? In ideal warm and humid conditions, you might see initial root nubs in water within 2-3 weeks. A robust root system suitable for potting often takes 4-8 weeks. In soil, it can take a bit longer before you see top growth, often 6-8 weeks.
Why are the leaves on my propagated cutting curling or drooping? This is usually a sign of transplant shock (if recently moved from water to soil) or humidity stress. The cutting’s limited root system can’t take up enough water to support the leaves. Increase ambient humidity around the plant, ensure it’s not in a draft, and be patient. Avoid the urge to overwater, which will compound the problem.
Propagating Aglaonema is a rewarding practice that deepens your connection to your plants. It transforms pruning from mere maintenance into an act of creation. By carefully selecting your cutting, allowing it to callous, providing the right environment, and learning from the occasional setback, you’ll soon have a thriving collection of Chinese Evergreens, all started from your own careful hands. The process teaches patience and observation, and the result—a new, independent plant—is always worth the wait.





