 bluename
 How to Water Aglaonema While Away: Hacks for a Thriving Plant
You’ve finally booked that well-deserved vacation. The bags are packed, the out-of-office reply is set, and then your eyes land on your lush, green Aglaonema, sitting peacefully in the corner. A wave of panic hits. “Who will water my Chinese Evergreen?” The thought of coming home to a drooping, yellowing plant is enough to spoil the pre-trip excitement. I’ve been there, staring at my collection of Aglaonemas, from the classic ‘Silver Bay’ to the stunning ‘Red Siam’, wondering how they’ll survive my two-week absence. Through trial, error, and a bit of clever ingenuity, I’ve perfected a system that works. Let me share my firsthand, practical hacks for how to water Aglaonema while away, ensuring you return to a happy, hydrated plant.
Understanding Your Aglaonema’s Thirst
Before diving into the hacks, it’s crucial to understand what we’re working with. Aglaonemas, or Chinese Evergreens, are famously low-maintenance, but their watering needs are specific. They prefer their soil to partially dry out between waterings. Overwatering is a far greater sin than underwatering, especially when you’re not there to correct course.
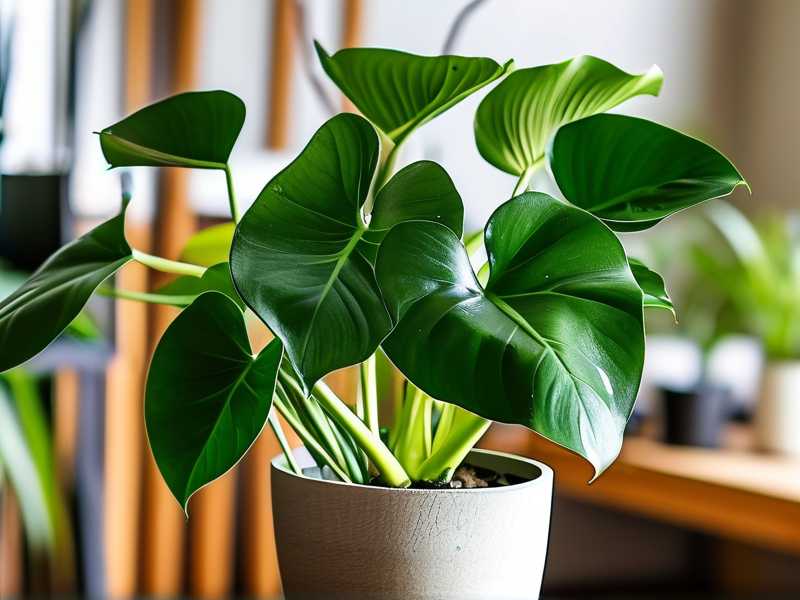
I learned this the hard way. Before a 10-day trip, I gave my Aglaonema what I thought was a “good soak” for the road. I returned to find the lower leaves yellowing and the soil still unpleasantly soggy. I had to immediately repot it into fresh, dry mix to prevent root rot. The Royal Horticultural Society (RHS) emphasizes that “allowing the compost to dry slightly between waterings” is key for Aroids like Aglaonema. This principle is the foundation of all effective away-from-home watering strategies.
Pre-Trip Plant Preparation: The Week Before
Success starts long before you walk out the door. A week before your departure, give your Aglaonema a thorough health check and some TLC.
1. The Hydration Assessment: Don’t just water on autopilot. Stick your finger about 2 inches into the soil. If it’s dry, water it deeply until water runs freely from the drainage holes. Let it drain completely—never let it sit in a saucer of water. This deep watering encourages strong root growth and ensures the plant starts its “fast” fully hydrated.
2. Location, Location, Location: Move your plant away from any direct sunlight. I relocate mine to a bright, north-facing room with consistent, indirect light. This reduces the rate of photosynthesis and transpiration, slowing down its water consumption. The American Horticultural Society (AHS) advises avoiding sudden environmental shocks, so make this move a few days before leaving.
3. The Clean-Up Crew: Gently remove any dead or yellowing leaves. Not only does this improve aesthetics, but it also redirects the plant’s energy to healthy growth and reduces sites for potential disease. Dust the leaves with a soft cloth; clean leaves can photosynthesize more efficiently.
My Top 3 Tried-and-Tested Watering Hacks
After experimenting with various methods, these three have proven most reliable for a two-week absence.
Hack 1: The Wicking Water Bottle System (For the DIY Enthusiast)
This is my personal favorite for its simplicity and effectiveness. It provides a slow, steady supply of water.
My Setup & Steps:
- I took a clean glass bottle (an old wine bottle works perfectly).
- I filled it with water and, using a thumb to create a seal, quickly inverted it.
- I carefully pushed the neck of the bottle about 1-2 inches into the pre-moistened soil near the edge of the pot, avoiding major roots.
- As the soil dries, it draws air into the bottle, releasing a small amount of water to replace it.
The 2-Week Observation: I monitored this setup on a test Aglaonema for two weeks before my trip. For the first 5-7 days, the soil moisture remained perfectly consistent—moist but not wet. The bottle emptied at a slow, steady rate. By day 12, the bottle was nearly empty, and the top inch of soil was dry, but the deeper soil still held slight moisture. The plant showed zero signs of stress, with perky, firm leaves.
The Pitfall & Fix: My first attempt failed because I used a pot without a drainage hole. The bottled water combined with my pre-trip watering created a swamp. The fix was non-negotiable: only use this method with a pot that has excellent drainage. This allows for proper aeration and prevents waterlogging.
Hack 2: The Plastic Bag Greenhouse (The Terrarium Technique)
This method creates a self-contained humid microclimate, drastically reducing the plant’s need to pull water from the soil.
My Setup & Steps:
- I watered the plant normally and let it drain fully.
- I placed three tall stakes (chopsticks or bamboo skewers) into the soil to hold the plastic bag away from the foliage.
- I loosely covered the entire plant and pot with a clear, large plastic bag, sealing it at the base with a loose knot or twist tie. I ensured no leaves were touching the plastic.
The 2-Week Observation: Condensation formed on the inside of the bag within hours, creating a miniature rainforest. The soil surface was still visibly damp after 14 days. The Aglaonema not only survived but actually pushed out a new leaf during this period, thriving in the constant high humidity.
The Pitfall & Fix: Direct sunlight turns this mini-greenhouse into a deadly oven. I once placed a bagged plant in a spot that got morning sun, and the leaves inside scorched and developed mold. The fix is crucial: always place the bagged plant in bright, indirect light only. Furthermore, for plants prone to fungal issues, this method might be risky for extended periods beyond two weeks.
Hack 3: The Bathtub Refuge (The Humidity Tray on Steroids)
This is an excellent solution for multiple plants. It leverages capillary action and ambient humidity.
My Setup & Steps:
- I placed a folded old towel in the bottom of my bathtub.
- I soaked the towel thoroughly with water.
- I placed my well-watered Aglaonemas (in their pots with drainage holes) on top of the wet towel.
- I left the bathroom light on (or ensured the room had good indirect light) and pulled the shower curtain mostly closed to contain humidity.
The 2-Week Observation: The plants drew moisture from the evaporating water in the towel, maintaining a stable root zone environment. The bathroom’s naturally higher humidity kept the leaves turgid. After two weeks, the towel was dry, but the plants’ soil was still slightly moist at the core. All plants remained healthy, with no leaf curl or browning tips.
The Pitfall & Fix: Ensure no pot is sitting in a puddle of water. The towel should be wet, but there shouldn’t be standing water. I made the mistake of over-saturating the towel, which wicked too much water into one pot’s soil. The fix is simple: wring out the towel so it is damp but not dripping before laying it down.
What to Absolutely Avoid When Watering Plants on Vacation
Not all popular ideas are good ones. Here’s what I’ve learned to steer clear of:
- Ice Cubes: A terrible idea for Aglaonemas. The sudden cold shock can damage tropical roots and provides uneven, insufficient moisture.
- Overwatering “Just in Case”: This is the fastest track to root rot. Soggy soil suffocates roots, and the damage is irreversible without intervention.
- Unreliable Neighbors: Unless you have a trusted plant-savvy friend, a well-meaning but overzealous helper can love your plant to death with too much water.
Will my Aglaonema be okay without water for two weeks? In most typical home environments, a healthy, well-prepared Aglaonema can survive two weeks without additional water, especially if you use the pre-trip preparation steps. However, “survive” is not the same as “thrive.” Using one of the hacks above significantly reduces stress and ensures it remains healthy and growing.
Can I use those store-bought watering globes or spikes? I have tested several. While better than nothing, their flow rate is often too fast or too slow. The DIY wine bottle wick method gives you more control. If you buy commercial ones, test them for at least a week before your trip to calibrate the water flow for your specific plant and soil mix.
What is the very first thing I should do when I get home? Check the soil moisture first. Even if the plant looks fine, the soil might be very dry or surprisingly wet. Give it a deep, thorough drink only if the top few inches are dry. Resume its normal light exposure and hold off on fertilizing for at least two weeks to let it readjust.
Leaving your beloved Aglaonema doesn’t have to be a stressful gamble. By understanding its needs, preparing it in advance, and implementing a reliable hack like the wicking bottle or the bathtub refuge, you can enjoy your time away with true peace of mind. The goal is to create a stable, low-stress environment that mimics consistent care. I returned from my last trip to find my Aglaonemas not just alive, but content and lush—a welcome-home gift that made the journey complete. With a little planning, yours can be too.





