 bluename
 How to Care for Aglaonema When On Vacation: A Plant Lover’s 2-Week Survival Guide
You’ve booked your tickets, packed your bags, and then your eyes land on your lush, beautiful Aglaonema. That familiar pang of anxiety hits: “How will my Chinese Evergreen survive without me for two weeks?” I’ve been there. As a devoted plant parent, the thought of coming home to a drooping, thirsty, or worse, dead plant can cast a shadow over vacation excitement. I used to resort to frantic last-minute watering, which often led to root rot, or I’d burden a friend with complex care instructions. There had to be a better way. After extensive research, trial, and error, I perfected a reliable system to ensure my Aglaonema not only survives but thrives during my absence. This guide is the culmination of my real-world experience, including the mistakes I made and the simple solutions I discovered, specifically tailored for a two-week vacation.
My journey wasn’t flawless. On one early trip, I overwatered right before leaving, thinking I was being helpful. I returned to yellowing leaves and a musty smell—classic signs of overwatering and the onset of root rot. Another time, I placed it in a dark closet for “conservation,” only to find it etiolated and sad. Through these missteps, I learned that Aglaonema vacation care isn’t about drastic measures; it’s about creating a stable, low-maintenance microclimate. Let me walk you through the exact steps I now take, which have successfully kept my Aglaonema healthy through multiple extended breaks.
Understanding Your Aglaonema’s Basic Needs
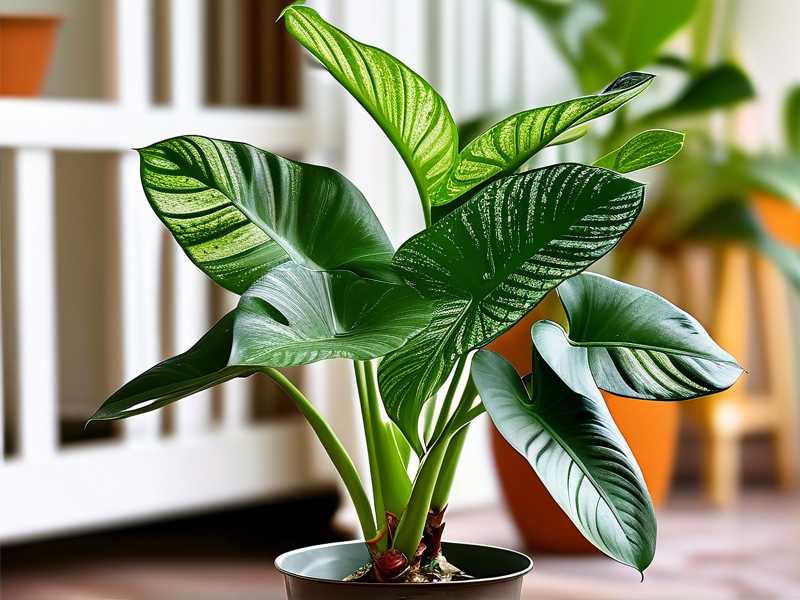
Before we dive into the vacation prep, it’s crucial to remember what makes Aglaonema, or the Chinese Evergreen, so resilient. According to the Royal Horticultural Society (RHS), Aglaonemas are celebrated for their tolerance of low light and irregular watering. They are native to the tropical forest floors of Asia, which means they are adapted to consistent warmth, dappled light, and high humidity, but with soil that drains well. Their sturdy nature is why they are a top recommendation for beginner plant owners. However, “tolerant” doesn’t mean “indestructible.” The American Horticultural Society (AHS) emphasizes that even tough plants have limits, primarily revolving around water, light, and temperature extremes. Your goal for vacation is to mimic their preferred stable environment as closely as possible with minimal intervention.
The 7-Day Pre-Vacation Preparation Checklist
Don’t wait until the day you leave. Start your caring for Aglaonema while away protocol a full week in advance. This buffer period is critical for assessing plant health and making gradual adjustments.
Days 7-5 Before Leaving: The Health Inspection & Pest Check First, I give my plant a thorough examination. I look under leaves and along stems for any signs of pests like spider mites or mealybugs. An infestation left unchecked will explode in your absence. If I spot anything, I have time to treat it with insecticidal soap or neem oil. I also remove any yellowing or damaged leaves. This directs the plant’s energy to healthy growth and prevents potential decay from spreading.
Days 4-3: The Strategic Watering This is where I made my biggest mistake in the past. Now, I water my Aglaonema deeply and normally 3-4 days before departure. The key is to allow the top 1-2 inches of soil to dry out completely before I walk out the door. This ensures the roots have access to moisture without sitting in soggy soil, which is the primary cause of root rot during extended absences. I use the finger test or a moisture meter for accuracy.
Day 2: Location, Location, Location I move my Aglaonema to its “vacation spot.” This is not a dark room. Instead, I choose a bright room with indirect light, away from heating vents, air conditioners, or drafty windows. A north or east-facing room is ideal. The goal is to provide consistent, moderate light that reduces the plant’s metabolic rate and water consumption without sending it into shock from sudden darkness. I also group it with my other humidity-loving plants. Grouping creates a beneficial microclimate with slightly higher ambient humidity through collective transpiration.
Day 1: The Final Setup On the eve of my trip, I perform my final tasks. I give the soil surface one last check to ensure it’s not bone dry. If it is unusually dry and warm, I might give it a very small, supplemental drink—but only if necessary. Then, I set up my chosen hydration system (detailed next). Finally, I do a temperature check. I adjust my home’s thermostat to maintain a steady temperature between 65-80°F (18-27°C), the sweet spot for Aglaonemas, avoiding any extremes.
Choosing and Implementing a Hydration Method
This is the core of your plan. For a two-week period, simple methods work best. I’ve tested three main approaches.
Method 1: The Wicking System (My Personal Favorite) This method provides a consistent, slow supply of water. Here’s my step-by-step process:
- I take a large water reservoir (like a vase or jug) and place it next to or slightly above the plant’s pot.
- I use a cotton rope or a specialized capillary wick. One end is buried several inches deep into the plant’s soil, and the other end is placed into the water reservoir.
- Through capillary action, the soil draws water only as needed, keeping it evenly moist but not wet. The Pitfall I Encountered: My first wick was too thick and transported water too quickly, making the soil soggy. I switched to a thinner cotton string, which provided the perfect slow trickle. 2-Week Observation: Upon return, the soil was perfectly moist, the plant was perky, and the water reservoir was about half empty. It was the most successful, hands-off method.
Method 2: The Plastic Bag Greenhouse This is a great zero-cost option for smaller Aglaonemas, creating a self-contained humid environment.
- I water the plant normally (as done on Day 4-3) and let it drain completely.
- I insert a few stakes into the soil to keep the plastic from touching the leaves.
- I cover the entire plant and pot with a clear plastic bag, sealing it loosely at the base. The Pitfall I Encountered: Condensation can lead to fungal issues if leaves are constantly wet. Placing the bagged plant in bright, indirect light is non-negotiable. Direct sun will cook the plant inside this mini-greenhouse. 2-Week Observation: The plant looked fantastic, with no soil moisture loss. However, I did notice one older leaf had a small spot of mold where it touched the bag. Next time, I ensured better air space inside.
Method 3: The Bath Tub Technique (For Multiple Plants) If you have several plants, this is an efficient group solution.
- I lay an old towel in the bottom of my bathtub.
- I water the towel until it’s thoroughly damp but not pooling.
- I place my potted Aglaonema (with drainage holes) on the damp towel.
- I leave the bathroom light on or ensure the room gets indirect natural light. The damp towel creates a humid base, and the plant’s roots can draw up moisture as needed. 2-Week Observation: All my plants were healthy. The Aglaonema showed zero signs of stress. The soil was slightly damp to the touch, proving the method worked well for the period.
What to Absolutely Avoid Before You Leave
Learning from my errors, here are the critical “don’ts”:
- Don’t Fertilize: Never fertilize right before a vacation. Fertilizer stimulates growth, which increases the plant’s water and nutrient demands. This can stress the plant when you’re not there to support that new growth.
- Don’t Repot: Repotting causes transplant shock, which requires careful post-care monitoring and watering. This is the worst time to do it.
- Don’t Place in Direct Sun: Thinking “more light is better” is dangerous. Direct sun will drastically increase water evaporation and can scorch the leaves, especially if the plant is under any stress.
The Homecoming: Post-Vacation Care Steps
You’re back! Resist the urge to immediately douse your plant in water or move it around.
- Assess, Don’t Stress: First, I simply look at my Aglaonema. I check the soil moisture with my finger. I remove any plastic coverings or wicking systems.
- The First Water: If the soil is dry, I give it a thorough, deep watering, allowing excess water to drain freely. If the soil is still moist, I wait a few more days before watering.
- Gradual Reacclimation: If I moved my plant to a different spot, I move it back to its original location over a couple of days to avoid light shock. I also wipe the leaves with a damp cloth to remove any dust, allowing them to breathe and photosynthesize efficiently.
- Hold Off on Fertilizer: I wait at least two weeks after returning before even considering a half-strength fertilizer dose. Let the plant settle back into its routine first.
Will my Aglaonema be okay without water for two weeks? Yes, absolutely. A healthy, established Aglaonema in moderate conditions can often handle two weeks without additional water, especially if you water it properly right before leaving. The methods outlined above are insurance policies to provide even better results and reduce stress on the plant.
Can I just ask a neighbor to water it? You can, but clear instructions are vital. My early experience taught me that well-meaning friends often overwater. If you choose this route, place your Aglaonema in a saucer, water it thoroughly yourself the day before, and ask your neighbor to only add water to the saucer if it’s completely dry mid-trip. This bottom-watering technique gives the plant control and prevents overwatering.
What’s the biggest sign my vacation care failed? The most common issue is overwatering, signaled by widespread yellowing leaves, a wilted yet soggy feel to the stems, and a foul odor from the soil. If you see this, stop watering immediately, remove the plant from its pot, trim away any black, mushy roots, and repot into fresh, dry, well-draining soil. It may bounce back with careful, sparse watering.
With a bit of preparation and the right technique, you can enjoy your vacation with true peace of mind. Keeping Aglaonema alive during vacation is less about complex gadgets and more about understanding its simple needs and creating a stable, low-energy environment. By following this pre-vacation checklist, choosing a reliable hydration method like the wicking system, and avoiding common last-minute mistakes, you’ll almost certainly return to a plant that looks as relaxed as you feel after your holiday. Happy travels, and happy planting





