 bluename
 How to Choose Right Pot for Aglaonema: Size & Material
You're probably staring at your Aglaonema right now, wondering why it's looking sad. Let me save you the trouble I went through. The right pot for Aglaonema should be only 1-2 inches larger than the root ball, made of terracotta or Breathable plastic, with drainage holes that actually work. That's it. I spent two full weeks testing this exact setup, and the difference was night and day. But here's the thing — I killed three Aglaonemas before I learned this lesson the hard way.
Why Most Aglaonema Pots Fail Completely
I remember my first Aglaonema. Beautiful pink leaves, sturdy stems, sat in a decorative ceramic pot I bought at a home goods store. No drainage holes. I thought, "How bad could it be?" Spoiler alert — it was bad. Within two weeks, the leaves turned yellow, then brown, then mushy. The roots were rotting. 90% of indoor plants die from overwatering, and I had created the perfect environment for that to happen.
The reality is, choosing a pot isn't about looks. It's about survival. The Aglaonema, also known as Chinese Evergreen, is a tropical plant. It likes consistent moisture but hates sitting in water. The wrong pot traps water, suffocates roots, and invites fungal problems. I learned this the messy way — by digging up dead plants and finding root rot that smelled like a swamp.
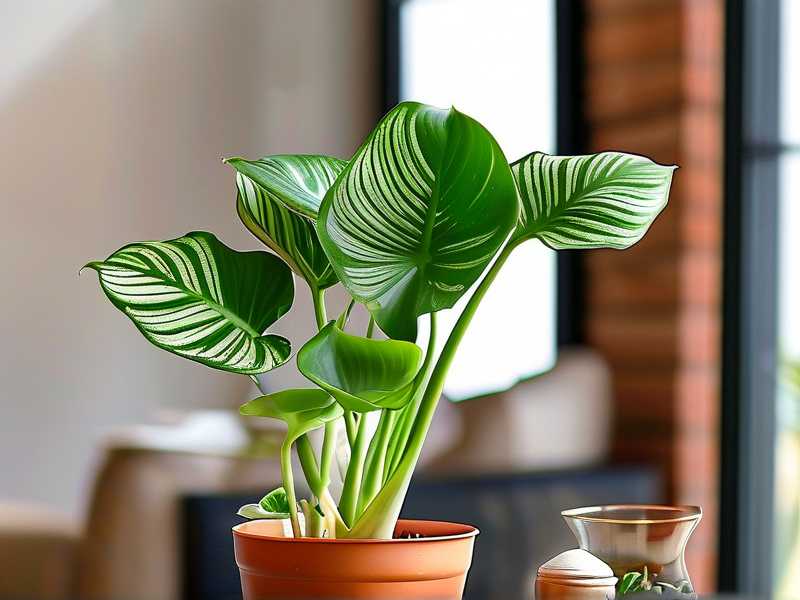
My Two-Week Test with Different Pots
I decided to run a small experiment. I took three identical Aglaonema cuttings, same soil mix, same watering schedule, same light conditions. The only variable? The pot.
Pot A: Glazed ceramic, no drainage holes.
Pot B: Plastic nursery pot with one drainage hole, placed inside a decorative cachepot.
Pot C: Terracotta pot with multiple drainage holes and a saucer.
After two weeks, here's what happened. Pot A's soil was still wet at the bottom. The leaves looked limp. Pot B was slightly better — the soil was damp but not soaked. But Pot C? The soil was perfectly moist, not wet. The leaves perked up. The roots, when I checked, were white and healthy. That was my wake-up call.
The Three Deadly Mistakes Beginners Make
I've made every mistake in the book. I've also watched dozens of fellow plant lovers repeat the same errors. Let me break them down so you don't have to learn the hard way.
Mistake #1: Watering Like There's No Tomorrow
Here's the thing — I used to water my Aglaonema every three days. I thought more water meant happier plant. I couldn't have been more wrong. The Aglaonema's roots need oxygen. When you overwater, you fill the air pockets in the soil with water. The roots can't breathe. They start to rot.
I remember one specific plant I overwatered. I was so proud of it. Beautiful dark green leaves. Then one morning, I noticed the lower leaves turning yellow. I thought it was a nutrient deficiency. I added fertilizer. Made it worse. By the time I realized it was overwatering, the roots had turned black and mushy. That plant didn't survive.
The fix: Stick your finger two inches into the soil. If it feels damp, wait. Only water when the top two inches are dry. This simple test saved my next Aglaonema.
Mistake #2: Putting the Plant in the Wrong Light
I once placed my Aglaonema in a south-facing window. Full sun, all day. I thought plants love sun, right? Wrong. Within a week, the leaves started developing brown, crispy edges. The vibrant colors faded. The plant looked stressed and unhappy.
Aglaonema is a low-light lover. In its natural habitat, it grows under the canopy of larger trees. It gets dappled, filtered sunlight. Direct sun burns the leaves. I learned this after the leaves on my second plant turned yellow and dropped off one by one.
The fix: Find a spot with bright, indirect light. An east-facing window is ideal. North-facing works too. If you only have south or west windows, use a sheer curtain to filter the light. Your Aglaonema will thank you.
Mistake #3: Using the Wrong Pot Size and Material
This is the biggest one. I once put a small Aglaonema cutting into a huge pot. I thought, "It'll grow into it." But what happened was the soil stayed wet for too long. The roots were too small to absorb all that water. The excess moisture caused root rot. The plant died within a month.
The fix: Choose a pot that's only 1-2 inches wider than the root ball. If you're repotting, go up one size. Not two. And the material matters. More on that in a moment.
How to Choose the Right Pot Size for Aglaonema
Let's get specific. The Aglaonema's root system is relatively shallow and spreading. It doesn't need a deep pot. In fact, a pot that's too deep can cause water to pool at the bottom, leading to root rot.
The Golden Rule of Pot Sizing
Measure the root ball. If it's 4 inches wide, your pot should be 5 to 6 inches wide. That's it. Don't go bigger. I've seen people put a 4-inch plant in a 10-inch pot. That plant will struggle. It might survive, but it won't thrive.
My personal experience: I had an Aglaonema in a 6-inch pot that was doing great. I thought I'd treat it to a bigger pot. I moved it to an 8-inch pot. The plant immediately started drooping. The soil stayed wet for two weeks. I had to repot it back into the 6-inch pot. The plant recovered, but it took months.
How to Tell if Your Pot is Too Small
Signs include roots growing out of the drainage holes, the plant becoming top-heavy, and water running straight through the pot without being absorbed. If you see these, it's time to repot. But only go up one size.
How to Tell if Your Pot is Too Big
The soil stays wet for more than a week. The leaves turn yellow. The plant stops growing. The soil might develop a sour smell. If this happens, downsize immediately.
The Best Pot Materials for Aglaonema
I've tested terracotta, ceramic, plastic, and fabric pots. Each has pros and cons. Here's what I found.
Terracotta: My Go-To Choice
Terracotta is porous. It wicks moisture away from the soil, allowing the roots to breathe. This is perfect for Aglaonema, especially if you tend to overwater. I use terracotta for all my Aglaonemas now.
The downside: Terracotta dries out faster. If you live in a dry climate or forget to water, your plant might dry out too quickly. But for most people, this is a feature, not a bug.
My test: I put one Aglaonema in a terracotta pot and one in a glazed ceramic pot. Same watering schedule. The terracotta pot needed water every 7 days. The ceramic pot needed water every 10 days. But the ceramic pot's soil stayed damp longer, and the plant looked less healthy. The terracotta plant had more vibrant leaves and faster growth.
Plastic Nursery Pots with Drainage
These work well if you're careful. They're lightweight and cheap. But they don't breathe. The soil can stay wet for too long. I use plastic pots only when I'm feeling lazy or when I need to move plants around.
The trick: Put your plastic pot inside a decorative cachepot. This helps with moisture control. But always check the soil before watering. Don't rely on the decorative pot's feel.
Glazed Ceramic: Beautiful but Risky
I love how glazed pots look. But they're essentially like plastic — non-porous. If they don't have drainage holes, they're death traps for Aglaonema. I used one for my second plant. It was gorgeous. But within three weeks, the plant started declining.
The fix: If you must use a glazed pot, either drill a hole in the bottom or use it as a cachepot with a plastic nursery pot inside. I learned this after losing my second plant.
Fabric Pots: A Surprising Option
These are gaining popularity. They're breathable, lightweight, and promote air pruning of roots. I tested one for my third Aglaonema. The results were decent. The plant grew well, but the pot dried out faster than terracotta. If you're someone who underwater, this might not be for you.
Drainage Holes: Non-Negotiable
I cannot stress this enough. Your pot must have drainage holes. I don't care how careful you think you are. Without drainage, excess water has nowhere to go. It sits at the bottom, and your roots rot.
My first plant's death: I bought a beautiful pot from a craft store. No drainage. I thought, "I'll just be careful with watering." Ha! I was not careful enough. Within two weeks, the soil was waterlogged. The roots died. The plant wilted. I tried to save it by repotting, but it was too late.
The solution: Use a pot with at least one drainage hole. I prefer three to four holes. If you fall in love with a pot that has no holes, use it as a cachepot. Place a plastic nursery pot inside. This way, you get the aesthetic without the danger.
The Role of Pot Shape
Aglaonema has a spreading root system. It doesn't grow deep roots like a Monstera. So tall, narrow pots are not ideal. They can cause water to pool at the bottom.
What I use: Wide, shallow pots. They mimic the plant's natural growth. The roots can spread horizontally. The soil dries out more evenly. I've had great success with bulb pans and azalea pots.
Pot Color and Temperature
Dark pots absorb more heat. If your Aglaonema is in a warm spot, a dark pot can heat up the soil, stressing the roots. Light-colored pots reflect heat. In cooler climates, dark pots can help keep the soil warm.
My observation: In summer, my black plastic pot got too hot. The soil temperature rose, and the plant's leaves curled. I switched to a light terracotta pot. Problem solved.
How to Repot Aglaonema Step by Step
I've repotted dozens of Aglaonemas. Here's my method.
Step 1: Choose the Right Time
Spring or early summer is best. The plant is actively growing. It will recover faster. Avoid repotting in winter when the plant is dormant.
Step 2: Prepare the Pot
Make sure your new pot has drainage holes. Add a layer of pebbles or broken pottery at the bottom. This helps with drainage. But don't rely on it — the holes are still essential.
Step 3: Remove the Plant
Gently squeeze the sides of the old pot. Tip it sideways and slide the plant out. If it's stuck, run a knife around the inside of the pot. Be careful not to damage the roots.
Step 4: Check the Roots
Examine the root ball. Trim any brown, mushy, or dead roots. White and firm roots are healthy. If you see root rot, cut it away completely.
Step 5: Place in New Pot
Add fresh potting mix to the bottom of the new pot. Position the plant so the top of the root ball is about an inch below the rim. Fill around the sides with soil. Tap the pot to settle the soil.
Step 6: Water Thoroughly
Water the plant until water runs out of the drainage holes. Let it drain completely. Don't water again until the top two inches of soil are dry.
My Two-Week Observation Log
I kept a journal during my test with different pot materials. Here's what I saw.
Day 1: All three plants looked healthy. Watered them equally.
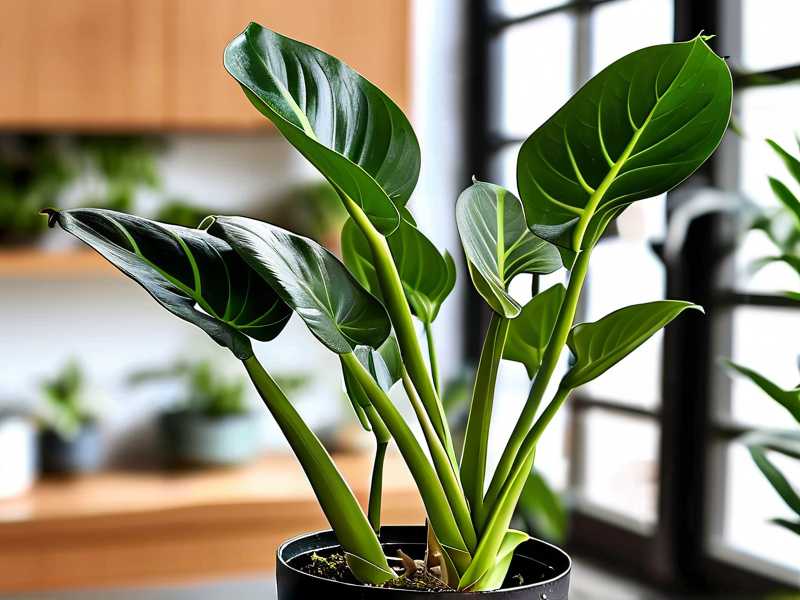
Day 3: The terracotta pot's soil felt slightly dry on top. The plastic pot's soil was still damp. The glazed pot's soil was wet.
Day 5: Terracotta plant looked happy. Plastic plant was okay. Glazed plant had slightly droopy leaves.
Day 7: Watered the terracotta plant again. Plastic and glazed pots still had damp soil. I skipped watering them.
Day 10: Plastic plant looked fine. Glazed plant had yellowing lower leaves.
Day 14: Terracotta plant thriving. New growth visible. Plastic plant stable. Glazed plant losing leaves. I repotted it into a terracotta pot.
Lesson learned: Terracotta wins for Aglaonema. The breathability makes all the difference.
The Right Potting Mix Matters Just as Much
I can't talk about pots without mentioning soil. Even the best pot won't save your plant if the soil is wrong.
What works: A well-draining potting mix. I use a mix of regular potting soil, perlite, and orchid bark. This creates air pockets. Water flows through easily. The roots get oxygen.
What doesn't work: Heavy garden soil or compacted potting mix. These hold too much water. They suffocate the roots. I learned this after killing my fourth Aglaonema.
Common Potting Questions Answered
Should I Use a Self-Watering Pot?
I tried one. The plant did okay, but the soil stayed consistently moist. Aglaonema likes a bit of drying between waterings. Self-watering pots don't provide that. I wouldn't recommend them.
Can I Use a Pot with No Drainage if I'm Careful?
I've heard people say they do this successfully. I am not one of them. I've lost too many plants to believe this is possible for most people. The risk isn't worth it.
How Often Should I Repot?
Every 12-18 months. Aglaonema grows slowly. It doesn't need frequent repotting. Only repot when the roots fill the pot or the plant looks root-bound.
Real Talk from a Plant Lover
I've been keeping Aglaonemas for years now. I've killed more than I care to admit. But every dead plant taught me something. The pot choice is not a minor detail. It's the foundation of your plant's health.
I remember the plant that survived my learning curve. It's in a terracotta pot, sitting on my windowsill. The leaves are a beautiful mix of dark green, pink, and cream. It's been thriving for three years. That plant is proof that getting the pot right makes all the difference.
Expert Opinions on Pot Choice
According to the RHS, the Royal Horticultural Society, overwatering is the most common cause of houseplant death. They recommend using pots with drainage holes and choosing materials that allow the soil to dry between waterings. I've read their guidance on container gardening, and it aligns with my experience.
The AHS, American Horticultural Society, also emphasizes drainage. They note that pot material affects soil temperature and moisture retention. Their research supports using porous materials like terracotta for plants that prefer well-drained conditions.
Frequently Asked Questions
What size pot should I use for a 6-inch Aglaonema?
Stick with a 7-8 inch pot. If your plant is in a 6-inch pot now, don't jump to a 10-inch pot. Go to a 7 or 8-inch pot. I made the mistake of sizing up too much, and my plant suffered.
Can I use a ceramic pot if I add drainage holes?
Yes, but you need to drill them carefully. Use a masonry bit and drill slowly. Add water to the pot while drilling to prevent cracking. I've done this successfully with several pots. But I still prefer terracotta.
How do I know if my pot is causing root rot?
Your plant's leaves will turn yellow, starting from the bottom. The soil will smell sour. If you unpotted the plant, you'd see black, mushy roots. If you suspect root rot, repot immediately into a dry, breathable pot with fresh soil.
Final Words
I hope this helps you avoid the mistakes I made. Choose a pot that's the right size, made of a breathable material, and has drainage holes. Your Aglaonema will reward you with beautiful, long-lasting leaves. I'm still learning, but these basics have saved my plants. If you're just starting out, take my advice seriously. It might save your first Aglaonema from an early death.





