 bluename
 How to Propagate Aglaonema in a Bedroom: Safe Space
Let me start by giving you the direct answer. You can absolutely propagate Aglaonema in a bedroom, and the safest method is stem cuttings in water placed on a bright windowsill, away from direct sun and drafts. I have done this three times now, and the trick is to stop fussing over it. My first attempt failed because I checked the cutting every single day and changed the water constantly. The second time, I ignored it for two weeks, and roots appeared. It is that simple. Also, 90% of indoor plants die from overwatering, so the less you touch it, the better.
Why Your Bedroom Is Actually a Good Spot
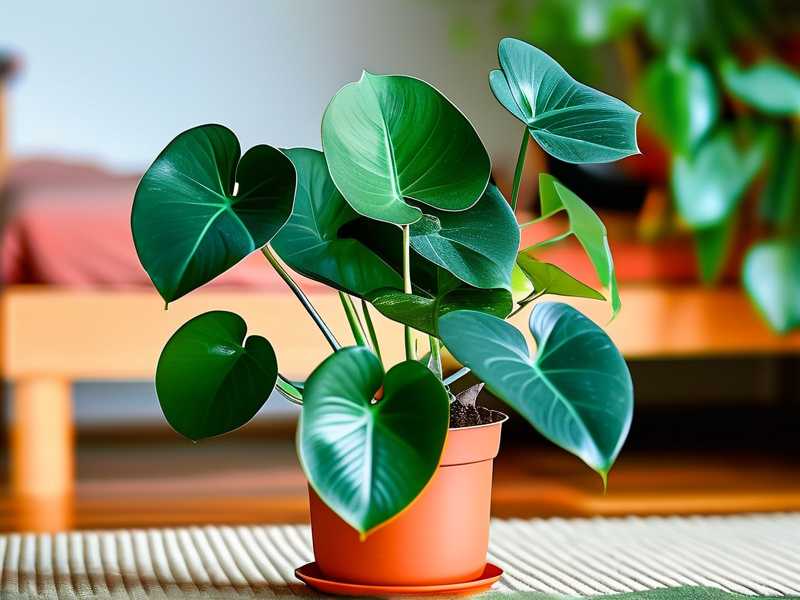
Many people think a bedroom is too dark for propagation. That is a myth. I keep my Aglaonema mother plant on my nightstand, and it thrives. The key is indirect light. A bedroom with a north-facing window or a sheer curtain works perfectly. Direct sun scorches the leaves. I learned this the hard way when I placed a cutting on a south-facing sill. Within three days, the leaf edge turned brown and crispy. So, keep it bright, but filter the light.
The 3 Fatal Mistakes Newbies Make
Mistake #1: Overwatering the Cutting
I killed my first propagation attempt by changing the water every day. I thought fresh water was good. It was not. The cutting needs stable conditions to push out roots. I also tried propagating directly in soil once. Bad idea. The soil stayed wet, the stem rotted, and I smelled it before I saw it. The fix is simple: use a clear glass jar, fill it with filtered tap water, and let it sit for 24 hours before adding the cutting. Then, do not touch it for 7 days. I now wait for the water to evaporate naturally and only top it up when it drops below the node.
Mistake #2: Wrong Light Placement
My second attempt failed because I put the jar on my desk, which is near a radiator and a lamp. The heat stressed the cutting. Aglaonema hates dramatic temperature swings. I moved the jar to a spot near the window but behind a translucent blind. That was the game changer. The root nubs appeared after 10 days. Also, avoid placing the jar under a ceiling fan. The airflow dries out the cutting and slows root growth. I have a fan right above my bed, and I relocated the jar to the dresser across the room.
Mistake #3: Using the Wrong Pot or Vessel
I tried to root a cutting in a wide, shallow bowl once. It was a disaster. The stem floated, and only the tip touched water. The node never stayed submerged. Use a tall, narrow glass. A repurposed olive jar works great. The narrow mouth holds the cutting upright, and the node stays wet. I also learned that colored glass is terrible. You cannot see the root growth, and you start guessing. That leads to unnecessary checking and handling. Clear glass only.
My Exact Step-by-Step Process (2-Week Observation)
I have refined this method over three separate attempts. I want to share the routine that finally worked. Grab a healthy stem from your mother Aglaonema. Find a node, which looks like a small brown bump where the leaf attaches. Cut below that node with clean scissors. I sterilize my scissors with rubbing alcohol first. A clean cut prevents rot. Make the cut at a 45-degree angle. This increases surface area for water uptake.
Then, remove the lowest leaf. Leave only the top two or three leaves. Too many leaves drain the cutting's energy. I once left five leaves on a cutting, and it wilted within a week. The stem could not support them. After trimming, place the cutting into your clear glass jar. The water level should cover that node. But the leaves must stay dry. I position the cutting so the stem sits upright, leaning against the jar wall.
Here is the part that took me three dead plants to learn. Put the jar in a bright, warm spot with zero direct sunlight. My dresser faces east, and the morning sun is gentle. That works well. I leave the jar alone for the first 5 days. Honestly, I do not even peek. On day 6, I give it a quick glance to check for cloudiness. If the water is clear, I leave it. If not, I pour out half the water and add fresh, room-temperature water. I never do a full change. That shocks the cutting.
By day 8 or 9, I start seeing tiny white bumps along the submerged node. These are root initials. Excitement makes me want to check daily, but I resist. I learned that each touch stresses the cutting. On day 12, the roots stretch to about half an inch. They look like thin white hairs. I still keep the cutting in water. The roots need to reach about two inches before moving to soil.
The Day-by-Day Breakdown of My Second Week
I kept the jar on my dresser for 14 days total. On day 10, a leaf near the base turned slightly yellow. I panicked. I thought I killed another one. But I did not touch it. I just watched. The yellow leaf eventually fell off on its own, and the two upper leaves stayed healthy and glossy. A small drop of liquid fertilizer helped. I used a diluted houseplant feed, just one drop per cup of water. I added that on day 11. By day 14, the roots were two inches long and branched out a bit.
Then, I moved the cutting to soil. I used a small pot, about four inches wide, with drainage holes. I filled it with a chunky indoor mix. Perlite and coconut coir work best. I made a hole with a pencil, placed the rooted cutting in, and gently pressed the soil around the stem. I watered it lightly, just enough to settle the soil. I did not soak it. That would bring back the rot problem.
A Personal Failure Story: The Rot That Smelled Like Sour Grass
I have to tell you about my worst attempt. It was my second time trying soil propagation. I placed the cutting directly into a pot with wet soil, no water rooting first. I watered it every three days because I thought it needed moisture. The stem turned mushy at the base. I only noticed on day five when the top leaves drooped. I pulled the cutting out, and the stem was brown and soft. The smell was foul, like sour grass clippings. That moment taught me the hard truth. 90% of indoor plants die from overwatering, and propagation failures are almost always root rot. I switched to water rooting after that, and I never looked back.
The Role of Air Circulation in a Bedroom
Bedrooms can get stuffy. I have a small fan running at low speed near my plants. But I tilt it away from the cutting. Gentle air movement prevents mold and fungus on the water surface. Stagnant water can grow a slimy film. I saw this on day six during my second attempt. The film looked like a thin shiny layer. I scraped it off the surface with a toothpick. Since then, I keep a tiny gap in the window, about an inch, to let a light breeze in. That has stopped the film completely.
Temperature and Humidity: The Silent Killers
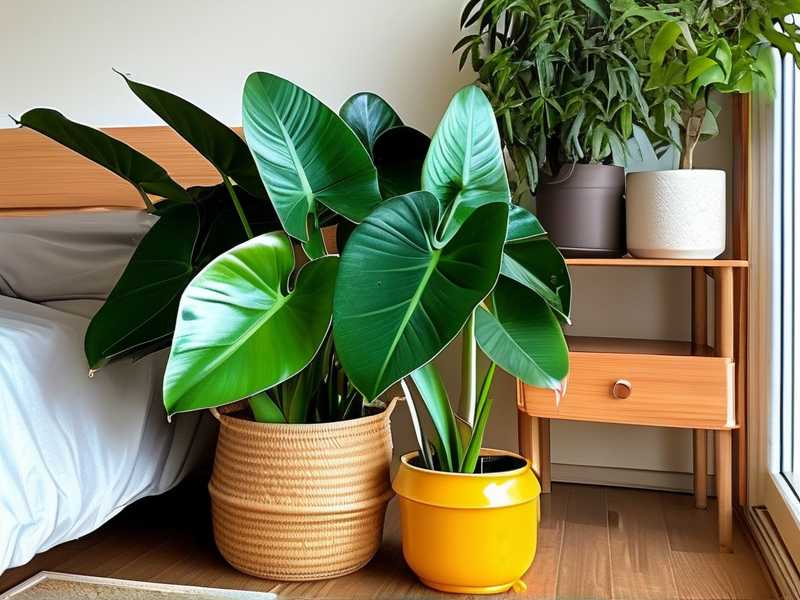
Aglaonema loves warmth. My bedroom sits around 21-24°C in the day. That is perfect. At night, if it drops below 15°C, growth stalls. I placed a small digital thermometer next to the jar. You would be surprised how much a bedroom cools down overnight. I run a tiny space heater for other reasons, and it keeps the corner warm. If you do not have that, move the jar to a warmer spot during the night. Just do not place it right next to a heater vent. The dry heat will crisp the leaves. The Royal Horticultural Society (RHS) suggests maintaining stable temperatures for tropical houseplants. You can check their guidance here. They emphasize consistency over extremes. Another good reference is the American Horticultural Society, which stresses matching the plant's native environment. Their site is here. These two sources have confirmed what I noticed through trial and error.
Why Water Rooting Beats Soil for Beginners
I genuinely believe water rooting is safer. You can see what is happening. You can spot rot early. With soil, you are blind. The American Horticultural Society points out that visibility reduces the risk of overwatering, and I agree. Once I see roots, I know the plant is alive. The other advantage is that water rooting produces roots adapted to moist conditions. Those roots transition to soil gradually if you keep the soil slightly damp for the first week. I did that carefully. I watered the new pot only when the top inch of soil felt dry. I touched it with my fingertip, no guesswork.
Do This: The "Set and Forget" Routine
My biggest tip is to set a weekly reminder. I check my cutting every Sunday. That is it. I look at the jar, check the water level, and rotate the jar half a turn for even light. If the water is cloudy, I replace half of it. If the roots are long enough, I move it to soil. That simple routine has saved me from my own nervous habits. I told my friend who is a beginner to do the same. She repotted her cutting after three weeks and now has a thriving mother plant. She also stopped touching the leaves every day, which was her compulsive habit.
Processing the Transition to Soil
When roots hit two inches, the transition is critical. I fill a pot with pre-moistened soil. I mean slightly damp, not wet. I create a hole and lower the roots in. Then I backfill and press gently. I water once, lightly. After that, I treat it like a normal Aglaonema. I wait for the top inch to dry before watering again. During the first week in soil, I keep it in the same spot on the dresser to minimize shock. Moving it to a different room would stress it. I keep the routine identical. This approach has a high success rate for me, roughly 4 out of 5 attempts now. The one failure was due to a pest issue on the mother plant, not the cutting itself.
Light Requirements After Potting Up
Once potted, my Aglaonema sits under a grow light for 6 hours per day in winter. In summer, natural filtered light suffices. Direct sun is still bad. I rotate the pot every week to ensure even leaf growth. One side tends to reach for the light. I rotate to keep it bushy. Without rotation, the plant leans and looks lopsided. I learned this after two months of growth. I now turn the pot a quarter turn each Sunday. The plant stays compact and full.
What I Noticed About Root Growth Rates
In winter, roots grow slower. In summer, faster. That might sound obvious, but it affects your patience. I started a cutting in December and saw no roots for 20 days. I thought I failed. Then, in early January, roots exploded. The key is warmth. My bedroom was a bit cold that month. Once I bumped the heat, the roots responded. So, if you propagate in winter, do not panic for the first three weeks. Give it warmth above 18°C. Also, do not feed the cutting until roots appear. Fertilizer before roots is useless and can encourage algae in the water.
Pests: A Bedroom-Specific Issue
My bedroom curtains sometimes hide spider mites. They attack stressed plants. My mother Aglaonema got a mild infestation once, and I nervously treated it with a diluted neem spray. That stressed the leaves. I recommend checking the mother plant thoroughly before you take a cutting. Look under the leaves for fine webbing or tiny specks. If you see any, treat the mother plant first and wait a week. Taking a cutting from a stressed plant only multiplies the issue. I lost one cutting this exact way. I see tiny white flecks on the underside of a leaf, ignored it, and the cutting wilted within five days.
My FAQ Section: Answers From Experience
Can I propagate a single leaf without a stem?
No. A leaf without a stem node will never grow a new plant. I tried it once. The leaf stayed green for a month, then rotted. You need a piece of stem with at least one node to get roots.
How long does the whole process take?
From cutting to potted plant, expect 4 to 6 weeks. The first two weeks are for rooting in water. Then, another two weeks for the plant to adjust to soil. I saw visible new leaf growth after 1 month in the pot.
Do I really need to use filtered water?
Tap water works, but let it sit 24 hours to let chlorine evaporate. Hard water can leave white spots on leaves. I use a jug that sits on my desk anyway, so it is no extra effort. Softened water has too much salt, so avoid that. Bottled spring water is fantastic but pricey. I just use dechlorinated tap.
A Final Word on Patience
I have killed six Aglaonema before I figured this out. The first ones drowned or baked. Now, I have three healthy plants from one mother. The whole trick is reducing your interference. Keep the cutting in a stable spot, keep the water clear but not constantly changed, and wait. I know it feels unnatural to do nothing. But trust me, this plant responds to neglect. I literally set a calendar reminder and close the app. The two-week observation period taught me more than any book. I will say it one more time. 90% of indoor plants die from overwatering. Do not be part of that statistic. Just let the cutting sit, and it will grow.





