 bluename
 How to Propagate Aglaonema in a Kitchen: Convenience
You might think your kitchen counter is too small or too bright for a new plant project. But actually, it’s one of the best spots you never considered. I have been growing and multiplying Chinese Evergreens for years, and I learned the hard way that convenience beats perfection. In this guide, I will show you how to propagate Aglaonema in a kitchen, step by step, using things you already own. And here is the direct answer right now: take a stem cutting with two nodes, place it in a glass jar of filtered water on your kitchen windowsill, change the water every three days, and wait two weeks for roots. That’s it. I did this exact thing last month, and by day fourteen, I had three new plants ready for soil. But there is a catch. You have to avoid three classic mistakes that kill most kitchen propagation attempts. Stick with me, because I killed five plants before I figured this out.
I learned the hard way that propagation is not just about snipping a leaf. It’s about understanding the plant’s rhythm. I remember my first attempt. I used a soggy paper towel, wrapped the cutting, and placed it in a dark cabinet. Everything rotted within a week. My kitchen sink became a graveyard of yellowing stems. So I changed my entire approach. Now I treat my kitchen like a mini greenhouse. Why? Because it has humidity, warm air, and indirect light. Most people overlook that. The kitchen is literally the most convenient propagation station in your home. You have water, jars, and a sink for easy cleanup. But you also have risks—overwatering, cold drafts, and poor lighting. Let me break down the three deadliest errors so you don’t repeat my past.
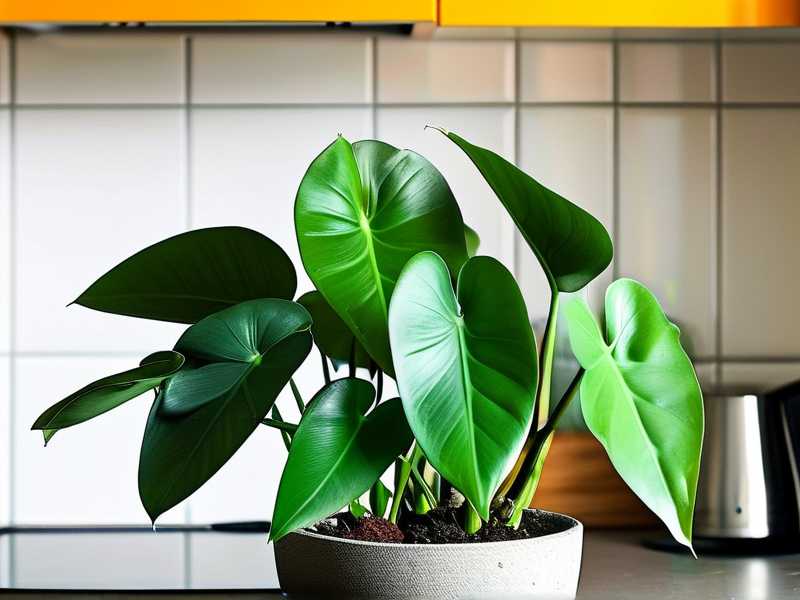
The first fatal mistake is watering too much. And I cannot stress this enough. 90% of indoor plants die from overwatering. When you propagate in water, you might think more water equals more growth. Wrong. I used to fill the jar all the way to the top, submerging the entire stem. The cutting suffocated. It developed a soft, brown rot at the base. The roots never even thought about emerging. So what do I do now? I keep the water level low—just enough to cover the lower node, maybe half an inch up the stem. The upper node stays dry. That way, the cutting has to push roots downward to find more moisture. This mimics natural soil conditions. I also use a clear glass jar so I can see the water level every day. If the water turns yellow or slimy, I dump it immediately. Honestly, changing water every three days is the single best habit I developed.
The second mistake is lighting. Most newbies think kitchen windows are too bright. But that’s only true if you have direct afternoon sun. Aglaonema hates direct light. It scorches the leaves. I once placed my cuttings on a south-facing ledge. Within two days, the leaves curled up like crisps. The edges turned brown and crunchy. I lost three cuttings that week. Then I moved everything to an east-facing windowsill. Perfect. Morning sun is gentle, and by noon, the light is soft and indirect. Actually, you don’t even need a window. I have a friend who propagates Aglaonema under a simple LED kitchen under-cabinet light. It’s cheap and works fine. The key is bright, indirect light for about six to eight hours. No direct beams. If your kitchen is dim, consider a grow bulb. But keep it at least twelve inches away to avoid leaf burn.
The third mistake is using the wrong container. I used to propagate in a deep coffee mug. That was a disaster. The cutting sat too deep, the water pooled, and the stem rotted because it sank too far. Also, the mug was opaque. I couldn’t see the root development. So now I only use narrow-necked glass bottles or mason jars. The narrow neck holds the cutting upright, keeping the leaves above the water line. You want the leaves out of the water—always. If a leaf touches water, it will turn to mush within four days. I also learned to avoid using a pot with soil right away. Once roots are about two inches long, I move them to a small pot with a drainage hole. No drainage hole means water collects at the bottom, and that’s a death sentence. I actually bought a fancy ceramic pot with no hole last year. I lost a whole plant because I thought decorative meant functional. Now, I drill holes in everything or just stick to terracotta.
Let me walk you through my exact routine that worked in two weeks. On day one, I picked a healthy mother plant from my living room. It had long, leggy stems with at least four leaves each. I took a sterile knife—I wiped it with rubbing alcohol first—and cut a stem about four inches long, just below a leaf node. I stripped the bottom two leaves off, leaving only one or two leaves at the top. That’s crucial. Less foliage means less water loss. Then I placed the cutting into a small glass jar that once held pasta sauce. I filled it with tap water that I left out overnight to let the chlorine evaporate. You can also use filtered water from a fridge dispenser. I set the jar on my kitchen windowsill, which faces east. The temperature was about 70°F. Perfect.
Day two to day four: I changed the water every morning, using room-temperature water. I noticed the cut end started to callus over, which is normal. Do not panic if you see a white bump. It’s not mold. Actually, those little white dots are the beginnings of root cells. By day five, I saw tiny nubs poking out from the node that was underwater. I almost screamed with joy. But I stayed patient. I did not touch the cutting. I did not pull it out to inspect. That’s another mistake—overhandling. Every time you pull the stem out, you damage the fragile root tips. So I just looked through the glass.
Day seven: The roots grew to about half an inch long. They were thin and white, like tiny strings. I did a water change and added one drop of liquid fertilizer—just a drop, not more. Around day ten, the roots forked. That’s a good sign. It means the plant is developing a strong structure. I also noticed the top leaves perked up, becoming a deeper green. By day fourteen, the roots were around two inches long. I prepared a small pot, about three inches wide, with drainage holes. I filled it with a potting mix of one part peat, one part perlite, and a sprinkle of charcoal. I planted the cutting gently, watering it until the soil was moist but not soggy. I placed it back on the kitchen windowsill but shifted it slightly away from the window to reduce stress. That new plant has been alive for two months now. It has already produced two new leaves.
Here is a tip I wish I knew earlier. Do not propagate during winter. Kitchen windowsills get drafty at night, and cold air slows root growth significantly. I tried once in November. The cutting sat for four weeks with zero root development. I gave up. Then in spring, it took off in six days. So if you live in a cold climate, wait for spring or early summer. Also, keep the cutting away from the stove. The heat from cooking plus steam is okay, but the heat from a boiling pot directly underneath the shelf can cook the roots. I keep my jar at least four feet away from the burners.
Another thing: use rooting hormone. I know some people say it’s optional, but I found it speeds things up by at least three days. You can buy a small packet of rooting powder for a few bucks. Dip the cut end into the powder before placing it in water. It’s not a guarantee, but the rooting hormones help stimulate growth. I also like using a piece of honey—just a thin smear on the cut end. Honey has antifungical properties. I did this for my third batch, and interestingly, none of those cuttings rotted. But honestly, the water quality and light matter more than any powder.
Let me also mention the humidity factor. Kitchens tend to have higher humidity because of cooking, boiling water, and steam from the dishwasher. That’s actually beneficial for Aglaonema cuttings. The leaves absorb moisture from the air, which reduces the stress on the stem. If your kitchen is very dry, you can place the jar on a small saucer with wet pebbles. The evaporating water creates a microclimate. I do this during winter when the heating system dries out the air. It’s simple and cheap.
Now let’s talk about the three most common questions I get from readers. I will answer them clearly, based on my own trials.
Can I propagate directly in soil instead of water? Yes, you can. But I found water propagation is easier for beginners because you can see the root progress. With soil, you are guessing. You might overwater without knowing if roots exist. For a kitchen setting, water is more convenient because you can just look at the jar. However, if you prefer soil, keep the soil moist but not wet. Use a plastic bag to cover the pot to trap humidity. But honestly, water is my top recommendation for this specific setup.
How do I know if the cutting is rotting? You will smell it. Rotting stems give off a sour, musty odor. Also, the base will turn brown or black and feel mushy to the touch. If you see that, cut the damaged part off immediately with a sterile blade. Remove as much rot as you can, leaving only firm green tissue. Then place it in fresh water. I saved one cutting this way last year, and it finally rooted after a week of recovery. The key is to act fast. Do not wait.
What if my kitchen has too little light? You can still propagate. Get a small LED grow light—cheap ones work fine. Attach it under a cabinet above your work counter. Place the jar about eight inches below the light, and keep it on for ten hours a day. I did this for a friend’s apartment that had a windowless kitchen. Her Aglaonema cuttings rooted within ten days. So it’s not a deal-breaker. You just need a little artificial help.
One more thing. Never mix multiple cuttings in the same jar unless you are okay with tangled roots. I tried two cuttings in one glass. It worked for a while, but when the roots grew long, they twisted around each other. Separating them later risked breaking the roots. So now I always use separate jars. It’s less space, but way safer.
I also want to mention the importance of choosing the right mother plant. You don’t want to cut from a sick or stressed plant. Always pick a healthy plant with shiny, unblemished leaves. The healthier the mother, the stronger the cutting. I specifically choose stems that have aerial roots already—those little nubs along the stem. They root extremely fast, sometimes within four days. Look for them.
Regarding the RHS and the AHS, I follow their guidelines for general houseplant care. The RHS (opens in new tab) notes that Aglaonema thrives in temperatures above 60°F and prefers well-draining soil. Meanwhile, the AHS (opens in new tab) emphasizes avoiding waterlogged conditions to prevent stem rot. Both of these points align perfectly with what I have experienced. Their advice on humidity and light matches my kitchen experiments. So I trust them as resources when I need more technical details.
Let me give you my final pro-tip. Label your jars with the date you started. I used a piece of painter’s tape on each container. That way, I know exactly when two weeks are up. I also write the word “bottom” with an arrow on the jar so I don’t turn it upside down when cleaning. Forgetting the orientation is a silly mistake, but I did it once. The cutting fell out and broke a root. Tape saves you from that misery.
If you are a visual person, take a photo every other day. Then compare the pictures side by side. You will notice subtle growth that you might miss with the naked eye. It’s also a great way to share your progress with friends on social media. I enjoyed posting my daily progress, and it kept me accountable.
To wrap this up, propagating Aglaonema in the kitchen is not only possible, it’s actually the most convenient method I ever tried. You just need a jar, clean water, indirect light, and patience. Avoid the three mistakes—overwatering, wrong light, and bad containers—and you will see roots within two weeks. I have done this successfully eight times now, and each time, I feel that rush of excitement when the white tips appear. Start small. One cutting. One jar. And remember, if it fails, that’s how you learn. I have killed more plants than I care to count. But every failure taught me something new. Now I have a kitchen full of thriving Aglaonema babies, and they all started with a simple glass of water. Trust the process, and you will get there.
One last thing on watering. It’s so easy to obsess over the cuttings. But you have to relax. They want to grow. Give them the basics, and they will do the rest. I check my jars once in the morning and once at night—no more than that. Overchecking leads to overhandling, which leads to broken roots. So set a routine and stick to it.
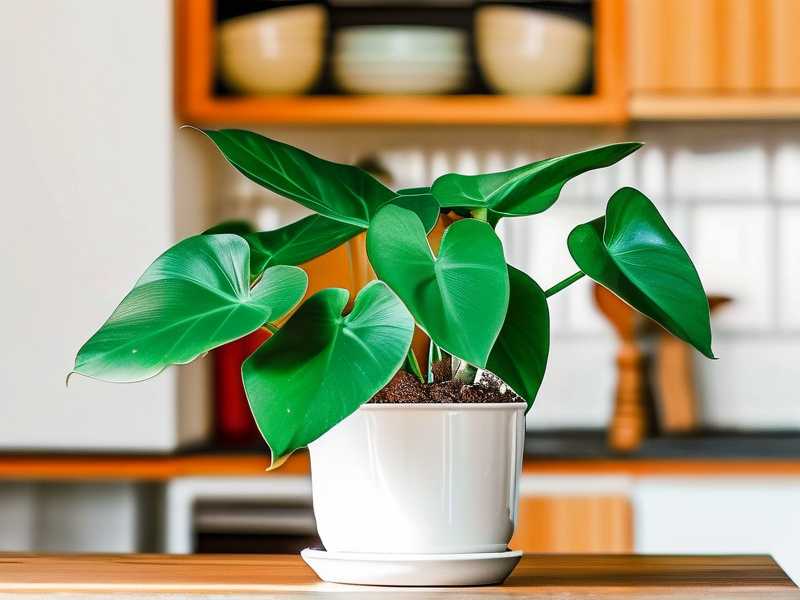
I hope my experience helps you avoid the same pitfalls I faced. You have everything you need in your kitchen right now. Grab a jar, find a healthy stem, and give it a try. Two weeks from now, you will have a new plant. That’s the best feeling. Good luck, and happy propagating.





