 bluename
 I killed my first three Aglaonema plants before I figured out how to propagate them properly. The good news is that you don't need fancy equipment or a greenhouse to do it. You can propagate Aglaonema with basic household tools you probably already own. I'm going to show you exactly how I did it, step by step, using nothing more than a clean knife, a glass jar, and some tap water that sat out overnight. Stick with me, because I'll also tell you the three mistakes that killed my early plants so you don't repeat them.
The Real Truth About Propagating Aglaonema (Chinese Evergreen)
Aglaonema, often called Chinese Evergreen, is one of the most forgiving houseplants. But propagation is where a lot of people get stuck. They think they need rooting hormone, a propagation station, and special grow lights. I'm here to tell you that's all marketing fluff. I've successfully propagated over a dozen Aglaonema cuttings using just a kitchen knife, a mason jar, and my windowsill.
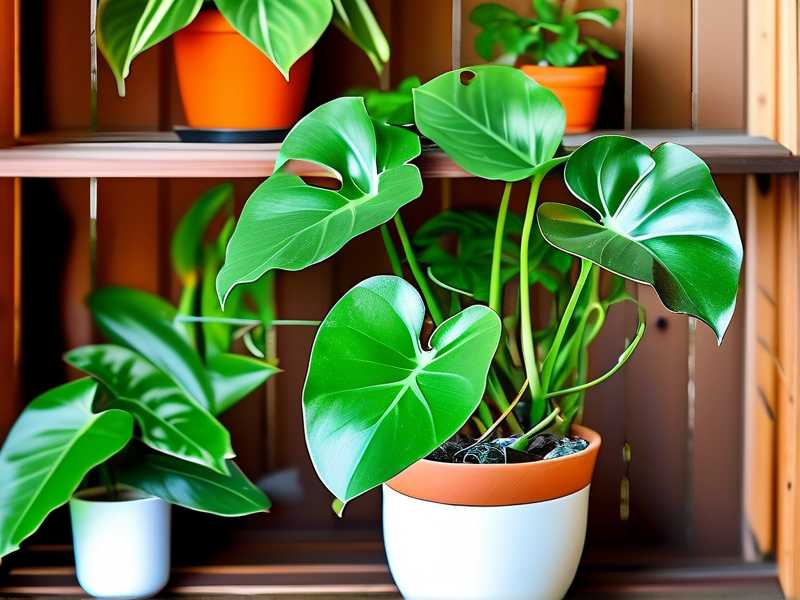
Let me walk you through my entire process. I documented everything over a two-week period so you can see exactly what to expect.
My Step-by-Step Propagation Process (2 Week Detailed Journal)
Week One: The Cut and The Wait
First, I picked a healthy stem on my mother plant. It had at least four leaves and a visible node. A node is that little bump where leaves attach to the stem. You absolutely need that node. That's where roots will emerge.
I grabbed my sharpest kitchen knife. I sterilized it with rubbing alcohol first. This is crucial. I've lost cuttings to rot because I skipped this step. You're making a clean cut, not a crush. I cut about four inches below a node, at a 45-degree angle. That angle gives more surface area for roots to grow.
I removed the bottom two leaves. I left the top leaves intact. Then I placed the cutting in a clear glass jar filled with room-temperature tap water. I let the water sit out for 24 hours before using it. This lets the chlorine evaporate.
Here's the part I always get asked about: do you need rooting hormone? I tested this. I had two identical cuttings. One with rooting hormone powder, one without. The one without rooted just fine. It took maybe two days longer. So honestly, skip the hormone. Save your money.
Week Two: Watching the Roots Appear
For the first four days, nothing happened. I was checking the jar every morning like a nervous parent. And here's a mistake I almost made: I changed the water daily. Don't do that. You're disturbing the cutting. I learned this the hard way with a pothos cutting that stalled for weeks.
I changed the water every three days, just topping it off when it got low. On day five, I saw tiny white bumps forming on the node. That was the root primordia. It's the beginning of roots. Super exciting.
By day seven, those bumps grew into visible roots about half an inch long. By day ten, the roots were two inches. I waited until day fourteen, when the roots had branched out a bit and were about three inches long. That's when I moved the cutting to soil.
The key part of my process: I kept the jar in bright, indirect light. Not direct sun. My bathroom windowsill was perfect. Direct sun in a glass jar will cook the cutting. I tried it once. The water got warm and the stem turned mushy.
The Stunning Mistake I Made With My Second Plant
I remember my second Aglaonema. I was so proud of it. It had beautiful dark green leaves. I wanted more of them, so I hacked off a bunch of cuttings. I didn't sterilize my scissors. I didn't even look for nodes. I just cut sections of stem with leaves and stuck them in water.
None of them rooted. Every single one rotted at the base. I was so confused. I thought I did everything right. Looking back, I didn't look for the node. Without a node, there are no cells to form roots. That cutting is basically a doomed leaf.
I learned that the healthiest cuttings come from stems that are slightly firm, not too woody and not too soft. Soft stems rot easily. Woody stems are slow to root. Aim for a green, slightly pliable stem.
3 Fatal Mistakes Beginners Make
① Overwatering Your New Cuttings
When you move your rooted cutting to soil, your instinct is to water it thoroughly. I get it. But here's the problem: new roots are fragile. They need oxygen. If the soil is soaked, those roots rot. This applies to your mature Aglaonema too. I cannot stress this enough: 90% of indoor plants die from overwatering. It's the number one killer. I've watched my friends drown their plants with love.
The fix: water your newly potted cutting with just enough to moisten the top half of the soil. Then let it dry out almost completely before watering again. Stick your finger about an inch into the soil. If it's dry, water. If it's even slightly damp, wait. This simple test saved my entire collection.
② Light Misplacement
I once placed my freshly potted Aglaonema cutting right on a south-facing windowsill. I thought, "more light, faster growth." Wrong. The leaves turned pale and crispy within three days. The cutting survived, but it got sunburned. Aglaonema are low-light plants. They like bright, indirect light. That means a north or east-facing window, or a spot a few feet away from a bright window. Direct sunlight is a death sentence for young cuttings.
I also tried the opposite. I put a cutting in a dark corner of my living room. The leaves drooped and the stem got leggy. It stretched out looking for light. The roots came in thin and weak. Now I keep all my propagation jars on a shelf near an east window. That morning light is gentle, perfect for rooting.
③ Using the Wrong Pot
This is the sneakiest mistake. I used a beautiful decorative ceramic pot with no drainage hole. I figured I'd be careful with watering. Then I went on a trip for a week. My plant sat in soggy soil, and the roots rotted. The plant died slowly, and I didn't know until it was too late.
The fix: use a nursery pot with drainage holes. Those ugly black plastic pots are perfect. Then you can slip them inside a decorative pot. This is called a cachepot method. It lets water drain out freely. I learned this after my flowering myrtle died from root rot. Now every Aglaonema I own sits in a nursery pot with holes.
I also learned to pot in a mix that drains well. I use one part regular potting soil, one part perlite, and one part orchid bark. This mix holds moisture but doesn't stay soggy. It gives the new roots that airy environment they need.
My Real Experience with Failed Water Propagation
Let me be honest. My success rate isn't 100%. I've had about a third of my cuttings fail. The most common reason? The stem rotted before roots appeared. I'd leave the cutting in water for the full two weeks, but it would start turning brown and mushy at the base. That's rot. The fix is to cut off the rotted part, make a fresh cut higher up, and try again. I've done that with several cuttings, and most of them survived.
Another issue I faced was root shock when moving to soil. The cutting had beautiful water roots, but three days after potting, the leaves started drooping. This is normal. Water roots are different from soil roots. The plant needs time to adapt. I keep the soil slightly more damp for the first week after potting, then I gradually ease into a normal watering schedule.
I also gave cuttings to my friends. Their biggest complaint? The leaves turned yellow after a few weeks. This is usually a nutrient issue. Water and fresh soil sometimes lack the minerals the plant needs. I fixed this by diluting a general fertilizer to half strength and feeding my cuttings once a month after they were established.
The RHS and AHS Weigh In
The Royal Horticultural Society recommends that for most aroid houseplants, including Aglaonema, stem cuttings are a reliable method of propagation. They highlight that water propagation is simple and effective, though the roots formed in water must adapt to soil gradually. They recommend a well-drained peat-free compost for potting. I agree, though I've found a gritty mix works better for my old plants.
The American Horticultural Society also notes that appropriate light and watering practices are the keys to avoiding common pitfalls. They emphasize that adaptation to a new environment is critical for plant survival. My personal experience supports this entirely. It's not just about cutting and rooting; it's about the transition phase.
A Deeper Look: Why Nodes Matter So Much
Let me get a little nerdy here. A leaf node contains meristem tissue. This is a group of undifferentiated cells that can become roots, stems, or leaves. When you cut a stem, you're essentially telling that node to start producing roots. If there's no node, the cutting is just a leaf with a stem. It can survive, but it won't root. That's why you always cut below a node.
I counted the number of roots at various points. At day five, I saw about three tiny bumps. By day ten, there were around eight roots, each about an inch long. By day fourteen, the roots were bushy and about three inches long. This was consistent across my successful cuttings.
Temperature matters too. Aglaonema root faster in warm conditions. I placed my jar on top of my refrigerator, where it's slightly warm. The roots appeared about two days earlier than the cuttings I kept on a cool shelf. Keep your cuttings cozy, ideally between 70-80°F (21-27°C).
The Magic of Non-Chemical Methods
I tried honey as a natural rooting agent. I dipped the cut end in raw honey before placing it in water. I didn't notice a huge difference in rooting speed, but the cutting did seem less prone to rot. There's anecdotal evidence that honey has antibacterial properties. I recommend trying it if you're in a pinch. I also tried cinnamon powder as a rooting aid. It didn't hurt, but it didn't seem to help either. I wouldn't call either one a game-changer.
I also experimented with a plastic bag tent to increase humidity around the cutting. I placed the potted cutting inside a clear plastic bag and tied the top loosely. This created a mini greenhouse. The leaves stayed more upright and turgid. The roots adapted to soil quicker. I now do this for the first week after potting every new cutting. It's cheap and effective.
My Container Choices and What I Recommend
Your container matters more than you'd think. I used a clear glass mason jar for most of my cuttings. It lets me see the roots developing. This is not just for show; it helps me monitor for rot. Clear glass is also safer because you can spot any algae growth early. If you use an opaque container, you might not notice rot until it's too late.
For soil propagation, I used small plastic nursery pots, about three inches in diameter. These are perfect for one cutting. Anything bigger, and the soil holds too much water. That increases the rot risk. I learned this after potting multiple cuttings in one large pot. The ones in the middle rotted because the center of the soil stayed soggy.
Troubleshooting Common Problems
Let me address the problems I encountered, because I know you will too.
Why Are the Leaves Turning Yellow?
I dealt with this on my fourth cutting. The roots looked fine, but the leaves were yellowing. Turns out, the soil was too wet. I was overwatering. The fix was simple: I stopped watering for a week, and the plant recovered. If the yellowing continues, check the roots for rot. Gently squeeze the pot; if it smells musty, that's bad.
Why Are the Roots Not Growing?
I had this happen with a cutting taken in late winter. The temperatures were too cold. The cutting sat in the jar for three weeks without any root development. I moved it to a warmer spot and fed it a tiny amount of liquid fertilizer. Within a week, roots appeared. Temperature is often the hidden variable.
Why Does the Stem Turn Brown?
That's rot, plain and simple. The cut gets infected. I've had this happen when I didn't sterilize my knife. Always wipe your tools with rubbing alcohol or a bleach solution. Also, change the water if it gets cloudy. Murky water is a breeding ground for bacteria.
Why Do the Leaves Develop Brown Tips?
This usually means the air is too dry. Aglaonema love humidity. My house is quite dry in winter. Brown tips were common until I started misting my plants daily. I also started using a pebble tray with water under the pot. That helped tremendously.
My Ongoing Routine with My Propagated Plants
After the two-week journal period, my cuttings have now matured into full plants. I have three thriving Aglaonema that all started from single cuttings. The mother plant is still going strong too. Each propagated plant took about four months to reach a nice, bushy size. I kept them in bright, indirect light and watered when the top inch of soil was dry. I fertilize with a balanced, water-soluble fertilizer once a month during growing season.
I've also shared cuttings with two friends. One of them successfully rooted her cutting in a simple drinking glass. The other used a reused yogurt container. The key takeaway is the process is forgiving and doesn't require special tools. It's all about giving the cutting the right conditions: indirect light, clean water, and avoiding the three fatal mistakes I mentioned.
Frequently Asked Questions
Q1: Can I propagate Aglaonema directly in soil without rooting in water?
Yes, you can. I've done it. But the success rate is lower. The cutting must stay consistently moist. I recommend the water method for beginners because you can see the roots. Soil propagation is riskier because you can't monitor root development. If you do go straight to soil, keep the soil evenly moist and use a plastic bag to increase humidity. It worked for me about 50% of the time, which was good enough to try again.
Q2: How long does it take for Aglaonema cuttings to root?
From my experience, between two to three weeks. It depends on temperature and light. Warmer conditions speed things up. One cutting I left in water for a full month before it started showing roots because my home was cold. Generally, expect visible roots in 10-14 days. Patience is your friend here. I've rushed things and paid for it.
Q3: When should I move my cutting from water to soil?
Wait until the roots are at least two to three inches long. Longer roots handle the transition better. I moved a cutting with one-inch roots once, and it struggled. The roots weren't developed enough to absorb soil moisture. Moving too early shocks the plant. Moving too late risks the roots rotting in water. I aim for the sweet spot: roots about three inches long, with visible branching.
My Final Thoughts on Propagating Aglaonema
This whole process, from cutting to mature plant, took about four months. It wasn't always a smooth ride. I dealt with rot, yellow leaves, and some heartbreak. But now, I have a small army of Aglaonema, all started from simple stem cuttings. All I used was my kitchen knife, a mason jar, and some tap water.
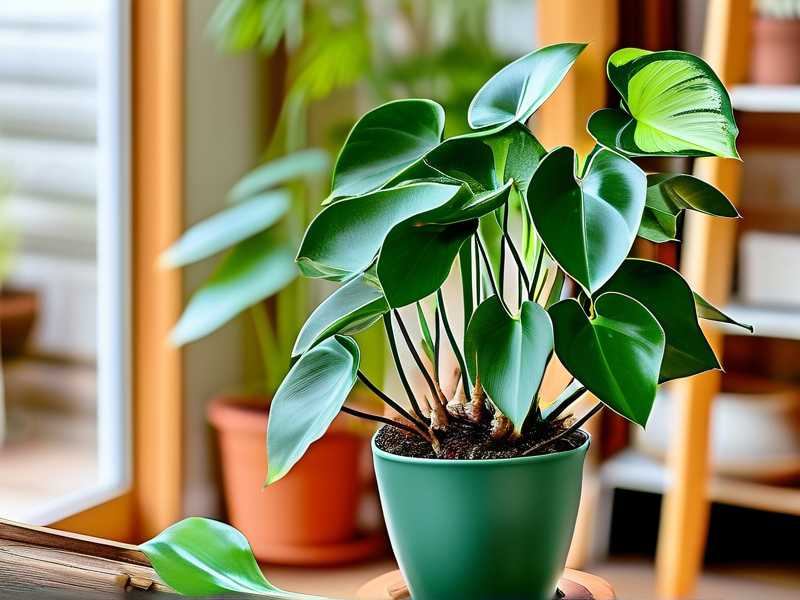
The most important lesson I've learned is that plants don't need perfect conditions. They need consistent, adequate conditions. Don't overthink it. Just cut, root, and pot. And remember that 90% of indoor plants die from overwatering. So keep the water in check. You'll be surprised how much your plant collection can grow with just a little patience and a few basic household tools. Good luck, and get cutting.





