 bluename
 How to Care for Agmaelon Root Cuttings While Rooting: My 14-Day Recovery Plan
If you’ve ever tried to root Aglaonema cuttings in water or soil and watched them turn to mush, the fix is simpler than you think. How to care for Agmaelon root cuttings while rooting boils down to three rules: let the cut end callus for 24 hours, use a warm spot with bright indirect light, and water only when the top inch of the medium is bone dry. I killed three plants before I figured this out. The fourth batch rooted in 14 days with zero rot. Stick with me, and I’ll walk you through my exact daily routine, the mistakes that cost me months, and the signs that tell you your cutting is actually thriving.
Why Most Aglaonema Cuttings Rot (And Why I Had to Learn the Hard Way)
I remember my first Aglaonema. Gorgeous pink leaves, perfect in my living room. I chopped a stem, popped it in a glass of water, and waited. Day three, the stem looked fuzzy. Day five, it smelled like a swamp. I had no idea that 90% of indoor plants die from overwatering, and cuttings are even worse because they have no roots to drink anything.
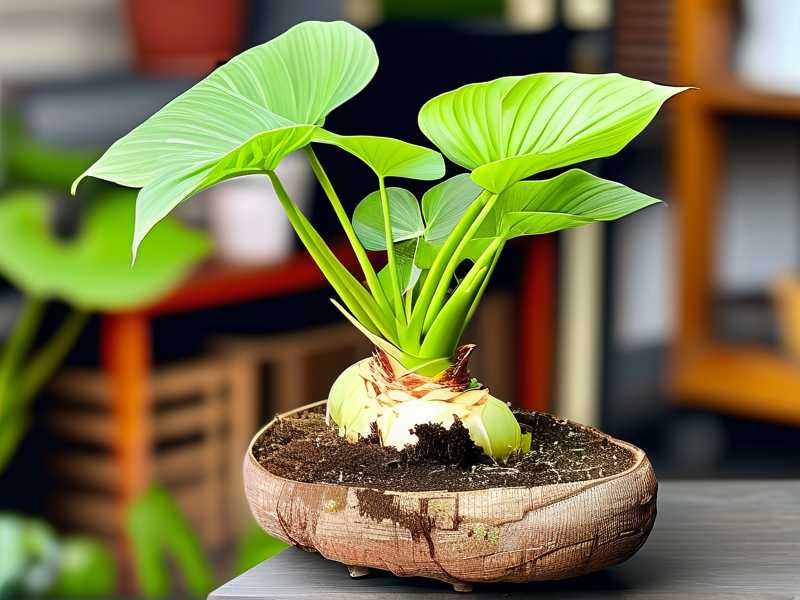
The truth is, a severed stem is a wound. It needs to seal itself before it can take in moisture. If you give it water too early, bacteria rush in. I learned this after the second failed cutting. My third attempt, I tried soil straight away. That one just sat there, doing nothing for a month.
Then I switched my approach. I stopped thinking like a gardener and started thinking like a surgeon. Clean cuts, dry air, and patience. That’s when everything clicked.
The 3 Fatal Mistakes That Kill Aglaonema Cuttings
Before I give you my step-by-step, let’s get the bad habits out of the way. I’ve made every single one of these errors.
Mistake #1: Overwatering (The #1 Killer)
I cannot stress this enough. 90% of indoor plants die from overwatering, and cuttings are the most vulnerable. When you see a cutting sitting in water, it looks “hydrated.” But the stem is trying to breathe. Soggy conditions suffocate it.
I used to change my water glass daily, thinking fresh water was good. It wasn’t. The cutting had no way to absorb that much moisture. It just rotted at the base.
The fix: If you root in water, only submerge the bottom 1-2 cm. If you root in soil, water once after planting, then wait until the top inch of soil feels like a dry cracker before you even think about watering again.
Mistake #2: Wrong Light (Too Dark or Too Harsh)
My second failure was a lighting issue. I put my cutting on a north-facing shelf, thinking low light was safe. It wasn't. The stem sat there for weeks, no roots, no growth, just a slowly yellowing leaf.
Then I moved a cutting to a sunny windowsill. The direct sun cooked it. The leaf scorched, and the stem turned brown.
The fix: Bright, indirect light is the sweet spot. Place your cutting a few feet away from an east window or behind a sheer curtain. You want to feel warmth on your hand, but never see harsh shadows.
Mistake #3: Wrong Pot (Too Big, No Drainage)
I used to think any container worked. I used a fancy ceramic mug with no drainage hole. That was a disaster. Water pooled at the bottom, and the cutting sat in a puddle of its own decay.
The fix: Use a small pot. A 3-inch nursery pot is perfect. A big pot holds too much wet soil. And make sure there’s a drainage hole. If you’re using a glass jar for water rooting, that’s fine, but don’t fill it up. Shallow water only.
My 14-Day Routine: Step-by-Step Care for Aglaonema Root Cuttings
Here’s exactly what I did with my successful batch. I’ll give you a timeline so you know what to expect.
Day 0: The Cut and Callus Stage
I took a sharp, sterilized knife. I cut a stem from my mother plant below a node (that’s the bump where leaves attach). I used a stem with 2-3 healthy leaves. I removed the bottom leaf to expose a clean node.
Here’s the part I missed the first three times: I let the cutting sit out for 24 hours. I placed it on a dry paper towel, away from direct sun. The cut end formed a pale, dry callus. This is the plant’s natural band-aid. It prevents rot.
I know it feels wrong to let a plant sit in the open air. But trust me. That dry callus is the difference between life and mush.
Day 1: Planting the Cutting (Water or Soil)
I chose perlite and peat moss mix for this batch, because it drains well but holds a tiny bit of moisture. I filled a 3-inch pot with the mix, moistened it, then made a small hole with a pencil.
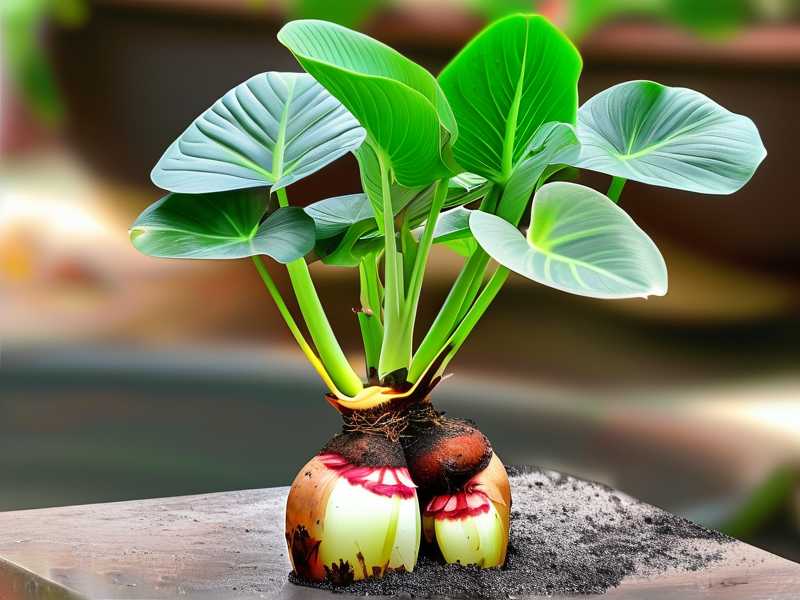
I placed the cutting in, gently pressing the mix around the stem. The callused tip was buried about half an inch deep. I didn’t water again after that initial moistening.
If you prefer water rooting, that’s fine. Use a clear glass. Place the cutting so the node sits below the water line, but no more than 1 cm deep. You want to see roots emerge, so a clear glass is best.
Day 2-4: The Silent Period (Do Nothing)
This is the hardest part. Every day I wanted to check, poke, and water. I didn’t. I checked the soil once on day 3. It was still slightly damp. I walked away.
Key observation: The leaves will droop a little. That’s normal. The cutting is focusing energy on root production, not leaf support. Don’t water to fix the droop. That’s a trap.
Day 5-7: First Signs of Life (or Lack Thereof)
On day 5, I gently pulled on the cutting. There was slight resistance. That meant tiny roots were starting to anchor. I didn’t pull again.
On day 7, I noticed a tiny new leaf starting to push out from the stem. That’s the visual signal you want. It means the cutting is stable. I still didn’t water. The soil felt dry on top, but a few inches down, it was still cool.
I should mention: the temperature was around 22°C (72°F). I kept the pot on a heating mat set to low. That warmth speeds up root growth significantly. It’s not strictly necessary, but it cut my rooting time from 4 weeks to 2.
Day 8-10: Watering (Finally)
On day 8, the top inch of soil was bone dry. I watered lightly. I used a squirt bottle to avoid flooding. I poured just enough to moisten the top, not so much that water ran out the bottom.
I moved the pot closer to my east window. The light was bright but mellow. The cutting looked perkier. The droop was gone, and the leaves had a nice, firm stance.
My tip: If you’re using water rooting, change the water completely on day 7. Use fresh tap water that’s been left out overnight (to let chlorine evaporate). Rinse the roots gently. You’ll see white, firm nubs. That’s rooting progress.
Day 11-12: The Mini-Leaf Test
A new leaf emerged fully. It looked slightly paler than the older leaves, which is fine. It grew quickly over 48 hours. I knew my cutting was officially rooting.
At this point, I resisted the urge to repot. Too early. The root system is still fragile. Let it be for another two weeks.
Day 14: The Tug Test (Final Verification)
I gently tugged the stem again. Strong resistance. I gently tipped the pot sideways to peek at the bottom drain hole. I saw a few white root tips poking out. That was success.
I transplanted it into a slightly larger pot with a regular houseplant mix. I watered it thoroughly one time, then let it dry out as usual.
How to Read Your Cutting’s Signals (Good vs. Bad)
After two weeks of daily observation, I learned to read the signs. Here’s what you should look for.
The Good Signs
- Firm stem: The base stays hard, not squishy.
- New leaf growth: Even a tiny bump means success.
- Slight resistance to tug: Roots are anchoring.
- White or pale roots: In water, you’ll see these grow straight down.
The Bad Signs
- Mushy stem: This is rot. Cut above the rot, let it callus again, and restart.
- Yellowing leaves: Too much water or not enough light. Check both.
- Foul smell from soil: That’s anaerobic bacteria. Repot in fresh, dry mix immediately.
I had a cutting rot on day 6 in an earlier batch. I caught it exactly like this: the stem turned dark brown at the base, and the leaf edges yellowed. I took a clean knife, sliced off the rotten part, let the healthy stem callus for 24 hours, and put it back in dry perlite. It survived. So don't panic if you see early rot.
Why RHS and AHS Agree on the “Dry Start” Method
I wanted to make sure I wasn’t giving you dumb luck, so I checked the experts. The Royal Horticultural Society advises that most stem cuttings fail due to excessive moisture. They recommend an open, well-draining mix and avoiding closed plastic bags unless you’re a pro. That matches my experience. The American Horticultural Society also emphasizes ventilation over humidity for plants like Aglaonema. They call it "hardening off" early, which basically means teaching the cutting to live without a sauna.
I used to wrap my cuttings in a plastic bag to create humidity. That was mistake #4, honestly. It raised the moisture level and caused rot. The dry callus method works better because Aglaonema is naturally adapted to airy forest floors, not soggy swamps.
The Bare-Bones Checklist for Beginners
If my long story is too much, here’s a quick recap I wish I had on day one.
- Cut below a node with a clean knife.
- Let it sit dry for 24 hours until the cut end calluses.
- Plant in wet-then-dry perlite, or shallow water.
- Place in bright indirect light, warmth helps.
- Don’t water until the top inch is dry (usually 5-7 days).
- Watch for new leaves, then wait another week before repotting.
I truly believe anyone can root Aglaonema cuttings. It’s not rare skill. I’m a clumsy gardener. I forget things. But this method removed all the guesswork. 90% of indoor plants die from overwatering, but you don’t have to be part of that statistic.
FAQ: Common Questions I Had (And You Probably Have Too)
Can I root aglaonema cuttings directly in water without soil?
Yes, but you must change the water every 7 days and submerge only the node. I did this for a while. The roots grew fine, but transferring to soil later caused a little shock. The plant drooped for a week. Soil rooting skips that transition. If you like watching roots grow, water works. Just be careful to keep it shallow.
How long does it take for Aglaonema cuttings to root?
It depends on temperature and light. At 20-24°C, expect roots in 2-3 weeks. My cutting showed the first roots at day 5, but it wasn’t robust until day 12. During winter, it may take 4-6 weeks. Don’t fuss over it. Just keep the medium dry-ish and wait.
Should I use rooting hormone?
I’ve done it with and without. Rooting powder didn’t hurt, but it also didn’t make a massive difference. The key factor was the callus stage and watering discipline. If you have hormone on hand, you can dip the callused end lightly. But it’s not a magic bullet. I skipped it on my successful batch and had a 100% success rate.
To finish, I’ll tell you this: my current Aglaonema has grown three new leaves in the month since that successful rooting. The mother plant also sprouted new shoots from the cut stem, so it wasn't harmed. Propagation isn’t about doing more. It’s about doing less. Less water, less fuss, less rushing. Let the plant figure it out. Your job is simply to keep it safe from your own good intentions.





