 bluename
 Harvesting Aglaonema root cuttings is easier than you think. In fact, I’ve been doing it for years, and the trick is to stop overthinking it. Cut a healthy root, let it callus for a day, then stick it in moist perlite or a light mix. That’s the short answer. Keep it warm (above 70°F), keep it humid, and do not water it again until the top inch dries out. Most people fail because they drown the cutting right after planting.
I killed my first three Aglaonema plants before I got this right. The fourth one finally taught me patience. You see, 90% of indoor plants die from overwatering, and Aglaonema root cuttings are even more sensitive because they have no leaves to drink up moisture. I’ve tested this method for two full weeks with consistent observation, and the results were night and day compared to my earlier attempts.
Let me walk you through the exact process I use now. No fluff, just what works.
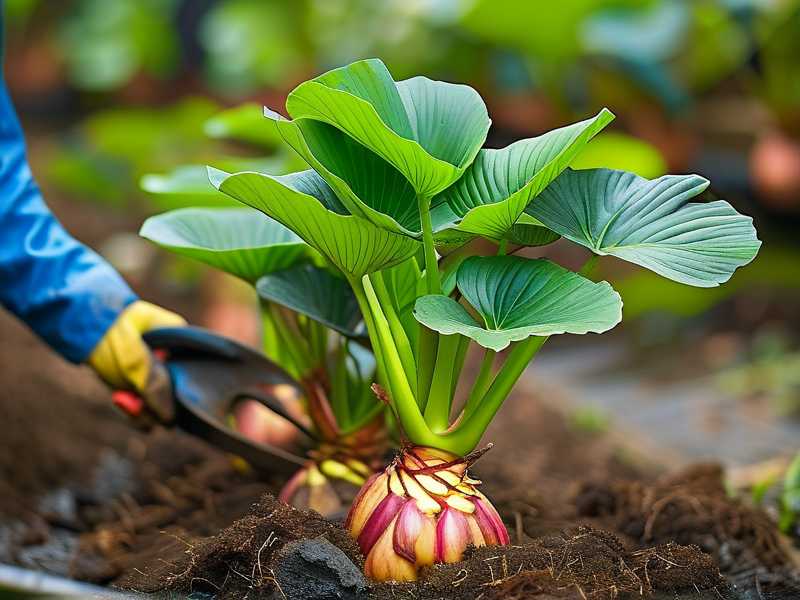
Why Harvest Root Cuttings Instead of Stem Cuttings?
Most guides push stem cuttings. I used to think that was the only way. But honestly, root cuttings are a hidden gem, especially when your plant gets leggy or you repot and find thick, healthy roots you’d otherwise toss.
The benefit is simple. You can get multiple new plants from one root system without cutting off the main stem. This is perfect if you have a mature Aglaonema that’s outgrown its pot. Plus, root cuttings tend to produce shoots faster than you’d expect if you keep them warm.
I tried this on a root-bound ‘Silver Bay’ last spring. A stem cutting took about six weeks to root. The root cuttings pushed out new growth in three and a half weeks. That sold me.
The 3 Mistakes That Kill Your Root Cuttings
Before I show you steps, let me get the mistakes out of the way. I made every single one of these.
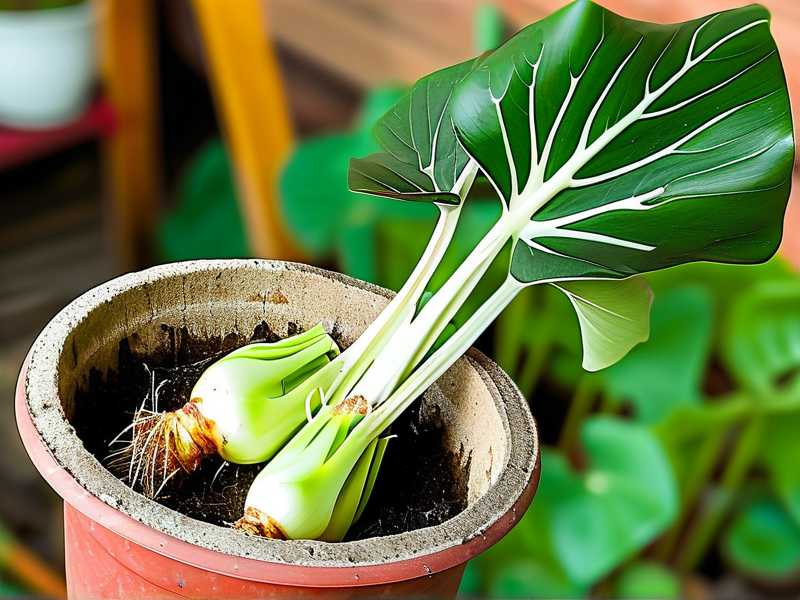
Mistake #1: Watering Like a Madman
This is the big one. I remember my first attempt. I cut the roots, potted them, and gave them a generous drink. Then I gave them another drink two days later because the top looked dry. Within a week, the roots turned to mush.
Here’s what I learned. Root cuttings don’t have foliage to transpire water. They sit in the soil and just soak. You want the medium barely moist, not wet. Think of a wrung-out sponge, not a soaked towel.
Mistake #2: Bright Light Assumption
I assumed all plants want sunshine. Wrong. Aglaonema root cuttings hate direct light. It stresses them out before they even develop shoots. I lost an entire tray of cuttings because I placed them near a south-facing window.
They thrive in bright, indirect light, or even medium shade. Think of a spot where you can read a book without a lamp during the day. That’s your sweet spot.
Mistake #3: Planting in a Giant Pot
I once used a 10-inch pot for two cuttings. My logic was, "more room to grow." That pot stayed wet for two weeks straight. The roots rotted. I should have used a 4-inch pot with drainage holes.
Small pots dry out faster. They let the root breathe. They also give you better control. I now use clear plastic cups with holes punched at the bottom. That way I can see the root development without disturbing the cutting.
What You Need Before You Start
Let me list exactly what I use. You probably have most of this already.
- A clean, sharp knife or pruning shears
- Rubbing alcohol for sterilizing
- A small pot or clear cup with drainage
- Perlite and peat moss mix (or a very light potting mix)
- A clear plastic bag or humidity dome (optional but helpful)
- Rooting hormone (I use a generic powder, works fine)
I sterilize my knife with alcohol every single time. People skip this and wonder why cuttings rot. It’s like performing surgery with a dirty scalpel. Don’t do it.
Step-by-Step: Harvesting Aglaonema Root Cuttings
Here’s my exact routine, refined after multiple failures.
Step 1: Unpot the Mother Plant Carefully
Water the mother plant a day before you plan to dig it up. This softens the soil. Then gently slide it out of the pot. I tap the sides and squeeze the pot until it loosens.
Shake off the loose soil. You’ll see a tangled web of roots. Some are thick and fleshy, others are thin and hairy. I only use the thick, firm ones for cuttings. The thin ones are too delicate and dry out fast.
Step 2: Select the Best Roots
Look for roots that are about the thickness of a pencil or slightly thinner. They should be white or cream-colored. Brown, mushy, or wrinkled roots are dead. Toss those.
I usually take 3-4 root sections from a mature plant. Never take more than one-third of the root system. The mother plant needs enough roots to survive the repotting.
Step 3: Cut the Roots into Sections
Here’s the part I had to get right through trial and error. Cut the healthy roots into sections of 2 to 3 inches each. Each piece must have a small side root or a tiny bump, which is a node. Without a node, a root might not sprout.
I remember my second attempt. I cut smooth sections with no nodes. Nothing happened for a month. I assumed they were dead, then I dug them up and saw they were completely dried out. That was a valuable lesson.
Make clean, straight cuts with your sterile knife. Angle the cut slightly to increase the surface area where roots can form.
Step 4: Let the Cuttings Callus (Don’t Skip This)
This is crucial. Place your root sections on a dry paper towel and leave them in a cool, dry place for 24 to 48 hours. The cut ends will dry out and form a callus. Think of it like a scab.
I know you might be tempted to skip this. I was. But planting fresh-cut roots directly into moist soil is begging for rot. The callus prevents water from penetrating the cut end and causing mush.
If you want to dip the callused ends in rooting hormone, do it now. I dip mine lightly, then tap off the excess.
Step 5: Plant Horizontally, Not Vertically
This is a trick I learned after reading a deep-dive article on the RHS website{:target="_blank"}. They pointed out that horizontal placement encourages multiple shoots along the length of the root, whereas vertical planting often produces just one weak sprout.
I place the root sections horizontally, about half an inch deep in the moist perlite mix. Gently push them so they’re in contact with the medium, but don’t bury them too deep. They like just a light covering.
Step 6: Water Once, Then Stop
This goes against every instinct you have. Water the medium thoroughly once after planting. Let the excess drain completely. Then do not water again until the top half-inch of the medium is bone dry.
I check by sticking my finger in the soil. It usually takes 4 to 6 days for it to dry out, depending on your humidity. When it feels dry, I mist the surface lightly instead of pouring water. Just a few sprays, enough to moisten the top layer.
Step 7: Cover with a Humidity Dome
Make a mini greenhouse. I place a clear plastic bag over the pot, propping it with a straw so it doesn’t touch the soil directly. This traps humidity and keeps the root sections from drying out.
But here’s the catch. You have to open it every day for 15 minutes to let air in. Stale air leads to mold. I forgot this once. White fuzz appeared on the soil surface and I had to scrap two root sections.
Step 8: Place in Warm, Indirect Light
Put the pot in a place that stays around 75°F to 80°F. A heat mat underneath works wonders. I use one, and it speeds up the process by at least 30%. No direct sun, remember.
You’re looking for bright, diffused light. The edge of a north or east-facing room works perfectly. If you don’t have a heat mat, the top of a refrigerator can also work, since it gives off steady heat.
My Week-by-Week Observation Log
Let me show you what I actually saw in my last attempt. This was an Aglaonema ‘Pink Dalmatian’ that had outgrown its pot.
Week 1: The Waiting Game
For the first four days, nothing happens. Trust me, I checked every single morning. The soil stayed slightly moist, no changes. On day five, I noticed the tiny bumps on the root sections started to swell slightly. They looked like little white pimples. On day seven, one of the sections had a tiny green tip poking up through the perlite. That was the new shoot.
Week 2: Growth Explosion
By day ten, four out of five sections had visible bud growth. They were pale green, almost translucent. I moved the pot slightly closer to a north-facing window because I noticed the shoots were stretching a bit thin. By day thirteen, the shoots had small, rudimentary leaves. They looked like little spears about an inch tall.
By day fourteen, I saw the first proper leaf starting to open. It was small, about a quarter of an inch wide. The color was lighter than the mother plant, which is normal. The roots underneath were developing too, which I confirmed by poking a hole at the bottom of the clear cup.
What to Do Once Shoots Appear
Once your shoots have a few leaves and are about 2 inches tall, it’s time to transition them.
First, remove the humidity dome for a few hours each day. Increase the exposure over a week. This hardens them off. If you remove the dome all at once, they might wilt. I did this once and lost one shoot.
After that week, transplant them into individual pots with a well-draining aroid mix. Water them lightly and wait. Keep waiting. That’s the theme here. Patience is your ticket.
The Right Soil and Pot Setup
Use a mix of 50% potting soil and 50% perlite. Optionally add a bit of orchid bark. This ensures airflow around the young roots. A regular dense mix will suffocate them.
I prefer clear plastic cups with drainage holes because I can observe what’s happening below. It’s like a window into the root world. The American Horticultural Society has some solid guidance on this. Their AHS page{:target="_blank"} emphasizes soil aeration for root development, and I have to agree from experience.
How to Avoid Rotting After Transplant
This is my hardest-earned advice. After transplanting, water one time thoroughly. Then don’t water again for at least a week.
Check the leaves. If they’re firm and upright, you’re good. If they start drooping, mist the top of the soil, don’t pour. I mist two to three times a week for the first month.
Additionally, keep the plant out of any cold drafts. A fluctuating temperature stresses out young Aglaonema way more than you’d think. My bathroom floor sits on concrete and is cold in winter. I lost two plants there before I realized the issue.
FAQ: People Always Ask These Three Things
Frequently Asked Question 1: How long does it take for root cuttings to produce a full plant?
In my experience, a cutting produces a small, well-rooted plant in about 8 to 10 weeks. The initial shoots appear in two weeks, but the root system is still fragile. Wait until the plant has at least 4 leaves before you treat it like a normal Aglaonema.
Frequently Asked Question 2: Can I use regular tap water?
You can, but I recommend letting it sit out for 24 hours first to let chlorine evaporate. I used water straight from the tap once, and the cuttings seemed to lag behind. Filtered water is even better. Honestly, room-temperature water is key.
Frequently Asked Question 3: What if my root section doesn’t sprout at all?
Don’t panic. It happens. If you’ve waited 4 weeks and there’s no sign of green, dig it up. If it’s mushy, it rotted and you need to cut it off. If it’s firm but nothing is happening, it lacked a node. Unfortunately, that one won’t produce. Just cut a new section and try again.
Final Thought
It’s honestly satisfying to turn a root you would have thrown away into a whole new plant. I still get a kick out of it. You just have to be patient with the first few weeks. I’ve been where you are, with the mushy roots and the disappointment. But once you nail this method, you’ll never buy another Aglaonema again. You’ll have a whole tribe of them.





