 bluename
 How to Fix Aglaonema Shock From Temperature Change: A Plant Parent’s Recovery Diary
I’ll admit it—I almost lost my favorite Chinese Evergreen, a stunning Aglaonema ‘Red Siam’, to a simple mistake. One chilly autumn evening, I left a window open near its usual spot. Overnight, a draft of cold air, a drastic temperature change, swept through. By morning, my once-perky plant was a sad sight: leaves were drooping, several had developed unsightly yellow patches, and the overall posture screamed distress. This was textbook Aglaonema shock from temperature change. If you’re here, you’ve likely seen similar signs—the sudden leaf drop, the wilting, the discoloration—after moving your plant, bringing it home, or during seasonal shifts. It’s a heart-sinking moment for any plant lover. But don’t panic. Over the next two weeks, I documented my exact recovery process, the mistakes I made, and how my Aglaonema slowly came back to life. This is my hands-on guide on how to treat temperature shock in Aglaonema plants.
Understanding Why Your Aglaonema Is in Shock
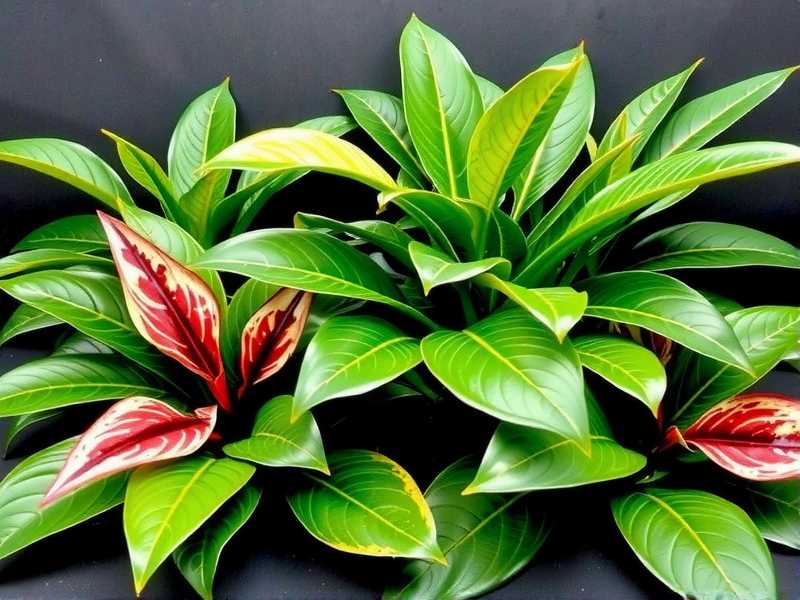
Aglaonemas, like many tropical houseplants, thrive in consistent, warm environments. The Royal Horticultural Society (RHS) notes that these plants are particularly sensitive to temperatures below 60°F (15°C). A sudden drop or even a significant spike disrupts their cellular processes. Think of it as a physiological shock; the plant’s water uptake and nutrient flow get interrupted, leading to the visible symptoms we see. It’s not just about cold. A rapid move from a shaded spot to a hot, sunny window can cause similar thermal stress in Chinese Evergreens. Recognizing this is the first step toward effective help.
My 14-Day Aglaonema Recovery Protocol: Step-by-Step
Day 1-3: The Immediate Triage and Assessment
My first instinct was to move it—quickly. I relocated the plant to a “plant ICU” zone: a warm room with a stable temperature between 70-75°F (21-24°C), completely away from drafts, heating vents, or air conditioning units. Light was bright but completely indirect. A common mistake is to fertilize or repot a stressed plant. The American Horticultural Society (AHA) advises against adding fertilizer during stress periods, as roots cannot absorb nutrients and salts can build up, causing further damage. I resisted both.
I then performed a thorough check. Soil moisture was okay, so I held off on watering. Overwatering a shocked plant with compromised roots is a fast track to rot. I gently trimmed only the leaves that were more than 50% yellow or crispy with sterilized scissors. Removing all damaged foliage at once would have added more stress. The plant looked bare, but this allowed it to focus energy on recovery.
Day 4-7: Stabilizing the Environment and Monitoring
Consistency became my mantra. I used a simple digital thermometer/hygrometer to monitor the area. The goal was to eliminate any sudden temperature fluctuations for houseplants. I also increased ambient humidity slightly by placing the pot on a pebble tray with water, as dry air adds another layer of stress.
By Day 5, I noticed the drooping had stopped. No new yellowing appeared. This was a crucial sign that the initial shock had been halted. However, the plant still looked dormant and unhappy. Here was my first “pitfall”: I almost increased watering, thinking it needed a boost. I checked the soil deeply—it was still moist. I waited.
Day 8-14: The Slow Road to Recovery and New Growth
Patience is the hardest part. Around Day 10, I performed the first careful watering since the shock, using lukewarm water (cold water can shock the roots again). I watered thoroughly until it drained from the bottom, then let the top inch of soil dry out before even thinking about water again.
The most rewarding moment came on Day 12. Upon close inspection, I spotted a tiny, tightly furled new leaf emerging from the base. This was the definitive signal that the plant had overcome the shock and was redirecting energy to growth. I continued the stable care routine. By the end of Week 2, the remaining healthy leaves had firmed up and regained their glossy sheen. The plant was no longer in crisis mode but in a clear recovery phase.
Critical Pitfalls I Encountered and How I Solved Them
- The Overwatering Temptation: Seeing a wilted plant, I desperately wanted to water it. This is dangerous. Shocked roots may not absorb water, leaving the soil soggy and causing root rot. My solution was to rely on a moisture meter or the finger test. I only watered when the top 1-2 inches of soil were dry.
- The “More Light” Fallacy: I initially thought more sunlight would warm and energize it. Wrong. Direct sun on a stressed Aglaonema increases transpiration and scorches vulnerable leaves. I corrected this by ensuring only bright, filtered light.
- Impatience with the Ugly Phase: I wanted to cut off all damaged leaves immediately. Removing too many at once robs the plant of its ability to photosynthesize. I adopted a staggered approach, removing only the worst leaves upfront and waiting until the plant was actively growing again to prune the rest.
How to Prevent Future Temperature Shock Episodes
Prevention is always simpler than cure. Now, I am meticulous about managing Aglaonema environmental stress. I keep them away from drafty windows and doors, especially in winter. When bringing new plants home or moving them seasonally, I acclimate them gradually over a week. I also use insulating curtains on cold windows and ensure they aren’t placed next to radiators or fireplaces, which create hot, dry microclimates.
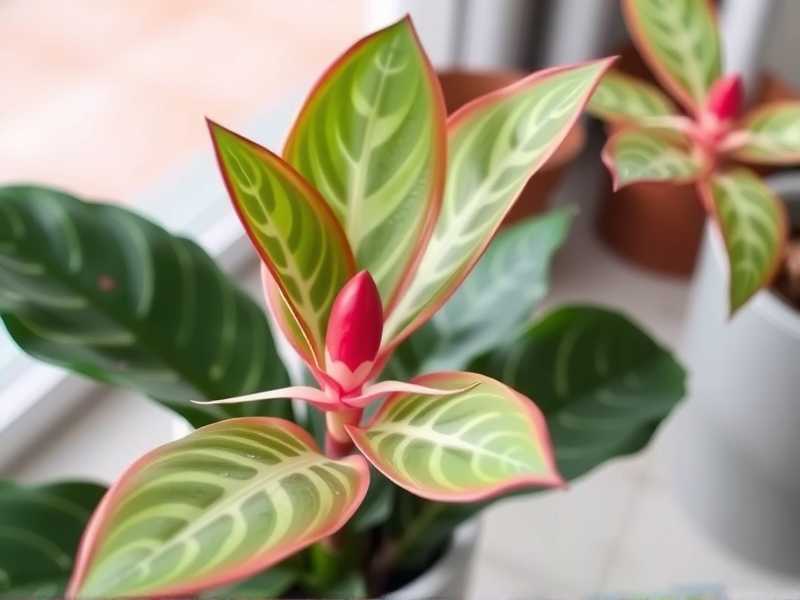
Will all the yellow leaves from temperature shock turn green again? No, they will not. Once a leaf has yellowed or developed necrotic (dead) spots due to the shock, that tissue is permanently damaged. The best course is to trim these leaves away once the plant is stable, as it allows the plant to focus its resources on pushing out new, healthy growth.
How long does it take for an Aglaonema to recover fully? You may see stabilization (no further decline) within 1-2 weeks, as I did. However, a full recovery, where the plant resumes its normal growth rate and fills out, can take a full growing season. The key is to look for positive signs like new leaf sprouts, which indicate the turnaround has begun.
Can a plant recover from severe temperature shock on its own? It might survive, but your intervention drastically increases its chances. A plant left in a draft or in fluctuating temperatures will continue to decline. By providing immediate stable conditions, you remove the source of stress and give the plant the essential support it needs to marshal its own healing resources.
Watching my Aglaonema bounce back was a lesson in observant, patient plant care. Fixing Aglaonema shock from temperature change isn’t about a single magic trick; it’s about providing a consistent, draft-free, and warm environment while resisting the urge to over-care. The plant has an incredible will to live. By acting quickly to remove the stressor, stabilizing its core environment, and avoiding common missteps like overwatering, you give it the best possible platform to recover. Those first new leaves are a truly rewarding sight.





