 bluename
 How to Fix Aglaonema Shock From Light Change: A Plant Parent’s Recovery Diary
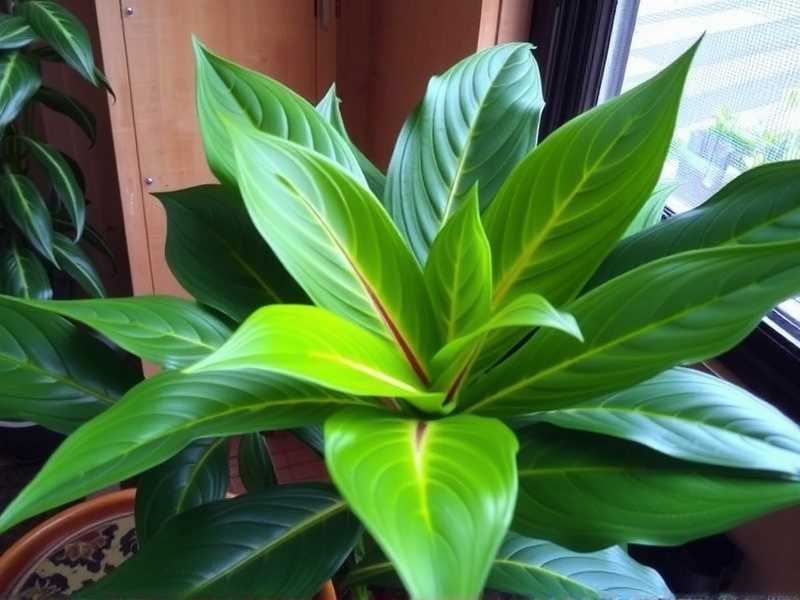
I’ll admit it—I almost lost my favorite Aglaonema ‘Silver Bay’ to a simple, well-intentioned move. I thought I was giving it a promotion, shifting it from a decent north-facing room to a bright spot by my sun-drenched east window. Within days, my lush, vibrant plant was telling a tragic story: leaves were curling inwards as if trying to hide, several developed pale, scorched patches, and the overall growth just seemed to stall in shock. If you’re here, you’ve likely seen similar signs. Your Aglaonema, once thriving, is now protesting a change in its lighting conditions. This is Aglaonema shock from light change, a stressful transition that disrupts its delicate balance. But don’t panic. Over the next sections, I’ll walk you through the exact, step-by-step recovery process I used, based on both hands-on trial and error and trusted horticultural principles, to nurse my plant back to health over a critical two-week period.
Understanding Why Your Aglaonema Goes Into Shock
First, it’s crucial to understand this isn’t just about “too much sun.” Aglaonema light stress is a systemic shock. These plants, native to the forest floors of tropical Asia, are adapted to consistent, dappled, indirect light. Their leaf cells and photosynthetic machinery are calibrated for a specific intensity. A sudden shift—whether to significantly brighter or darker conditions—forces a frantic physiological recalibration.
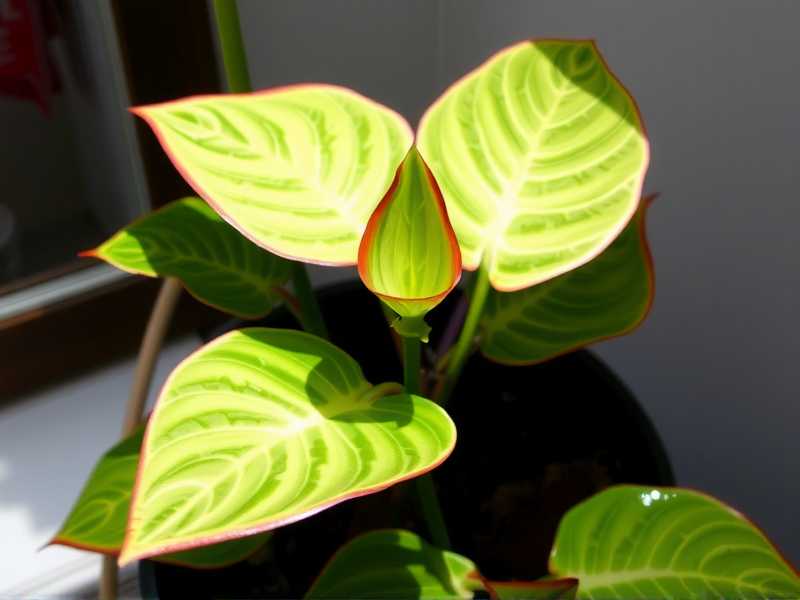
Think of it like this: moving an Aglaonema abruptly from low light to high light is akin to sending someone who’s lived in a dimly lit room directly to a sunny beach without sunscreen. The plant’s existing leaves cannot produce enough protective pigments (like anthocyanins) quickly enough, leading to chlorophyll breakdown and visible bleaching or burn. Conversely, moving from high to low light shocks the plant because it now has more leaf tissue than its new, reduced light energy can support, potentially leading to yellowing and leaf drop. The Royal Horticultural Society (RHS) notes that abrupt environmental changes are a leading cause of stress in foliage plants, undermining their natural resilience.
My Step-by-Step Rescue Protocol for Light Transition Shock
The moment I realized my mistake, I initiated a rescue plan. This wasn’t an overnight fix; it was a careful, two-week intensive care routine focused on stabilization and support.
Step 1: The Immediate Retreat – Reversing the Light Change
My first action was the most obvious: I moved the plant back. But not all the way to its original dark corner. I placed it in a location with bright, absolutely indirect light—a spot about 8 feet back from that same east window, where the morning sun never directly touches the leaves. This provided ample brightness without the damaging direct rays. The goal here is to find a stable “hospital zone.” If your shock came from moving to a darker spot, gradually increase light by using a sheer curtain or moving it incrementally closer to a light source over several days, not hours.
Step 2: The Thorough Health Assessment
Under its stable new light, I conducted a full inspection. I gently felt the soil (was it bone dry from increased transpiration or soggy from a panic-watering?). I examined every leaf, front and back, for pests that might exploit its weakened state. I noted which leaves were too far gone—those with crispy, brown, papery sections covering over 50% of the leaf. This assessment is vital for triage. You must identify and treat transplant shock symptoms accurately before applying remedies.
Step 3: Strategic Pruning and Clean-Up
Here’s where I made my first mistake initially: I was too sentimental. I left severely burned leaves attached, hoping they might recover. They didn’t. They continued to drain the plant’s energy. After consulting resources from the American Horticultural Society (AHS), which emphasizes plant energy conservation, I sterilized a pair of scissors and carefully removed only the most severely damaged leaves at the base of their stems. For leaves with minor tip burn or small pale spots, I left them intact. The plant could still use their functional green parts for photosynthesis. This pruning redirected energy to new growth and remaining healthy foliage.
Step 4: Optimizing Water and Humidity (The Critical Balance)
Watering becomes a high-stakes game during shock. The plant’s water uptake is impaired because its root system is stressed and its leaves may be damaged. I abandoned any fixed schedule. Instead, I used the finger test—watering only when the top 1.5 inches of soil was dry. I ensured the pot had excellent drainage and that I never let it sit in a saucer of water.
Crucially, I boosted humidity. I placed the pot on a large, water-filled pebble tray, ensuring the pot’s base was above the water line. I also grouped it with my other humidity-loving plants. This created a supportive microclimate, reducing moisture loss from the stressed leaves—a key tactic for recovering Aglaonema after moving.
Step 5: Holding Off on Fertilizer
This is non-negotiable. A shocked plant’s roots are in no state to absorb nutrients from fertilizer. Applying it now is like offering a full meal to someone with a severe stomach ache—it will cause more harm, potentially leading to root burn and compounding the stress. I committed to no fertilizer for at least 6-8 weeks, until I saw clear signs of active, healthy new growth.
The Two-Week Recovery Timeline: What I Observed
- Days 1-3: The plant looked stagnant, almost sad. No improvement, but crucially, no further decline. The leaf curling stopped progressing. This was the stabilization phase.
- Days 4-7: I noticed the stems of the remaining leaves seemed to firm up slightly. The vibrant green color on the healthy parts of the variegated leaves appeared more pronounced. A subtle sign of recovery.
- Days 8-14: The most encouraging milestone: I spotted two tiny, tightly furled new leaves (sheaths) emerging from the base of the plant. They were small, but they were green and healthy-looking. This was the definitive signal that the plant had overcome the shock and was redirecting energy to growth. The existing leaves with minor damage showed no spread of the pale or brown spots.
Common Pitfalls I Encountered and How I Solved Them
- The Temptation to Overwater: In my anxiety, I initially thought more water would “perk it up.” This led to slight sogginess at the bottom of the pot. I caught it early, aerated the soil gently with a chopstick, and strictly returned to the finger-test method. Patience is key.
- Rotating the Pot Too Soon: Eager for even growth, I rotated the pot after a week. This minor light-angle change caused one of the recovering leaves to show slight stress again. I learned to keep the plant’s orientation absolutely consistent for the entire recovery period.
- Misdiagnosing Pests: The stress made the plant vulnerable. I found a few mealybugs on one leaf undersurface. Instead of using a harsh systemic insecticide on a stressed plant, I dabbed them with a cotton swab dipped in 70% isopropyl alcohol—a targeted, low-impact solution.
Supporting Long-Term Aglaonema Health and Preventing Future Shock
Once your plant is recovering, the goal is to prevent a repeat. The secret is gradual acclimatization. When you must change your Aglaonema’s location, do it over 1-2 weeks. Move it incrementally closer to or farther from the light source by just a foot or two every few days. This allows the plant to adjust its physiology at a manageable pace. Furthermore, understanding that Aglaonema light requirements are for consistent, medium to bright indirect light will guide your permanent placement choices. They are adaptable, but they despise sudden change.
How long does it take for an Aglaonema to recover from light shock? A full recovery, evidenced by consistent new growth and the plant regaining its lush appearance, can take 4 to 8 weeks. However, you should see stabilization (the cessation of further damage) within the first 7-10 days if corrective steps are taken promptly.
Can a severely light-burned Aglaonema leaf turn green again? No, the damaged, bleached, or necrotic (brown) tissue on a leaf is permanently damaged. The plant will not repair those cells. The goal is to support the plant so it can channel energy into producing new, healthy leaves to eventually replace the damaged ones.
Should I repot my Aglaonema if it’s in shock from light change? Absolutely not. Repotting is an additional major stressor involving root disturbance. Unless the soil is waterlogged and root rot is suspected, always address the light shock first and allow the plant to fully recover before considering any repotting, which is best done in the active growing season.
Watching my Aglaonema push out those first new leaves after a stressful two weeks was immensely rewarding. The experience underscored a fundamental rule of plant care: these are living beings attuned to consistency. While Aglaonemas are famously resilient, their tolerance is for varied conditions, not abrupt swaps. Success lies in observing closely, acting with patience rather than panic, and understanding that recovery is a process, not an event. By providing a stable environment, resisting the urge to over-care, and allowing time to work its magic, you can guide your shocked Aglaonema back to its full, glorious health.





