 bluename
 How to Acclimate Aglaonema to Indoor Light: A Plant Lover’s Step-by-Step Guide
I remember the excitement of bringing home my first Aglaonema, a stunning ‘Silver Bay’ with beautifully patterned leaves. I placed it proudly in what I thought was the perfect spot—a bright, sunny corner. Within days, I noticed the leaves starting to fade and develop crispy, brown edges. My heart sank. I had made the classic mistake of assuming this adaptable plant could handle my intense afternoon sun right away. That experience taught me a crucial lesson: how to acclimate Aglaonema to indoor light is not a suggestion; it’s an essential process for long-term health and vibrant color. If you’ve ever seen your new Chinese Evergreen struggle with leaf scorch, yellowing, or drooping after a change in location, you’ve felt this pain too. The good news is, with a patient, methodical approach, you can successfully transition your plant to thrive in your unique home environment.
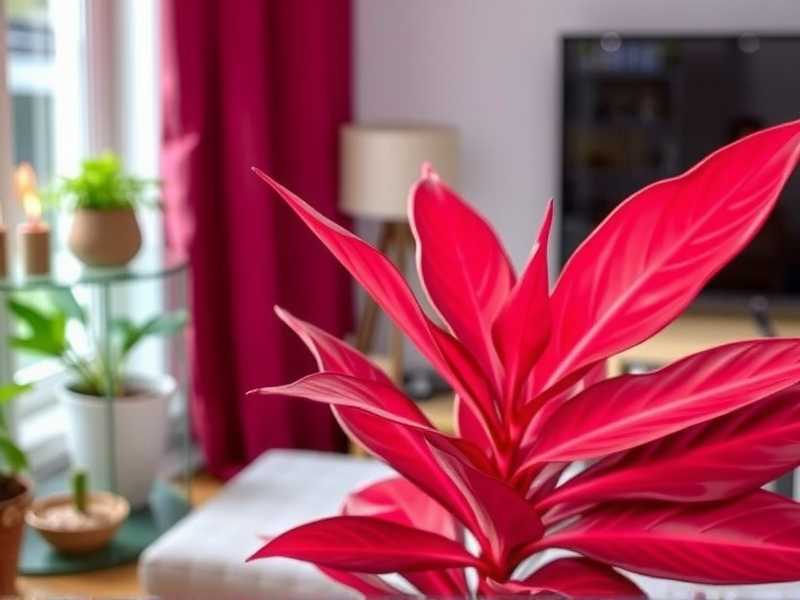
My journey from that initial failure to becoming confident in light acclimation involved a dedicated two-week experiment with a new Aglaonema ‘Red Siam’. What follows is my personal, hands-on account of the steps I took, the close observations I made, the pitfalls I encountered, and the solutions that led to a happy, acclimated plant.
Understanding Your Aglaonema’s Light Language
Before moving a single plant, we need to understand what we’re working with. Aglaonemas are often marketed as “low-light plants,” but this is a simplification that can lead to problems. According to the Royal Horticultural Society (RHS), while they tolerate lower light than many houseplants, their ideal is bright, indirect light. The vibrant variegation in varieties like ‘Maria’ or ‘Pink Valentine’ actually requires medium to bright indirect light to maintain its intensity.
The core principle of acclimation is simple: gradual exposure. You are essentially helping your plant build a tolerance to new light conditions, much like we build a base tan to avoid sunburn. A sudden shift from a dim nursery shelf to a south-facing window is a shock to its system, damaging the chlorophyll and causing those tell-tale bleached or burnt patches.
My 14-Day Acclimation Protocol: A Daily Log
For this process, I selected an Aglaonema ‘Red Siam’ from a local garden center where it lived under shade cloth. My goal was to acclimate it to a spot about 5 feet back from a large east-facing window—a space with bright, gentle morning light.
Day 1-3: The Initial Placement & Baseline Observation I started conservatively. I placed the plant in its final desired location for just one hour in the early morning when the light was mild. For the remaining 23 hours of the day, I moved it to a temporary “recovery zone” in the center of the room, which received very low, ambient light. I immediately took a “before” photo to track leaf color and posture. My first observation was that the plant showed no change, which was a good sign—no shock.
Day 4-7: Incrementally Increasing Exposure Each day, I increased the exposure time in the bright spot by 30-60 minutes. So, by Day 4 it was out for 1.5 hours, Day 5 for 2 hours, and so on. I became a dedicated observer, checking the leaves every time I moved it. I looked for:
- Leaf Texture: Were they firm and turgid, or starting to feel limp?
- Color: Was the rich red and green variegation holding steady, or was there any fading or yellowing?
- Orientation: Were the leaves reaching toward the light source aggressively? A slight lean is normal; a dramatic stretch (etiolation) means it wants more light.
The First Pitfall and Solution: On Day 6, after a 3-hour exposure, I noticed the very tip of one older leaf had a tiny, pale yellow spot. Alarm bells rang! This was likely the very beginning of light stress. I didn’t panic. For the next two days (Day 7 & 8), I did not increase the time. I held it at 3 hours, allowing the plant to stabilize and adjust to that level. This pause is critical—it’s not a race.
Day 8-14: Stabilization and Full Integration After the two-day pause, the yellow spot did not spread. Encouraged, I resumed the gradual increase, now adding about an hour every other day. By Day 12, the plant was tolerating a full 7-hour stretch (covering the entire duration of the east-facing light). I left it in the final spot overnight for the first time. On Day 13 and 14, I monitored it closely in its permanent home. The leaves remained perky, colors were vibrant, and there was no new discoloration. Success!
Key Factors Beyond Just Time: Water, Humidity, and Rotation
Acclimation isn’t just about light duration. Changing light affects your plant’s entire metabolism.
Watering Adjustments Are Non-Negotiable. This was my second big lesson. In brighter light, photosynthesis increases, and the plant uses water faster. My old “once-a-week” schedule had to change. I began checking soil moisture by finger every 3 days during the process. Sure enough, the soil dried out more quickly. The American Horticultural Society (AHS) emphasizes that watering needs are directly tied to light exposure. I adjusted to watering when the top 1-2 inches of soil were dry, which became about every 5-6 days in the new spot, compared to every 9-10 days in the low-light recovery zone.
Humidity as a Supportive Ally. Increased light (and often accompanying heat) can raise transpiration rates. To prevent leaf tips from browning, I placed a small pebble tray filled with water near the plant during the acclimation period. This provided a slight localized humidity boost without overcomplicating things.
The Rotation Ritual. Once fully acclimated, I made a note to rotate the pot a quarter turn every time I water. This ensures all sides of the Chinese Evergreen receive even light, promoting symmetrical growth and preventing it from becoming lopsided as it leans toward the window.
Troubleshooting Common Light Acclimation Problems
Even with care, issues can arise. Here’s what I learned to watch for:
- Leaf Scorch (Brown, Crispy Patches): This means the light is too direct or too intense, too fast. Solution: Immediately move the plant back to a lower light zone for a few days. Trim the damaged leaf if desired. Restart the acclimation process, but from an even shadier starting point and increase time more slowly.
- Yellowing Leaves: This can be tricky. Rapid yellowing, especially on the side facing the light, can indicate sun stress. Generalized yellowing, especially with wet soil, might be overwatering exacerbated by the change. Solution: Diagnose by checking soil moisture and reviewing your light exposure timeline. Adjust accordingly.
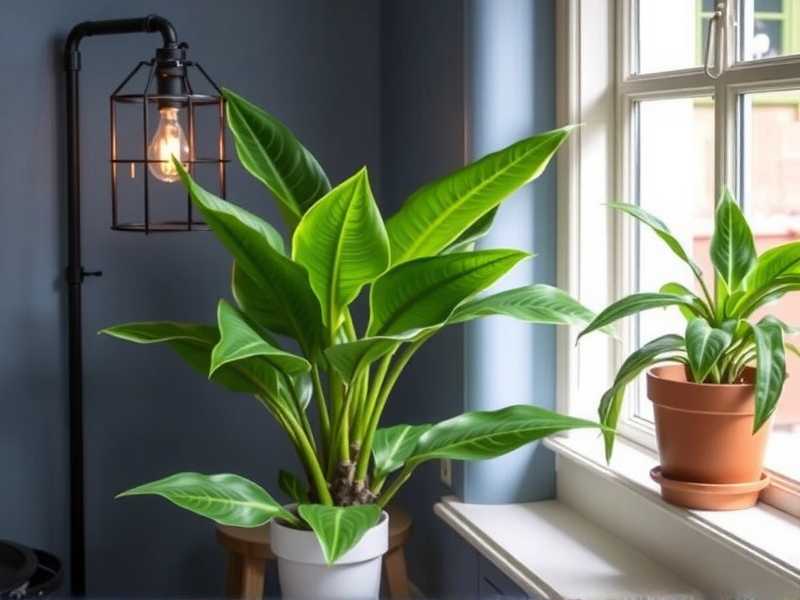
- Leggy Growth or Loss of Variegation: If your plant starts stretching with abnormally long spaces between leaves, or its beautiful patterns revert to solid green, it’s not getting enough light after the move. Solution: You may have over-corrected. Gradually move it to a slightly brighter location, following the same acclimation steps.
How often should I rotate my Aglaonema for even growth? Make rotation a part of your regular care routine. I do it every time I water, which is roughly once a week. This simple habit prevents your plant from developing a “good side” and encourages a full, bushy shape.
Can I use artificial light to acclimate my Aglaonema? Absolutely, and it offers excellent control. LED grow lights are ideal. Start with the light fixture at its highest setting or furthest distance, and either gradually increase the duration the light is on each day, or slowly lower the light closer to the plant over 10-14 days. Monitor the leaves just as you would with sunlight.
My Aglaonema was in low light and is now all green. Will the color come back? If the variegation has been lost due to insufficient light, the existing green leaves will not regain their patterns. However, new growth that develops under brighter, appropriate indirect light will show the proper variegation. You can prune out some of the older, all-green leaves to encourage new, colorful growth.
Successfully acclimating your Aglaonema is an exercise in patience and observation. It’s about reading your plant’s subtle signals and responding with small, careful adjustments. By dedicating those crucial two weeks to a gradual transition, closely monitoring water needs, and providing supportive care, you’re not just avoiding damage—you’re setting the stage for years of lush, vibrant, and healthy growth. Your adaptable Aglaonema will reward your thoughtful effort with its stunning foliage, perfectly suited to the light in your home.





