 bluename
 How to Acclimate Aglaonema to Outdoor Light: A Gardener’s Step-by-Step Guide
I’ve always cherished my Aglaonemas, or Chinese Evergreens, for their stunning, patterned leaves and their legendary resilience indoors. But last summer, a question kept nagging at me: could these adaptable beauties enjoy a vacation outdoors? I knew the answer wasn't a simple "yes" or "no." The real challenge, and the core problem I wanted to solve, was how to acclimate Aglaonema to outdoor light without causing the leaf scorch, shock, or decline so many plant lovers fear. Moving a plant from a stable indoor environment to the variable outdoors is a delicate dance. Through a careful, two-week process of trial, observation, and adjustment, I successfully transitioned my Aglaonema ‘Silver Bay’ to a shaded patio. Here is my complete, firsthand account.
Understanding the Why: The Risks of Direct Sunlight
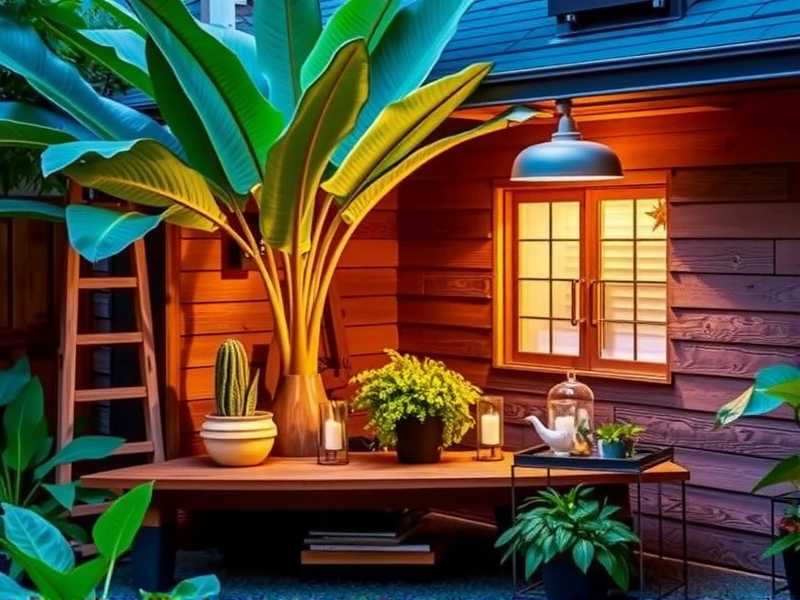
Aglaonemas naturally thrive on the forest floor in tropical Asia, where they receive dappled, filtered light. Their leaves are simply not equipped with the defenses needed for direct, intense sunlight. According to the Royal Horticultural Society (RHS), a sudden move to brighter conditions is a primary cause of leaf scorch in foliage plants. Scorch appears as bleached, brown, or crispy patches, and it’s irreversible. My goal wasn't just to move the plant but to safely transition Aglaonema outside, building its tolerance gradually. This process, known as hardening off, is crucial for almost any houseplant.
My Two-Week Acclimation Protocol: A Daily Diary
I chose a mature, healthy Aglaonema ‘Silver Bay’ for this experiment and earmarked a two-week period in early summer when nighttime temperatures were consistently above 60°F (15°C)—a critical threshold, as Aglaonemas are sensitive to cold.
Week 1: The Gentle Introduction
The first week was all about minimal, protected exposure. My motto was "less is more."
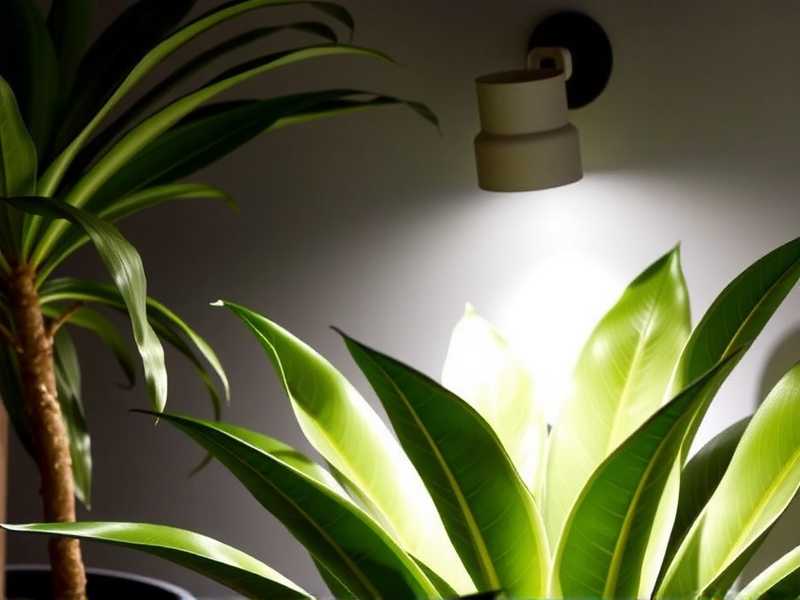
- Days 1-3: The Morning Minute Method. Each day, about 30 minutes after sunrise, I placed my plant in a spot that received only indirect morning light—essentially a bright but fully shaded area. The exposure was brief: just 15-20 minutes. After that, I immediately brought it back to its usual indoor spot. I closely inspected the leaves each evening, looking for any signs of stress or wilting. None appeared.
- Days 4-7: Incrementally Increasing Exposure. By day four, I increased the outdoor time to 45 minutes, still in that same fully shaded location. I also shifted the timing slightly later into the morning, though still avoiding any direct sun beams. This stage is where patience is key. The American Horticultural Society (AHA) emphasizes that a slow pace allows the plant to develop thicker leaf cuticles and adjust its physiology. By the end of the first week, my Aglaonema was spending a full 90 minutes outdoors in complete, bright shade, showing no adverse effects.
The First Pitfall and Solution: The Wind Factor
Around Day 5, I noticed the tips of a few leaves seemed slightly dry. It wasn’t sun-related; the plant was in deep shade. I realized I had overlooked a major outdoor element: wind. Even a gentle breeze can strip moisture from leaves much faster than indoor air. My solution was two-fold. First, I moved the plant to a more wind-sheltered corner of the patio. Second, I began a routine of checking the soil moisture daily, as the potting mix dried out faster outdoors. I watered only when the top inch felt dry, avoiding both soggy soil and excessive dryness.
Week 2: Building True Tolerance
The second week focused on introducing very mild, filtered direct light to truly harden off Aglaonema plants.
- Days 8-10: Testing Dappled Light. I found a spot under a large, airy tree that provided what gardeners call "dappled sunlight"—small, shifting spots of sun filtered through the canopy. I placed my Aglaonema here, starting with 30 minutes during the late morning. This was the first time it ever experienced direct photons on its leaves, however filtered. I watched like a hawk. Success! The leaves remained perky and vibrant.
- Days 11-14: Finalizing the Outdoor Spot. I gradually increased the dappled light exposure to two hours. I used a simple light meter app on my phone to monitor intensity, ensuring it never exceeded what was labeled "bright indirect." By the end of the two weeks, my Aglaonema was comfortably spending 4-5 hours in this dappled light location before I returned it indoors for the evening.
Key Observations and Adjustments for Success
The process taught me more than just a schedule. Here are the nuanced lessons:
- Leaf Talk is Real: The leaves are your best diagnostic tool. Slight wilting means it’s too hot or dry. A pale, washed-out color or brown spots signal too much light. A healthy, firm leaf with maintained variegation means you’re on track.
- The Watering Shift is Non-Negotiable: Outdoor conditions, even in shade, increase water uptake. I went from watering every 7-10 days indoors to checking every 3-4 days outdoors. Consistent moisture is vital during this stressful transition period.
- The Perfect Final Location: After the acclimation, I chose a permanent outdoor spot for the summer: a north-facing patio cover that receives no direct sun but is bathed in bright, ambient light all day. An east-facing location with only gentle morning sun could also work, but my Aglaonema outdoor light adjustment was most successful in full, bright shade.
Addressing Your Top Concerns
Can any Aglaonema variety go outside? While the process is similar, darker-green varieties like ‘Maria’ or ‘Emerald Beauty’ are slightly more tolerant of lower light and may adapt to slightly brighter filtered light than highly variegated types like ‘Pink Valentine’ or ‘White Joy’. The latter are more sensitive and require even more cautious shading. I started with a moderately variegated ‘Silver Bay’ for this reason.
What are the absolute outdoor deal-breakers? Temperature and direct sun. Never acclimate if nights are below 60°F (15°C). Furthermore, never, under any circumstances, place an Aglaonema in direct afternoon sun. Even an acclimated plant will scorch. The goal is to replicate the dappled light of a forest canopy, not a desert landscape.
How do I bring it back indoors in the fall? Reverse the process! As temperatures drop, start reducing its outdoor time over 1-2 weeks. Before the final move, inspect the plant thoroughly for pests (a common issue when coming back inside) and treat it proactively with insecticidal soap or neem oil. Place it in a bright indoor spot, and expect some leaf drop as it re-acclimates to lower light and humidity levels.
Moving your Aglaonema outdoors can be a rewarding way to boost its growth and enjoy it in a new setting. The journey requires a watchful eye and a commitment to moving slowly. By incrementally increasing exposure, diligently monitoring for stress, and choosing a final spot with protective shade, you can successfully expand your plant’s horizons. My ‘Silver Bay’ now spends every summer on the patio, its foliage looking lusher than ever—a testament to the power of patient, informed acclimation.





