 bluename
 How to Care for Aglaonema Outdoors (Warm Zones): A Plant Lover’s Real-World Guide
I used to think of my Aglaonema, or Chinese Evergreen, as a strictly indoor superstar. Its stunning, variegated leaves brightened my living room, but I always wondered—could it thrive outside? If you live in a warm climate like I do (USDA zones 10-12), you’ve probably had the same thought. The idea is tempting but also nerve-wracking. What if the sun scorches those beautiful leaves? Will pests become a nightmare? I decided to move my established ‘Silver Bay’ and ‘Red Siam’ Aglaonemas outdoors for a season to find out. This guide is the result of my hands-on experiment, complete with my step-by-step process, a detailed two-week observation log, the mistakes I made, and how I fixed them. Let’s dive into the practical how to care for Aglaonema outdoors in warm zones.
Understanding the Outdoor Potential of Your Aglaonema
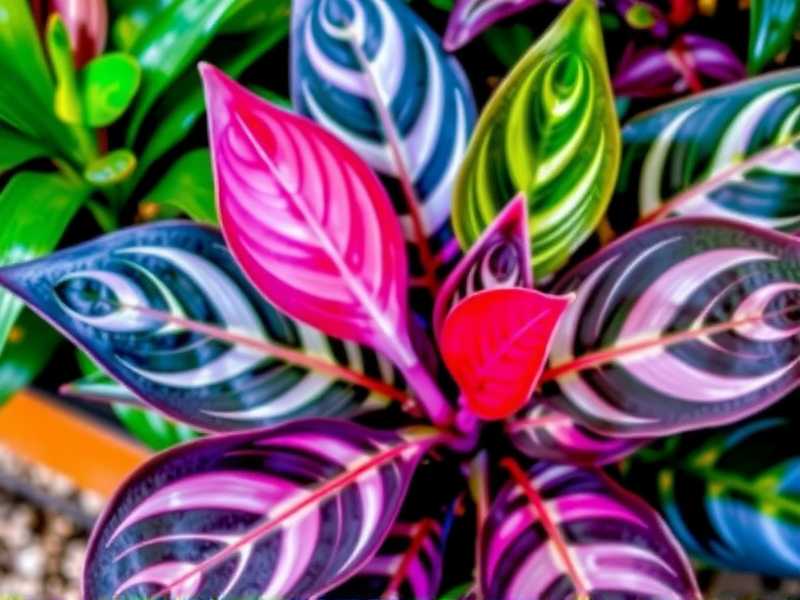
First, let’s set realistic expectations. Aglaonemas are not sun-worshipping palms. In their natural habitat, they flourish under the dense canopy of tropical rainforests in Southeast Asia. This is our single most important clue for outdoor success. The American Horticultural Society’s (AHS) Heat Zone Map and plant resilience guides consistently emphasize that plants adapted to low-light forest floors are vulnerable to direct, intense sunlight. My goal wasn’t to bake my plants but to replicate that dappled, gentle light environment.
My Step-by-Step Transition Process to the Outdoors
I didn’t just haul my pots outside one sunny afternoon. A sudden change, known as transplant shock, can cause severe leaf burn and drop. Here’s the careful acclimatization schedule I followed, which I highly recommend.
Week 1: The Shady Introduction I started in early spring when the temperatures were consistently above 60°F (15°C) at night. I chose a spot on my covered patio that received absolutely zero direct sun—pure, bright shade. For the first week, I placed them there for only 3-4 hours in the late afternoon, the mildest part of the day. I kept a close eye on the leaves for any signs of curling or bleaching. Watering was minimal, as the soil dried much slower in the cooler, shadier outdoor air compared to my warm indoors.
Week 2: Increasing Exposure and Observation Confident after the first week, I extended their outdoor time to 6-8 hours daily, still in that full-shade spot. This is where my two-week observation period began in earnest. I created a simple log:
- Day 1-3: Plants appeared perky. Soil moisture was stable. No new growth yet.
- Day 4-7: I noticed the ‘Silver Bay’ seemed to have a slightly more vibrant sheen to its leaves. The ‘Red Siam’ showed no change. This was a good sign—they weren’t stressed.
- Day 8-10: A minor scare! I saw a few small, yellow speckles on one lower leaf of the ‘Silver Bay.’ My heart sank, thinking it was a disease. Upon closer inspection with a magnifying glass, I found it was physical damage, likely from a stray gust of wind knocking the leaf against the wall. I trimmed it off. The lesson? Secure your pots in a sheltered location.
- Day 11-14: The most exciting development: I spotted a tiny, tightly furled new leaf emerging from the center of my ‘Red Siam’! This was the ultimate confirmation that the plant was not just surviving, but actively thriving in its new environment. The acclimatization was a success.
The Golden Rules for Ongoing Outdoor Aglaonema Care
Once your plants are acclimated, ongoing care revolves around mastering three key elements: light, water, and temperature.
Finding the Perfect Light: It’s All About Filtered Shade This is non-negotiable. Direct morning or afternoon sun, especially in warm zones, will quickly scorch and bleach the delicate leaves. The ideal spot is under a dense tree canopy, on a north-facing porch, or under a pergola with a shade cloth. As the Royal Horticultural Society (RHS) advises for tender foliage plants, “Provide protection from midday sun.” I use a 50% shade cloth on the sunnier side of my patio, and it creates the perfect, bright-but-indirect light my Aglaonemas love. If you notice the red or pink hues in varieties like ‘Siam Aurora’ fading, it’s a sign they’re getting too much light.
Mastering the Watering Balance Outdoor watering is a different ballgame. Wind and ambient heat increase evaporation. However, overwatering is still the fastest way to kill an Aglaonema due to root rot. My method? The finger test. I stick my finger 2 inches into the soil. If it’s dry, I water deeply until it runs out the drainage holes. If it’s still moist, I wait. During peak summer heat, this might be every 3-4 days. In more humid or rainy periods, it could be over a week. Good drainage is paramount—ensure your pots have large holes and are never sitting in saucers full of water.
Navigating Temperature and Humidity Aglaonemas adore warmth and humidity. They thrive in temperatures between 70-85°F (21-29°C). The moment nighttime temperatures dip toward 55°F (13°C), it’s time to start planning their move back inside. A sudden cold snap below 50°F (10°C) can cause irreversible damage. To boost humidity, I grouped my outdoor plants together and placed their pots on top of pebble trays filled with water. The natural microclimate and the evaporating water work wonders. Misting can help, but it’s a temporary fix and can promote fungal issues if done excessively in poor air circulation.
Troubleshooting Common Outdoor Problems
Even with perfect care, issues can pop up. Here are the ones I faced and solved.
Dealing with Pests and Diseases The great outdoors brings more bugs. After about a month, I found a small colony of aphids on the undersides of new leaves. My solution? A strong blast of water from the hose to knock them off, followed by an application of insecticidal soap every 5-7 days for two weeks. I also introduced some ladybugs to the area as a natural control. For fungal issues like leaf spot (brown spots with yellow halos), improve air circulation, avoid wetting the leaves when watering, and remove affected foliage promptly.
Addressing Leaf Scorch and Nutritional Needs If you see brown, crispy patches on the leaves, that’s sunburn. Immediately move the plant to a shadier location. The damaged leaves won’t recover, but you can trim them for aesthetics once the plant is stable. For nutrition, I feed my outdoor Aglaonemas with a balanced, water-soluble fertilizer (like a 10-10-10) diluted to half strength. I do this only once a month during the active growing season (spring and summer). Over-fertilizing leads to salt buildup and brown leaf tips.
Choosing the Right Container and Soil Mix Don’t skimp here. Use a high-quality, well-draining potting mix. I use a standard potting soil amended with 20% perlite and 10% orchid bark for extra aeration. The pot must have excellent drainage. Terracotta pots are great as they wick away excess moisture, but in very hot climates, they can dry out too fast. I prefer durable resin or ceramic pots with drainage holes. Repot only when the plant becomes root-bound, typically every 2-3 years, and always go just one pot size up.
Can Aglaonema survive in full outdoor sun if acclimated slowly? No, and this was a critical lesson. Even with slow acclimatization, Aglaonemas are not built for full sun. Their foliage lacks the adaptations to withstand intense UV rays. Attempting this will almost certainly result in bleached, scorched, and stressed plants. Filtered or deep shade is the only sustainable option for long-term health.
How often should I fertilize my Aglaonema when it’s outside? Less is more. The increased light and growth outdoors mean they can use more nutrients than indoors, but they are still not heavy feeders. I apply a half-strength, balanced liquid fertilizer once a month from April through September. I completely stop fertilizing in late fall and winter, even if the plant remains outside in a warm zone, as growth naturally slows.
What’s the very first sign that my outdoor Aglaonema is unhappy? The leaves tell the story first. Curling leaves often indicate too much light or underwatering. Widespread yellowing leaves, especially lower ones, usually point to overwatering or poor drainage. Brown, crispy leaf tips can be from low humidity, fertilizer burn, or inconsistent watering. My advice is to check the soil moisture first—it’s the most likely culprit and the easiest to diagnose and correct.
Moving my Aglaonemas outdoors transformed them from beautiful houseplants into lush, vibrant centerpieces of my shaded patio. The key is respecting their origins: think cool forest floor, not sunny beach. By prioritizing deep, filtered shade, mastering a disciplined watering routine, and staying vigilant for pests, you can successfully enjoy these stunning plants in your warm-zone garden. The reward—like that moment I saw the first new leaf unfurl—is absolutely worth the careful planning.





