 bluename
 So your Aglaonema cuttings are wilting and you're panicking. I get it. I've killed more than a few propagation attempts myself, and it stings every time. Here's the short answer: wilted Aglaonema cuttings usually need one of three fixes — less water, better light, or a smaller pot with proper drainage. That's it. Most people overcomplicate this. I know I did. I once lost an entire tray of beautiful pink-edged Aglaonema cuttings because I thought "more water equals more life." Spoiler alert: it doesn't. Let me walk you through exactly what I did over a two-week period to bring my saddest, droopiest cuttings back from the brink.
Why Your Aglaonema Cuttings Are Wilting in the First Place
Before you do anything, you need to figure out why they're wilting. Because wilting doesn't always mean dehydration. Sometimes it means the exact opposite.
I learned this the hard way. My first instinct was always to water more. Big mistake. According to the RHS, overwatering is one of the leading causes of plant decline in home environments. They're not wrong.
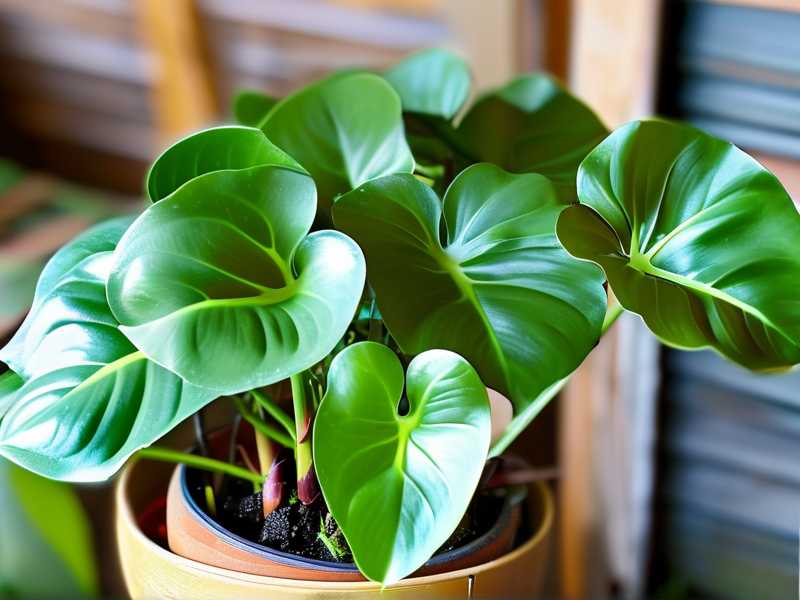
Here's what most people don't realize. Aglaonema cuttings in the propagation stage have underdeveloped root systems. They can't absorb water efficiently yet. So flooding them doesn't help. It just suffocates whatever roots are trying to form.
The three biggest reasons your cuttings are wilting:
- Too much water — root rot sets in fast
- Wrong light — too much direct sun or not enough indirect light
- Wrong container — too big, no drainage, or both
Let me break each one down because I've personally made all three mistakes.
Mistake #1: Overwatering — The Silent Killer
Here's a stat that changed how I care for every plant I own: 90% of indoor plants die from overwatering. That's not a random number I made up. It's something I heard from multiple experienced growers, and once I started paying attention, I realized how true it is.
My Aglaonema cuttings were sitting in soggy sphagnum moss for about five days before I noticed the stems going soft and brown at the base. The leaves drooped like they hadn't seen water in weeks. That's the trick — overwatered plants look underwatered. It's cruel.
What I did to fix it:
I pulled every cutting out of the wet moss immediately. Rinsed the stems gently under room-temperature water. Then I let them air-dry on a paper towel for about two hours.
I switched to a 50/50 mix of perlite and peat-based potting soil. This drains fast. Aglaonema roots need oxygen. They can't breathe in soggy conditions.
Then I watered only when the top inch of the mix felt dry. Not "kind of dry." Actually dry. I used my finger every single time. No guessing.
Within about six days, the surviving cuttings started perking up. Not dramatically. Just a subtle lift in the leaves. By day ten, I could see tiny new root nubs forming at the base. By day fourteen, three out of five cuttings had visible new growth.
Mistake #2: Light Placement — It's More Nuanced Than You Think
Aglaonema plants are known for tolerating low light. But propagation cuttings are a different story.
I placed my first batch of cuttings on a windowsill that got about four hours of direct afternoon sun. I figured, hey, sunlight equals energy. Within three days, the leaves were curling and turning pale. Some had crispy brown edges.
Here's what I learned. Aglaonema cuttings need bright, indirect light. Think of a spot that's bright enough to read a book but where the sun never actually touches the leaves directly.
What worked for me:
I moved my cuttings to a spot about six feet away from an east-facing window. They got gentle morning light without any harsh direct rays.
If you don't have a good natural spot, a grow light works fine. I used a basic LED grow light about twelve inches above the cuttings for ten hours a day. Nothing fancy. No need to spend a fortune.
The AHS recommends understanding your specific plant's light requirements before assuming more sun equals better results. That advice applies perfectly here. I wish I'd followed it from the start.
Mistake #3: Using the Wrong Container
I'm going to be honest. I used to propagate everything in those big decorative pots because they looked nice. That's a rookie move and I paid for it.
Aglaonema cuttings have tiny root systems. If you put them in a pot that's too large, the excess soil holds moisture that the roots never reach. That moisture sits there. It breeds bacteria. It rots the stems.
I killed an entire batch of variegated Aglaonema cuttings this way. Six cuttings. All gone. I was devastated because those were expensive and hard to find.
What I use now:
Small clear plastic cups with drainage holes punched in the bottom. That's it.
The clear cup lets me see root development without pulling the cutting out. I can literally watch the roots grow. It's oddly satisfying, honestly.
I also use small terracotta pots for slightly more established cuttings. Terracotta wicks away excess moisture naturally. That's a nice built-in safety net.
One more thing — never use a pot without drainage holes. I don't care how pretty it is. Just don't. Water needs to escape.
My Two-Week Revival Process Step by Step
I want to give you the exact timeline I followed. Real numbers. Real results.
Day 1-2: Triage
I removed all cuttings from their original medium. Inspected each stem. Removed any mushy or black sections with sterilized scissors. Let them callus over for a few hours.
Day 3-4: Replanting
I placed each cutting into a small clear cup filled with my perlite-peat mix. I watered lightly — just enough to moisten the mix, not soak it. Then I put them in the indirect light spot.
Day 5-7: Watching and Waiting
This is the hardest part. Doing nothing. I checked moisture levels every morning with my finger. I didn't water again until day seven. Two cuttings that were too far gone turned black and I tossed them. The other five looked stable — not great, but not worse.
Day 8-10: First Signs of Life
Tiny white root nubs appeared on three cuttings. The leaves stopped drooping. One cutting that I was sure was dead pushed out a tiny new leaf. I may have done a small victory dance.
Day 11-14: Real Progress
Four out of five cuttings now had visible roots about half an inch long. I gave them a very diluted liquid fertilizer — quarter strength, nothing more. The fifth cutting was still struggling but hadn't gotten worse.
What I'd Tell Every New Aglaonema Grower
Honestly, propagating Aglaonema cuttings isn't hard once you understand what they actually need. The problem is that most advice online contradicts itself. Some people say keep them in water. Others say moss. Others say soil. No wonder beginners get confused.
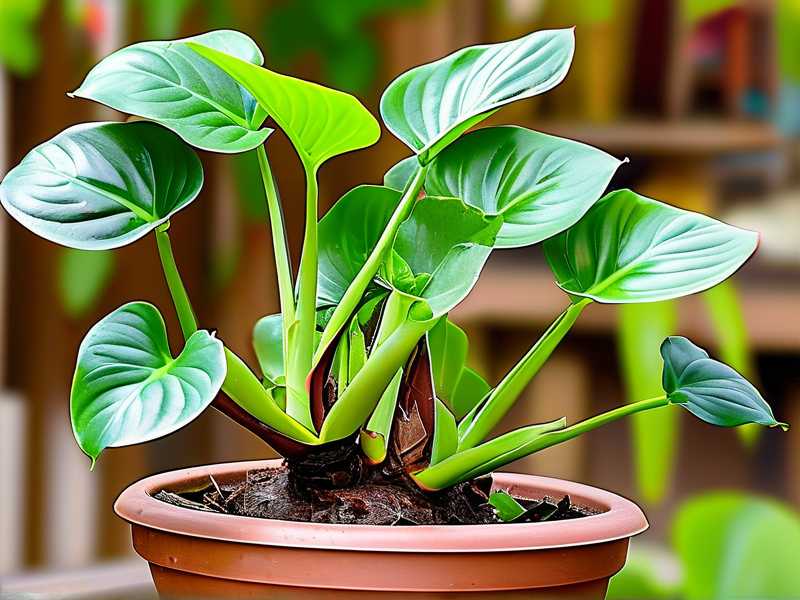
Here's my honest take after years of trial and error. Soil propagation with a well-draining mix works best for me. Water propagation looks cute but the transition to soil later often kills the plant because the roots developed for water can't handle soil conditions.
If you're dealing with wilting cuttings right now, don't give up yet. Aglaonema plants are surprisingly resilient once you correct the basics. Fix the water, fix the light, fix the pot. Then wait. Two weeks is usually enough to see whether your cuttings will make it.
And if you lose a few? It happens. I've lost dozens. Every dead cutting taught me something. The ones that survived taught me even more.
Common Questions I Get About Reviving Aglaonema Cuttings
Can I save a cutting that has a completely mushy stem?
Probably not. If the stem is soft and brown all the way through, the rot has gone too far. You can try cutting above the mushy part until you hit firm, green tissue. Then restart the propagation process. But be realistic — not every cutting makes it.
How long before I know if my cutting will survive?
Give it two weeks minimum. If you see new root growth or a new leaf emerging within that window, you're in good shape. If the cutting stays exactly the same for two weeks with no decline, that's also a decent sign. It's when things keep getting worse that you need to change something.
Should I use rooting hormone on Aglaonema cuttings?
I've tried it both ways. Rooting hormone powder speeds things up slightly, but it's not a game-changer for Aglaonema. Clean cuts, proper moisture, and patience matter more. If you have rooting hormone on hand, use it. If not, don't stress about it.
The biggest lesson I've learned through all of this? Stop reacting to every droopy leaf with more water. Step back. Check your conditions. Give your cuttings a stable environment for two full weeks before you change anything. That patience is what separates successful propagation from a tray of sad, mushy stems. Trust me on this one.





