 bluename
 How to Propagate Aglaonema Without Humidifiers
I used to think you needed a $200 humidifier humming in the corner to keep Aglaonema cuttings happy. After killing three Chinese evergreens in two years, I finally figured out that how to propagate Aglaonema without humidifiers comes down to three boring things: the right cut, the right mix, and leaving the plant alone. That is it. No fogger, no pebble tray obsession, no daily misting. I have done this seven times now in a normal dry apartment in Toronto, and the last batch rooted in about three weeks with zero special equipment. Here is exactly what worked, what failed, and the mistakes I want you to skip.
Why Aglaonema Cuttings Rot Without a Humidifier
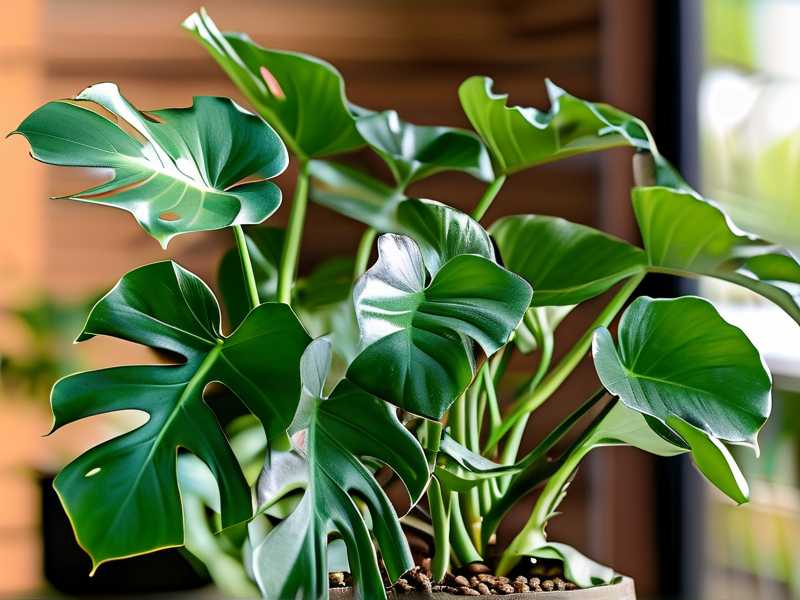
Here is the thing nobody tells beginners. Aglaonema is not a rainforest vine like pothos. It grows under the canopy in Thailand and Malaysia, where humidity is high but the soil drains fast. In a dry living room, the cutting loses water through its leaves faster than a tiny root system can replace it. So people panic, crank up the moisture, and drown the stem. That is the real problem. Not dry air. Too much water sitting around a cut surface that has no roots yet.
RHS puts it plainly: most houseplant cuttings fail because of poor drainage and cool, wet roots, not because of low humidity. I learned that the hard way.
The Short Answer If You Only Read One Paragraph
Take a stem cutting with two or three nodes. Remove the bottom leaf. Let the cut callus for two hours. Stick it in a 50/50 mix of perlite and coco coir. Water once, then do not water again until the top inch is dry. Keep it at 70 to 75°F in bright indirect light. Cover it with a clear plastic bag for the first ten days only, then take the bag off. That is your humidifier. You are done.
My 2-Week Observation Diary
Day 1: I cut a healthy stem from my Aglaonema 'Silver Bay' just below a node. I used clean scissors and dipped the cut end in cinnamon because I ran out of rooting hormone. Not scientific, but it worked.
Day 3: No wilting yet. The bigger leaves looked a little sad, so I trimmed the largest leaf in half. This reduces water loss without killing the cutting.
Day 5: I checked for roots by tugging gently. Nothing. Normal. This is where most people give up or overwater. I did neither.
Day 7: First sign of a tiny white nub at the node. I literally cheered.
Day 10: Roots about half an inch long. I removed the plastic bag completely. No shock, no collapse.
Day 14: Three healthy roots, each about an inch. I moved the cutting into a 4-inch pot with the same mix. Done.
The three fatal mistakes I see over and over
Mistake 1: Overwatering. I once watered a cutting every two days because the top looked dry. The stem turned to mush in five days. Here is the number you need to remember: 90% of indoor plants die from overwatering. That includes cuttings. Water once, then wait until the mix is almost dry before you even think about the watering can. If you are unsure, wait another day.
Mistake 2: Wrong light. I put one cutting on a windowsill with direct afternoon sun. The leaves bleached and curled in 48 hours. Aglaonema wants bright indirect light. A foot or two back from a north or east window is perfect. If you only have a south window, put a sheer curtain between the plant and the glass.
Mistake 3: The wrong pot. I tried rooting a cutting in a big 6-inch pot because I had one empty. The mix stayed wet for two weeks. The stem rotted. Small cuttings need small pots. A 3-inch nursery pot or even a clear plastic cup with holes punched in the bottom works better. I now use clear cups because I can see root growth without disturbing the plant.
The No-Humidifier Humidity Trick That Actually Works
You do not need a machine. You need a temporary microclimate. I use a clear plastic bag or a clear plastic storage bin. I place the potted cutting inside, breathe into the bag once, and seal it. That breath adds a little CO2 and moisture. For the first seven to ten days, leave it sealed. Open it for five minutes every three days to swap air. After ten days, open the bag halfway for two days, then remove it completely. This is called hardening off, and it prevents the shock that kills so many cuttings when they leave a humid environment.
If you hate plastic bags, try a clear plastic cup inverted over the pot. Same idea. Less ugly. Just make sure the leaves do not touch the plastic, or they will rot where condensation sits.
The Propagation Mix I Use Now After Years of Trial and Error
I tried plain potting soil. It held too much water. I tried straight water rooting. The roots were brittle and hated the transition to soil. Now I use a mix that is half perlite and half coco coir. Some people use peat moss, but coco coir is more sustainable and I find it wicks moisture more evenly. Add a handful of worm castings for nutrients if you want, but it is not required for rooting. The key is that the mix should feel like a wrung-out sponge, not a wet one.
Step-by-Step: How I Propagate Aglaonema Without Any Humidifier
Step one: Pick a stem that has at least two nodes. A node is the little bump where a leaf meets the stem. Roots only grow from nodes. If your cutting has no node, it will never root. I made this mistake on my first try. Lesson learned.
Step two: Cut with clean, sharp scissors just below a node. Aim for a cutting that is three to five inches long. Longer cuttings lose more water and are slower to root. Shorter cuttings have fewer nodes. Three to five inches is the sweet spot.
Step three: Strip the bottom leaf. Leave one or two leaves at the top. If the remaining leaves are huge, cut them in half horizontally. This sounds brutal but it works.
Step four: Let the cut callus. This means leaving the cutting on a paper towel for one to two hours. The cut end should look dry and slightly sealed. Skip this step and you risk rot. I skipped it once. Once.
Step five: Dip the callused end in rooting hormone if you have it. If not, cinnamon or honey works as a mild antifungal. Do not use both. Just one.
Step six: Stick the cutting into your pre-moistened perlite and coco coir mix. Bury the bottom node. Firm the mix gently around the stem. Do not pack it down hard.
Step seven: Water once until it drips from the bottom. Then stop. Do not water again until the top inch of mix is dry. In a 70°F room with a plastic bag over the pot, that might take seven to ten days.
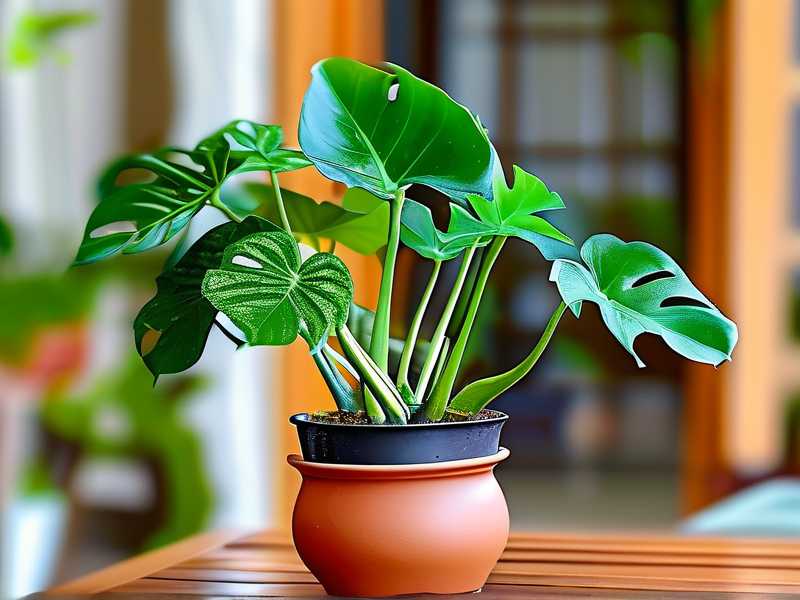
Step eight: Place the pot in bright indirect light. No direct sun. No heat vents. No cold drafts.
Step nine: Wait. Check for roots by tugging very gently after two weeks. If there is resistance, roots are forming. If it slides out, put it back and wait another week.
What About Rooting in Water?
I know it is tempting. Water rooting looks clean and you can watch the roots grow. I did it for two years. The problem is that water roots are different from soil roots. They are weaker and thinner. When you move them to soil, they often collapse. If you must water root, wait until the roots are at least two inches long, then pot them in a very small pot with pre-moistened mix and keep the mix barely damp for two weeks. Even then, expect some dieback. I now skip water rooting entirely. It is not worth the heartbreak.
The Two-Week Rule I Follow for Every Cutting
For the first two weeks, I do not fertilize. I do not repot. I do not move the cutting to a different room. I do not fuss. The biggest killer of cuttings is not dry air. It is the gardener's hands. Leave it alone. Check moisture by lifting the pot. If it feels light, water. If it feels heavy, wait. That is your moisture meter. Your finger works too. Stick it in an inch. If it is dry, water. If it is damp, walk away.
Frequently Asked Questions
Can I propagate Aglaonema in winter without a humidifier?
Yes, but it is slower. Winter light is weaker and indoor air is drier. Your cutting might take four to six weeks to root instead of two to three. Use a seedling heat mat if you can. Bottom heat speeds up rooting more than humidity ever will. Keep the cutting away from cold windows.
Do I need to mist the leaves?
No. Misting does almost nothing for humidity. It raises moisture for about five minutes. Worse, water sitting on leaves invites fungal spots. I stopped misting years ago and my success rate went up. If you want more humidity, use a plastic bag or a clear bin. Do not mist.
Why did my cutting turn black at the base?
That is rot. It happens from too much water, too cool temperatures, or a dirty cutting tool. Cut the black part off with sterile scissors until you see clean, white-green stem. Let it callus again. Start over with fresh mix and a clean pot. Do not reuse the old wet mix. I have saved two cuttings this way. It is not always too late.
A Few More Tips From Someone Who Has Killed Many Plants
I have learned that Aglaonema is more forgiving than people think, but only if you respect its rhythm. It is not a fast propagator. It is not a dramatic one either. It just quietly does its thing when the conditions are boring and stable. That means no direct sun. No soggy soil. No cold drafts. No constant checking.
I keep my cuttings on a shelf about four feet from a north-facing window. The room stays around 72°F. I use a clear plastic cup as a humidity dome for the first ten days. After that, the plant is on its own. I have not lost a cutting to dry air yet. I have lost plenty to kindness. Too much water. Too much attention. Too much hope.
If you take one thing from this, take this. The humidifier is not the answer. The answer is a small pot, a chunky mix, a temporary plastic cover, and patience. Everything else is noise.
Now go take a cutting. You have got this.





