 bluename
 How to Propagate Aglaonema in Humidifiers: Boost Roots Fast
I'll be honest with you. I killed three Aglaonema cuttings before I figured out how to propagate Aglaonema in humidifiers the right way. The first one rotted in soggy soil. The second dried out on a windowsill. The third just sat there for a month doing absolutely nothing. Here's what I finally learned: Aglaonema cuttings root fastest in a warm, consistently humid environment — and a basic cool-mist humidifier can give you that. In my last round, I saw the first root nubs at day 10 and solid 2-inch roots by day 14. That's faster than any other method I've tried. And if you've ever watched a cutting slowly turn yellow while you wait, you know exactly why that matters.
The big secret isn't some fancy rooting hormone or expensive propagation kit. It's controlling moisture in the air, not just in the soil. That distinction changed everything for me.
Why Humidifiers Actually Help Aglaonema Cuttings
Aglaonema, or Chinese Evergreen, is a tropical understory plant. It naturally grows in warm, humid forests where the air stays consistently moist. When you take a cutting, that little stem has no roots yet. It can only absorb moisture through its leaves and the cut surface.
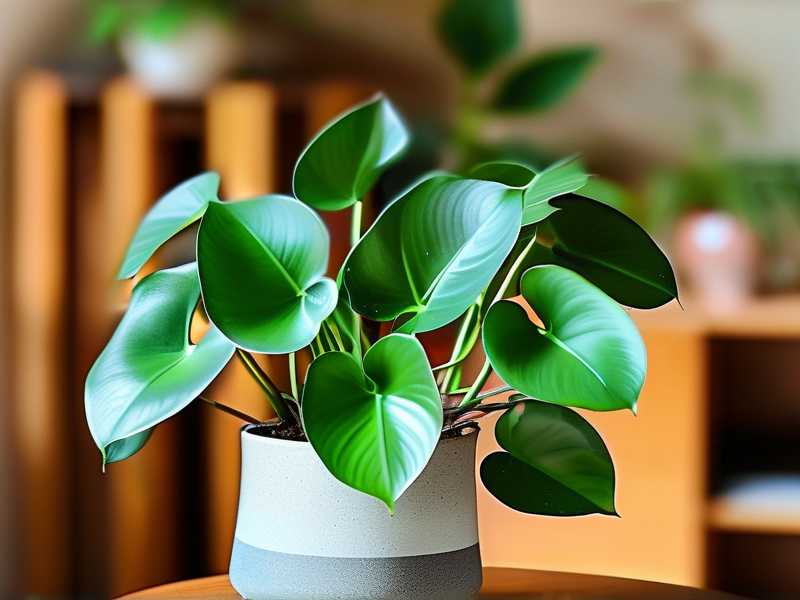
In a normal dry home — especially in winter with heating on — the air might sit around 30–40% humidity. That's desert-level for a tropical plant. The cutting loses water faster than it can take it in, and it stresses out. Stressed cuttings root slowly or not at all.
A humidifier raises the ambient humidity around the cutting to 60–80%. That reduces water loss from the leaves. The cutting stays plump and hydrated while it focuses energy on pushing out new roots. Simple as that.
I've tried plastic bag domes, which work okay but are fussy. You have to open them daily to prevent mold. I've tried misting multiple times a day — too easy to forget. The humidifier approach is more hands-off. It runs in the background and keeps conditions stable.
My 2-Week Propagation Timeline (What Actually Happened)
Let me walk you through exactly what I did, day by day, so you can copy it.
Day 1: Taking the Cutting
I chose a healthy stem with at least three nodes. I used a clean, sharp pair of pruning shears — wiped with rubbing alcohol first. I made the cut just below a node at a 45-degree angle. That angled cut gives more surface area for root development.
I removed the lower leaves so only two or three leaves remained at the top. Then I placed the cutting in a small glass jar with filtered water. Tap water works, but I let it sit overnight to let chlorine evaporate.
I set the jar on my kitchen counter, about three feet away from a small cool-mist humidifier. Not directly in the mist stream. Just close enough to benefit from the ambient humidity. I ran the humidifier for about six hours a day, usually in the morning and early evening.
Day 3–5: No Visible Change (This Is Normal)
Here's where most people panic. I did too, the first time. The cutting looks identical. No roots. No new growth. You start wondering if you did something wrong.
You didn't. Aglaonema cuttings spend the first few days just adjusting. They're healing the cut and starting cellular changes that lead to root formation. Nothing visible happens yet. Keep the humidity steady. Change the water every two days to keep it fresh and oxygenated.
Day 7–10: First Root Nubs Appear
By day eight, I saw tiny white bumps forming at the base of the stem, right around the node. These are root primordia — the very beginning of roots. They look like little white dots. Don't touch them. Don't move the cutting. Just let them develop.
This is where the humidifier really earns its keep. Without it, those nubs would often dry out and stall. With consistent humidity, they kept growing.
Day 10–14: Roots Take Off
By day 12, I had clear roots about an inch long. By day 14, they were two inches and branching. That's when I knew the cutting was ready to move to soil.
I potted it in a small 4-inch pot with a well-draining mix — equal parts potting soil, perlite, and orchid bark. I kept the humidifier running nearby for another week to ease the transition. The plant didn't skip a beat.
The 3 Biggest Mistakes New Growers Make (I Made All of Them)
Let me save you some heartbreak. These are the three things that killed my early attempts, and I see new growers make them constantly.
Mistake #1: Overwatering (The Silent Killer)
This is the big one. 90% of indoor plants die from overwatering. That's not an exaggeration. I've seen it in my own collection and in every plant group I'm part of.
With propagation, overwatering usually means leaving the cutting in water too long without changing it, or potting it in soggy soil before roots are strong enough. The stem turns mushy and black. It's root rot before roots even form.
I lost my second Aglaonema cutting this way. I thought more water meant faster rooting. Wrong. The cutting drowned. The water went cloudy and smelled foul within days.
The fix: change the water every two days. If you're rooting in soil, let the top inch dry out between waterings. And never bury the stem deeper than the node. Roots need oxygen as much as they need moisture.
Mistake #2: Wrong Light
Aglaonema is a low-light plant, but cuttings still need some light to photosynthesize and produce energy for root growth. I put my first cutting in a dark corner because I read "low light" and figured darker was safer. It just sat there for five weeks and did nothing.
Then I moved one to a bright window with direct afternoon sun. The leaves scorched and curled within three days. Wrong again.
The sweet spot is bright, indirect light. A spot a few feet from an east or north-facing window is ideal. Or use a sheer curtain to diffuse strong light. The cutting needs enough light to fuel growth but not so much that it overheats or burns.
The humidifier helps here too. It keeps the air around the leaves cooler and reduces heat stress from nearby light sources.
Mistake #3: Wrong Container
This one sounds minor, but it matters. I started a cutting in a huge mason jar filled with water. The stem had to stretch too far to reach the bottom. The leaves sat right at the rim and got constantly wet. That led to fungal issues.
Small is better for propagation. A narrow glass or a small propagation tube keeps the cutting upright and the leaves above the water line. The node should be submerged, but the leaves should stay dry.
When you pot up, use a small pot — no bigger than 4 inches. A too-large pot holds too much moisture around the roots and invites rot. I've learned that the hard way more than once.
If you want authoritative confirmation on this, the RHS recommends using containers just slightly larger than the root ball for most houseplants, and the AHS notes that proper drainage is non-negotiable for tropical aroids.
How to Set Up Your Humidifier for Propagation
Not all humidifier setups are equal. Here's what worked for me after some trial and error.
Distance matters. Place the cutting two to four feet from the humidifier. If it's too close, the constant mist keeps the leaves wet, which invites fungal problems. Too far, and you get no benefit. I found three feet to be the sweet spot in my kitchen.
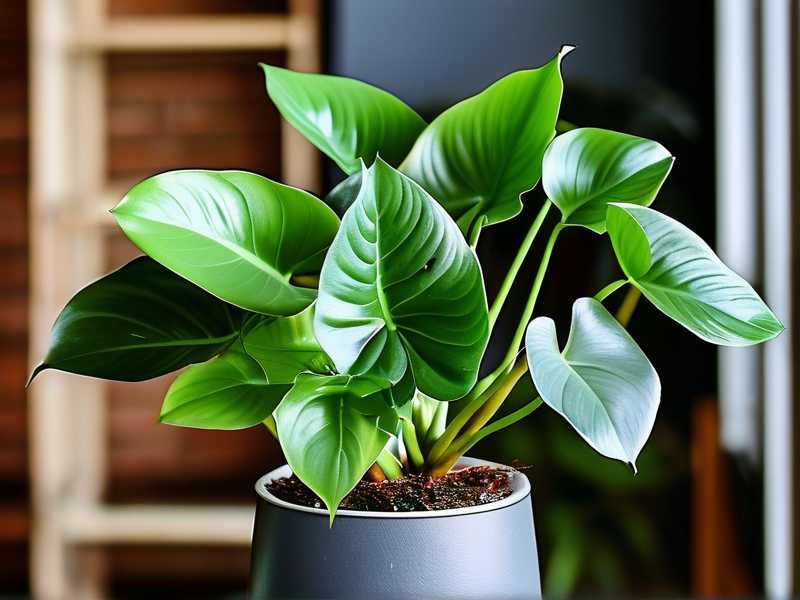
Run it in intervals. I run mine for three hours in the morning and three hours in the evening. That keeps humidity elevated without turning my kitchen into a swamp. A small hygrometer helps — aim for 60–75% relative humidity around the cutting.
Use cool mist, not warm. Warm mist humidifiers can raise the temperature too much for a delicate cutting. Cool mist is safer and more consistent with the tropical conditions Aglaonema likes.
Keep it clean. Empty and rinse the humidifier reservoir every two days. Standing water breeds bacteria, and you don't want that misted onto an open cut. I learned this after a cutting developed a weird slimy film on the stem. Not pleasant.
Long-Tail Tips That Made a Real Difference
A few more things I picked up along the way.
Change water like clockwork. Every 48 hours. No exceptions. Fresh water means more oxygen, fewer bacteria. If the water looks cloudy or smells off, change it immediately and rinse the stem gently.
Don't rush the pot-up. Wait until roots are at least two inches long and have visible branches. I potted one cutting too early with a single inch-long root. It couldn't handle the soil environment and died within a week.
Skip the rooting hormone if you want. I've tried it both ways. Aglaonema roots fine without it. Hormone powder can speed things up slightly, but it's not necessary. The humidifier does more for root development than hormone ever did for me.
Watch the temperature. Aglaonema likes it warm — 70–85°F (21–29°C). If your room is colder, rooting slows down. The humidifier helps maintain a stable microclimate, but it can't fix a cold room. Keep the cutting away from drafty windows and air conditioning vents.
Signs Your Propagation Is Working (And Signs It's Not)
Positive signs: firm stem, green leaves, white root nubs at the node, no odor from the water. These all mean you're on track.
Warning signs: yellowing leaves, mushy stem, cloudy or smelly water, black spots on the cut end. These mean something is wrong. Usually it's overwatering, too little light, or bacterial contamination.
If you catch it early, you can sometimes save the cutting. Trim the mushy part with a sterile blade, change the water, and adjust the humidifier distance. But honestly, once rot sets in, it's often too late. Prevention is everything.
FAQ
Can I propagate Aglaonema without a humidifier?
Yes, but it's slower and riskier. You can use a plastic bag dome or a tray of pebbles with water. But those methods require more daily attention. A humidifier gives you consistent, hands-off humidity control that makes a real difference in root speed and success rate.
How long until my Aglaonema cutting has roots?
With a humidifier and good conditions, expect visible root nubs in 7–10 days and transplant-ready roots in 2–3 weeks. Without humidity support, it can take 4–6 weeks or longer.
What humidity level is best for rooting Aglaonema cuttings?
Aim for 60–75% relative humidity. Below 50% and the cutting struggles to stay hydrated. Above 80% for extended periods and you risk fungal issues. A small hygrometer takes the guesswork out of it.
Final Thoughts
Propagating Aglaonema in a humidifier isn't complicated, but it does require patience and attention to a few key details. Keep the humidity steady. Change the water every two days. Give it bright, indirect light. Use a small container. And above all, don't overwater.
I've gone from killing every cutting I touched to having more Aglaonema plants than I know what to do with. The humidifier method was the turning point. If you're tired of watching your cuttings sulk, give it a try. Two weeks from now, you might be potting up a brand-new plant.





