 bluename
 How to Propagate Aglaonema to Increase Your Collection
I've killed more Aglaonema than I'd like to admit. The first one I bought — a gorgeous 'Red Siam' with deep pink stems — rotted in three weeks because I watered it like a fern. The second one I tried to propagate by just snipping a leaf and sticking it in soil. Spoiler: nothing happened. That leaf sat there for a month, slowly turning yellow, then brown, then crispy. I finally figured out how to propagate Aglaonema properly after burning through about five plants and spending way too many evenings reading through RHS growing guides and scrolling through forum threads from other frustrated plant parents. Here's the truth: Aglaonema propagation isn't hard, but it's not as simple as "cut and pray" either. You need to understand how these plants actually grow, and you need to stop making the same three mistakes I made.
Why Aglaonema Propagation Is Worth the Effort
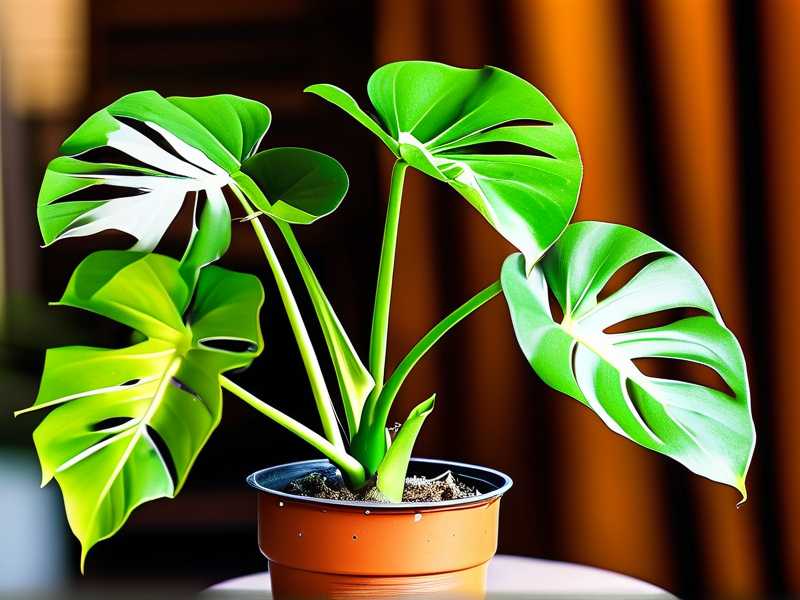
Aglaonema — Chinese evergreen, if you're using the common name — has become one of the most popular houseplants in North America, the UK, and Australia over the past decade. And for good reason. They tolerate low light better than most tropicals. Their leaves come in colors that look almost artificial — pinks, reds, silvers, greens all swirled together. But here's the catch: a single established plant can cost you $30 to $80 depending on the variety. Some of the rarer cultivars go for over $100.
So learning how to propagate Aglaonema isn't just a fun project. It's how you build a collection without emptying your bank account.
The Royal Horticultural Society notes that Aglaonema are typically propagated by division or stem cuttings — not leaf cuttings. That's the first thing I wish someone had told me. Leaf cuttings basically don't work for these plants. The AHS also points out that these are understory plants in their native Southeast Asian habitats, which means they evolved to spread through rhizome division and stem growth, not through leaf rooting.
Translation: you need a piece of stem or a division of the root ball. A leaf alone won't cut it.
The 3 Mistakes That Killed My First Aglaonema Propagations
Before I get into the actual steps, let me save you some heartbreak. I made all three of these mistakes, and each one cost me a plant.
Mistake #1: Overwatering During Propagation
90% of indoor plants die from overwatering. I know that sounds dramatic, but it's true — and propagation is when overwatering does the most damage. When you take a cutting, it doesn't have an established root system yet. It can't drink up all that moisture. So if you keep the soil consistently wet, the stem just rots from the bottom up. I lost a beautiful 'Silver Bay' cutting this way. The stem turned mushy and black within ten days, and by the time I noticed, there was no saving it.
The fix: use a well-draining mix and let it dry slightly between waterings. I mix potting soil with perlite at about a 60/40 ratio. Some people use straight perlite or sphagnum moss. I've tried both. Perlite works well but dries out fast. Sphagnum moss holds moisture but can stay too wet if you're not careful. My current go-to is a mix of coco coir, perlite, and a handful of orchid bark. It drains fast but retains just enough moisture.
Mistake #2: Putting Cuttings in the Wrong Light
I used to shove my cuttings onto a windowsill because I thought they needed bright light to grow. Big mistake. Aglaonema are understory plants. They burn in direct sun. My cuttings got scorched leaves and stalled growth. One actually developed brown patches that looked like burns — because they were burns.
The fix: bright, indirect light. A few feet back from an east or north window is ideal. Or under a grow light set to low intensity. I use a cheap LED grow light about 18 inches above my propagation tray, and I keep it on for 10 hours a day. The cuttings root faster and don't stress.
Mistake #3: Using the Wrong Container
I once propagated a cutting in a giant 8-inch pot because I thought it would give the roots "room to grow." What actually happened: the soil stayed wet for weeks because there were no roots to drink the water. The cutting rotted.
The fix: use a small pot. A 3-inch or 4-inch pot is perfect for a single cutting. Terracotta is great because it wicks away excess moisture. Plastic works too, but you need to be more careful with watering. I now use 4-inch clear plastic pots so I can see root development without pulling the cutting out. That clear pot trick alone has saved me from overwatering at least three times.
How to Propagate Aglaonema: Two Methods That Actually Work
After all my failures, I've landed on two reliable methods. Both work. Pick whichever fits your setup.
Method 1: Division (The Easiest and Fastest)
This is my preferred method. Aglaonema naturally produce offsets — small plantlets that grow from the base of the mother plant. When you repot, you can separate these offsets and pot them up on their own.
Here's what I do:
Step 1: Water the mother plant thoroughly the day before. This makes the root ball easier to work with and reduces stress on the plant.
Step 2: Gently slide the plant out of its pot. Don't yank it. If it's stuck, run a knife around the inside edge of the pot.
Step 3: Look for natural separation points. You'll see where the offsets connect to the main plant. Use a clean, sharp knife or sterilized scissors to cut through the connecting rhizome. Make sure each division has its own roots.
Step 4: Pot each division in a small container with fresh, well-draining mix. Water lightly — just enough to settle the soil. Don't soak it.
Step 5: Keep the divisions in bright, indirect light and don't fertilize for at least four weeks. The roots need time to establish.
I divided a 'Maria' Aglaonema last spring and got four new plants from one pot. Four. That's a $120 value from a $35 plant. Within two weeks, I could see new leaves emerging from the center of each division. By week three, they were clearly growing. By week four, I moved them to slightly brighter spots and started a diluted fertilizer routine.
Method 2: Stem Cuttings (Slower but Still Reliable)
This method takes longer — usually four to eight weeks for rooting — but it's useful if your plant has a long, leggy stem you want to trim back.
Step 1: Find a stem section with at least two nodes. Nodes are the little bumps where leaves emerge. Roots and new shoots grow from these nodes, not from the internode spaces.
Step 2: Cut just below a node with a clean, sharp blade. I use a fresh utility knife blade every time. Dirty tools introduce bacteria, and that's how rot starts.
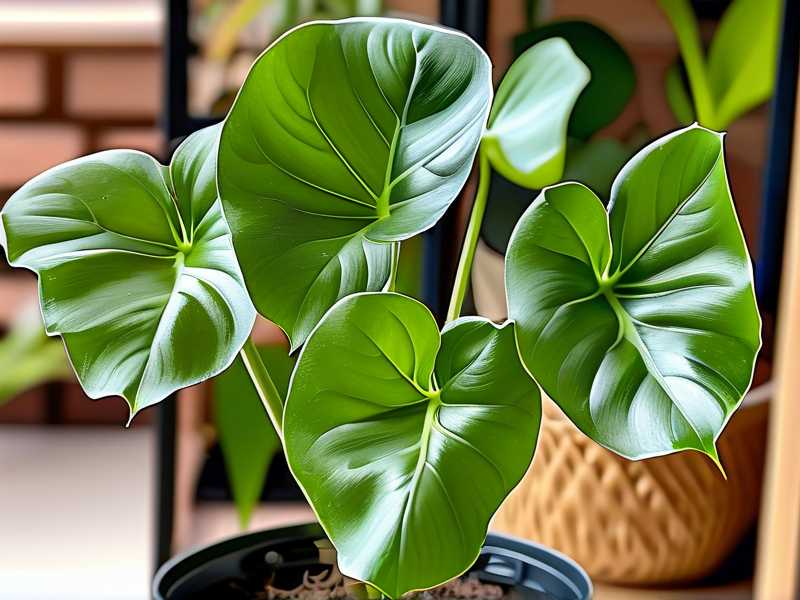
Step 3: Remove the lower leaves so that at least one node is exposed. This is the part that goes into the rooting medium.
Step 4: Optional but helpful — dip the cut end in rooting hormone. I've propagated without it and with it. The hormone speeds things up by about a week, in my experience.
Step 5: Stick the cutting into your rooting medium — either the coco coir/perlite mix I mentioned or straight sphagnum moss. Bury it so the lowest node is covered.
Step 6: Water once, then wait. This is the hard part. Don't water again until the medium is nearly dry. I check mine every three or four days by sticking my finger about an inch into the mix. If it's damp, I wait.
Step 7: Watch for new growth. This is your signal that roots have formed. I've had cuttings show new leaves in as little as three weeks and as long as seven weeks. Don't tug on the cutting to check for roots — you'll break them. Just wait for new growth.
What I Observed Over Two Weeks
I started a batch of three stem cuttings on a Saturday. Here's what happened:
Week 1: Nothing visible. The cuttings looked exactly the same. One leaf on the smallest cutting turned slightly yellow, which worried me, but it stayed alive. I kept the medium barely moist — not wet.
Week 2: Still no new leaves, but the stems felt firm. No mushiness. No blackening. I took that as a good sign. I resisted the urge to dig them up and check for roots. That urge is strong, by the way. You'll feel it. Don't give in.
By week three, one cutting had a tiny new leaf unfurling. By week four, all three had new growth. The roots were established enough that I could gently lift them and see white root tips through the clear pots.
The biggest lesson from those two weeks? Patience plus a light hand with water. That's it.
What About Water Propagation?
I've tried rooting Aglaonema cuttings in water. It works, but the transition back to soil is tricky. Water roots are different from soil roots — they're more fragile and adapt poorly to soil. I lost two water-propagated cuttings when I potted them up. They just collapsed.
If you want to try water propagation, go ahead. It's satisfying to watch roots form in a glass jar. But plan to pot them up as soon as the roots are about an inch long, and keep the soil consistently moist for the first two weeks after transplanting. I've had better luck with sphagnum moss than straight water.
Caring for Your New Aglaonema Plants
Once your propagations are established — meaning they have new growth and roots holding the soil together — you can treat them like mature Aglaonema.
Light: Bright, indirect. No direct sun. Ever. I learned that the hard way with my first plant.
Water: Let the top inch or two of soil dry out before watering. In winter, I water maybe every 10 to 14 days. In summer, every 7 to 10. It depends on your home's humidity and temperature.
Humidity: They like it. I run a small humidifier near my collection during winter when indoor air gets dry. A pebble tray works too if you don't want to buy a humidifier.
Fertilizer: Diluted balanced fertilizer once a month during spring and summer. I skip it entirely in winter.
Temperature: They're tropical. Keep them above 60°F (15°C). Cold drafts will damage the leaves.
Common Questions I Get About Aglaonema Propagation
Can I propagate Aglaonema from a single leaf?
No. Not successfully, anyway. I tried it twice. The leaf stayed green for about three weeks, then died. Aglaonema need a node or a piece of stem to produce new growth. A leaf alone doesn't have the genetic material to form a new plant.
How long does it take for Aglaonema cuttings to root?
In my experience, four to eight weeks. Division is faster — you already have roots, so the plant just needs to adjust to its new pot. Stem cuttings take longer because they have to grow roots from scratch. Temperature matters too. Cuttings root faster in warm conditions (75–85°F).
Do I need a greenhouse or humidity dome?
It helps, but it's not mandatory. I've rooted cuttings without one. A clear plastic bag over the pot works as a makeshift humidity dome. Just open it every few days to let fresh air in, or you'll get mold. If your home humidity is above 50%, you can probably skip the dome entirely.
A Quick Note on Building Your Collection
Once you get the hang of propagation, you'll realize you never need to buy another Aglaonema again. You can trade cuttings with other plant people. You can divide your plants every spring and double your collection. You can turn one $40 plant into ten plants over a couple of years. That's the real reward — not just saving money, but understanding how these plants work and being able to share them with others.
I gave a division of my 'Maria' to a neighbor last fall. She'd never grown a houseplant before. Now she has three Aglaonema on her windowsill and she's asking me about pothos propagation. That's what this hobby is about, honestly.
Start with division if you're nervous. It's forgiving. Pick a healthy plant, repot it in spring, and gently separate the offsets. You'll be surprised how many you get.





