 bluename
 How to Fix Aglaonema Grow Light Burn: My Step-by-Step Recovery Guide
I’ll be honest—the moment I saw those pale, bleached spots and crispy brown edges on my beloved Aglaonema ‘Silver Bay,’ my heart sank. I thought I was doing everything right by giving it more light under my new grow lights. Instead, I was giving it a classic case of Aglaonema grow light burn. If you’re here, you’re probably seeing similar signs: yellowing, scorched patches, or leaves that look faded and thin. Don’t panic. Over the next two weeks, I meticulously nursed my plant back to health, and I’m here to guide you through the exact process. This guide will cover how to identify, treat, and, most importantly, prevent light burn on your Chinese Evergreen for good.
Understanding What Went Wrong: Aglaonema Light Requirements vs. Burn
First, let’s diagnose the problem. Aglaonema grow light burn happens when the intensity or duration of artificial light exceeds what these naturally shade-loving plants can tolerate. Unlike succulents or flowering houseplants, Aglaonemas thrive in low to medium, indirect light. Their beautiful, variegated leaves are actually more sensitive to intense light.
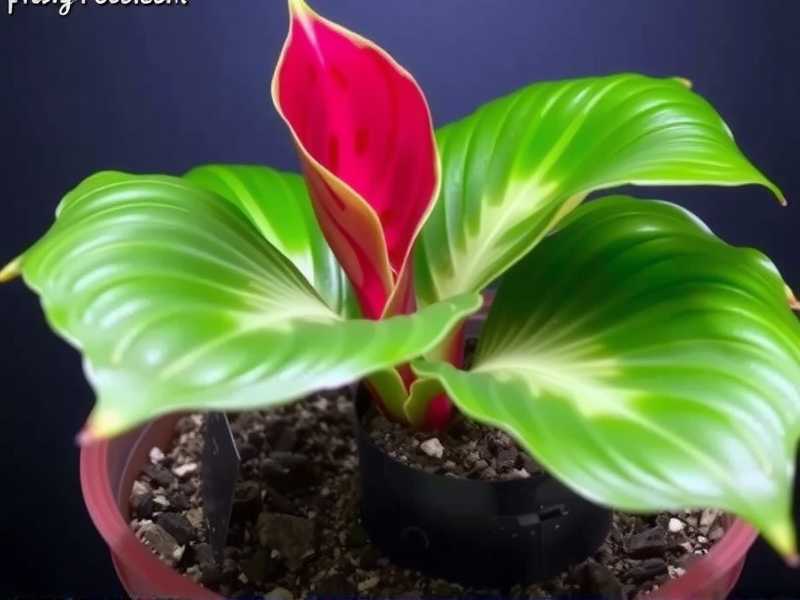
The signs I observed were clear:
- Bleaching: The rich green and silver patterns on new leaves looked washed out.
- Scorched Tips & Edges: Crispy, brown margins on the oldest leaves, facing the light source.
- Dry, Papery Patches: Pale, tan, or white spots in the center of some leaves.
According to the Royal Horticultural Society (RHS), leaf scorch is a common physiological disorder caused by environmental stress, where plant tissues dry out and die because water loss exceeds uptake. My grow light was simply too close and too strong, creating a mini-desert environment for the leaves.
My 2-Week Recovery Protocol: Step-by-Step
The recovery isn’t instantaneous; it’s about consistent correction. Here’s the exact plan I followed.
Immediate Action: The First 48 Hours
1. Relocate or Adjust the Light Source This is the most critical step. I immediately moved my Aglaonema out from directly under the grow light. I placed it on a shelf about 4 feet away from the light fixture, where it would receive only bright, indirect illumination. If you can’t move the plant, raise the light fixture. A good rule from indoor gardening experts is to start with LED panels at least 24-36 inches above Aglaonemas and observe.
2. Assess and Prune the Damage I took a deep breath and got out my sterilized pruning shears. You cannot heal scorched tissue. I carefully removed only the leaves that were more than 50% damaged or completely crispy. I left leaves with minor tip burn or small spots—they still contribute to the plant’s recovery through photosynthesis. Pruning also helps the plant redirect energy to new, healthy growth.
3. Conduct a Thorough Soil and Root Check Light stress is often coupled with moisture stress. I checked the soil. It was bone dry at the top, yet the bottom felt oddly cool. I realized the intense light was drying the surface quickly, tricking me into underwatering, while the root ball wasn’t absorbing efficiently. I gave it a deep, thorough watering until it drained freely from the bottom, ensuring the entire root zone was hydrated. I did not fertilize; a stressed plant cannot use nutrients and fertilizer can burn tender roots.
The Critical First Week: Observation and Stabilization
The Mistake I Made: Around Day 3, I saw no improvement on the damaged leaves (which is normal) and panicked. I moved the plant again, this time to a dark corner. This sudden shift from too much light to too little is another shock. Don’t do this. Consistency is key.
I moved it back to its “recovery spot” with stable, indirect light. My goal was to let it acclimate.
- Humidity is Your Ally: I placed the pot on a large pebble tray filled with water and grouped it with other plants. The American Horticultural Society (AHS) notes that increased humidity can reduce transpiration (water loss) in stressed plants, easing the burden on the roots.
- Watering Discipline: I resisted watering again until the top 1.5 inches of soil were dry. I used my finger, not a schedule. Overwatering a stressed plant invites root rot.
By the end of Week 1, the plant looked… stable. The remaining good leaves were perky. No new damage had appeared. This was my first sign of success.
Week Two: Signs of Recovery and System Adjustment
The Victory: Around Day 10, I noticed a tiny, tight sheath peeking from the base—a new leaf was emerging! This was the ultimate confirmation that the plant had overcome the shock and was investing in growth again.
Fine-Tuning the Grow Light Setup: Now that the plant was stable, I needed to create a safe long-term environment. I invested in a simple light meter app (a lux meter) to get objective data.
- I measured the light at the plant’s new location. It read between 200-400 foot-candles (fc), which is perfect for Aglaonemas. Under the direct beam before, it was likely over 800 fc.
- I adjusted the timer. I had been running my lights for 14 hours. I reduced the photoperiod to a consistent 10 hours per day. Plants need a dark period for respiration.
How to Prevent Future Aglaonema Light Burn
Prevention is about respecting the plant’s origins. Here’s my ongoing protocol:
1. Choose the Right Light and Distance: For Aglaonemas, broad-spectrum LED lights are ideal as they produce less heat. Always start with the light fixture at the manufacturer’s recommended distance for “low-light plants” and increase it by 6-12 inches as a safety buffer. You can always lower it later if the plant shows signs of stretching.
2. Implement a “Hardening Off” Process: When introducing any plant to a new grow light, don’t go from 0 to 100. Start with just 4-5 hours of exposure per day, gradually increasing by an hour every 3-4 days over two to three weeks. This allows the plant to build tolerance.
3. Master the Art of Observation: Make it a habit to check your plants not just for water, but for light response. Are new leaves larger, more vibrant, and appropriately colored? That’s perfect. Are they smaller, paler, or leaning hard away from the light? It might be too intense. Rotate your plant a quarter turn weekly for even growth.
Frequently Asked Questions
Can severely burned Aglaonema leaves turn green again? No, the damaged, scorched tissue is dead and will not recover. The plant may eventually absorb nutrients from those leaves, causing them to yellow and drop completely. Focus on supporting the plant to produce new, healthy growth.
What is the difference between grow light burn and underwatering? Both can cause browning, but the pattern differs. Light burn typically creates bleached or scorched patches and crispy edges, often on the leaves closest to and facing the light. Underwatering usually causes uniform browning and crispiness starting at the very tips and outer edges, often accompanied by overall drooping. In my case, the light was the primary culprit, but it also led to uneven soil moisture.
How long does it take for an Aglaonema to recover from light stress? You should see the progression from shock to stabilization within 7-10 days, indicated by no new damage. The first signs of active recovery, like a new leaf spike, can appear in 2-3 weeks. Full recovery, where the plant has replaced lost foliage and looks full again, can take several months. Patience is essential.
Watching my Aglaonema push out that first new leaf after its ordeal was incredibly rewarding. The journey taught me that even with the best intentions and tools, listening to the plant’s specific language is what matters most. By acting quickly to remove the stress source, providing stable supportive care, and patiently adjusting your environment based on observation, you can not only fix grow light damage on Aglaonema but also create a thriving, resilient plant. Remember, these are adaptable survivors. With the right balance of light—not too little, not too much—your Chinese Evergreen will reward you with its stunning, painterly foliage for years to come.





