 bluename
 How to Pot Newly Rooted Aglaonema Cuttings (Without Killing Them in Week One)
If you've got aglaonema cuttings with fresh white roots sitting in water or sphagnum moss right now, here's the short answer: pot them the moment roots hit 2–3 inches, use a chunky airy mix, pick a pot only 1–2 inches wider than the root ball, and don't water again until the top inch or two is dry. That's it. That's the whole secret. Everything else is details, and the details are where most people mess up.
Quick confession before we go further. I've killed more aglaonema cuttings than I'd like to admit. Not because I'm careless. Because I did what most beginners do — I treated a newly rooted cutting like a fully established plant. Big mistake. Aglaonema roots fresh out of water are soft, spoiled, and dramatic. They've had moisture handed to them 24/7. Drop them into a heavy potting mix and soak it, and you've basically signed their death certificate.
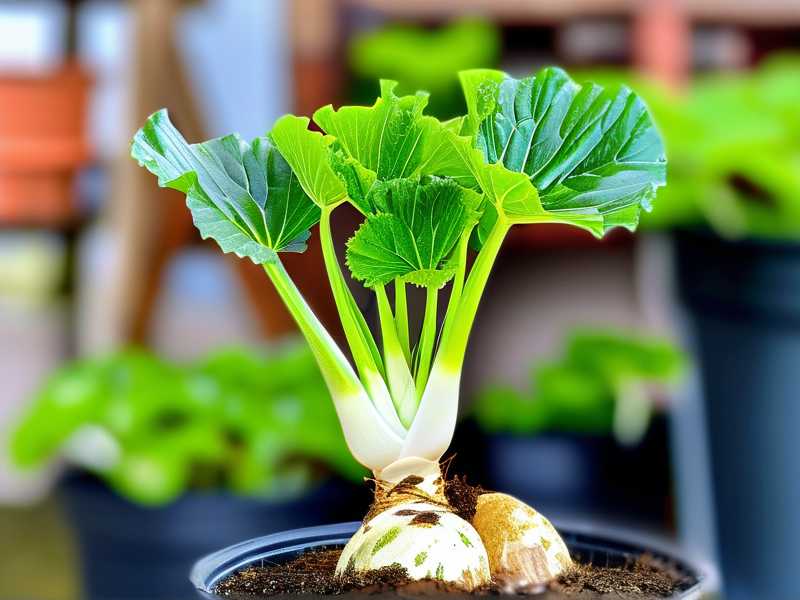
And if you've spent any time in houseplant circles, you've heard the stat: 90% of indoor plants die from overwatering. Newly potted aglaonema cuttings are prime victims. Not because people are reckless, but because the transition from water to soil is genuinely tricky. Roots that formed in water behave differently from roots that form in soil. They're weaker, more brittle, and less efficient at pulling moisture from a solid medium. That's the reality nobody tells you upfront.
I learned this the hard way with a Red Siam cutting I babied for six weeks. Beautiful roots, thick and white. I potted it in regular indoor potting soil, watered it thoroughly like every guide says, and watched it sulk for ten days before the stem turned to mush. Gone. That was my third aglaonema loss in a row, and it finally forced me to rethink my whole approach.
So let me walk you through what actually works, based on what I've tested myself over multiple rounds.
What You Actually Need Before You Start
Don't rush this part. Having everything ready means your cutting spends less time exposed and stressed.
Here's my go-to list:
- A small pot with drainage holes (2–4 inches, depending on root size)
- Chunky aroid mix — I use roughly 40% potting soil, 30% perlite, 20% orchid bark, 10% coco coir
- Clean scissors or snips
- A chopstick or pencil for making a hole
- A spray bottle or small watering can
- Optional: rooting hormone powder (not required if roots already exist)
That mix ratio matters more than people think. Aglaonema isn't a swamp plant. It grows on forest floors under canopy, where leaf litter and bark keep things loose and fast-draining. Compacted soil suffocates those new roots within days.
I also keep a small hygrometer nearby. Not mandatory, but if your home sits below 40% humidity (looking at you, Canadian winters), your cutting will appreciate a little extra ambient moisture while it adjusts.
Step-by-Step: How I Pot Newly Rooted Aglaonema Cuttings
Alright, here's the actual process. I've done this dozens of times now, and this sequence gives the best survival rate.
-
Let the roots hit 2–3 inches first. I know it's tempting to pot earlier. Don't. Roots shorter than 2 inches are too fragile. Longer than 4 inches and they get tangled and break during transfer. Two to three inches is the sweet spot.
-
Pre-moisten your mix. Not soaking wet. Just damp enough that it clumps slightly when squeezed, then falls apart. If you can wring water out of it, it's too wet. This is probably the single biggest thing I changed in my routine.
-
Fill the pot partway. Add mix to about one-third of the pot. Poke a hole in the center with your chopstick. This gives the roots a guide rather than forcing them through dense medium.
-
Lower the cutting in gently. Hold the stem with one hand, let the roots drape naturally into the hole. Don't bunch them up or force them downward. If a root bends sharply, it'll likely rot at that bend.
-
Backfill and firm lightly. Add mix around the roots, tapping the pot as you go to settle it. Press down softly. No stomping. You want support, not compression.
-
Skip the heavy watering. This is where I used to go wrong. Give it a light mist or maybe two tablespoons of water around the base. That's it. The pre-moistened mix already has moisture. Drenching it now drowns those tender roots.
-
Place it in bright, indirect light. No direct sun. No dark corner. Think filtered light from a sheer curtain or a spot a few feet back from a south-facing window.
The Two-Week Observation: What I Actually Saw
I kept notes during my last round, mostly because I wanted to know if my changes were real or just wishful thinking.
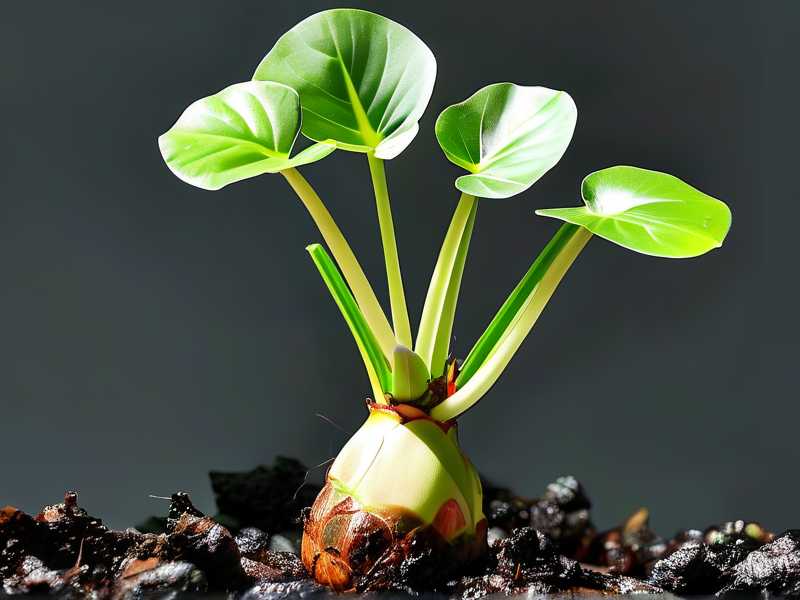
Days 1–3: Nothing visible. The cutting looked identical to Day 0. I resisted every urge to water. This is the hardest part. You'll stare at it and convince yourself it needs a drink. It doesn't.
Days 4–7: One older leaf on my Maria cutting yellowed slightly at the tip. I panicked. Then I remembered — this is normal transplant stress. The plant is redirecting energy to root establishment. I left it alone. No fertilizer. No extra water. By Day 9, that yellowing stopped spreading.
Days 8–11: New growth nub appeared on one cutting. Tiny, almost invisible. But it was there. Another cutting showed no top growth at all, which is also fine — roots are working first.
Days 12–14: I finally watered properly for the first time. The mix was dry about an inch and a half down. I gave it a thorough but slow watering until a few drops came out the drainage holes. Not a flood. Just enough.
Honestly, by the end of two weeks, three out of four cuttings were stable. The fourth one — a Silver Bay — lost a leaf but pushed a new one by Day 16. I'll take that.
Three Beginner Mistakes That Kill Aglaonema Cuttings
These are the ones I see over and over. I've made every single one.
1. Overwatering.
You already know the stat. 90% of indoor plants die from overwatering. But here's what that actually looks like with aglaonema cuttings: the stem turns soft and brown near the soil line. Leaves yellow from the bottom up. Eventually the whole thing collapses. The fix? Water only when the top inch or two of mix is dry. For a small pot, that might mean waiting 7–10 days. Set a reminder if you need to. Seriously.
2. Wrong light.
I once placed a freshly potted aglaonema cutting on a windowsill that got two hours of direct afternoon sun. By Day 4, the leaves were bleached and crispy at the edges. Aglaonema wants bright, indirect light. The RHS recommends filtered light for most aroid houseplants, and that matches my experience exactly. If your hand casts a soft shadow where the plant sits, that's about right.
3. Wrong pot size.
This one sneaks up on you. I used to think a bigger pot meant more room to grow. Nope. A too-large pot holds too much moisture around the roots, and those young roots can't drink it fast enough. Root rot sets in before you even realize something's wrong. Use a pot that's just 1–2 inches wider than the root mass. It'll look almost too small. That's correct.
The AHS also notes that proper drainage is non-negotiable for container-grown tropicals. So if your pot doesn't have holes, drill some or find one that does. No exceptions.
How to Choose the Right Potting Mix
I used to grab whatever bag of potting soil was on sale. Then I wondered why my aglaonemas kept rotting.
Simple truth: regular potting soil is too dense for newly rooted cuttings. It holds water like a sponge. What you want is a mix that drains fast but still holds some moisture — a chunky, airy blend. Think orchid bark, perlite, and a bit of coco coir.
My current ratio: 40% quality potting soil, 30% perlite, 20% orchid bark, 10% coco coir. You can tweak it. But keep it chunky. When you squeeze a handful, it should fall apart easily. If it stays in a clump, add more perlite.
I've also tried straight sphagnum moss for potting. It works, but it's tricky to manage moisture. You either keep it too wet or let it dry out completely. For beginners, a chunky soil mix is far more forgiving.
Aftercare: The First Month Matters Most
Potting day is just the beginning. The four weeks after are when your cutting either settles in or gives up.
Here's what I do:
- No fertilizer for at least 4–6 weeks. The cutting is still building roots. Fertilizer now burns them.
- Keep humidity around 50–60% if possible. A pebble tray or a nearby humidifier helps.
- Rotate the pot every few days so the plant doesn't lean toward one light source.
- Watch for pests. Fungus gnats love damp, freshly potted soil. Yellow sticky traps catch adults, and letting the top layer dry between waterings discourages larvae.
I also resist repotting again for at least six months. Aglaonema doesn't mind being slightly root-bound. In fact, it often does better that way.
What If the Cutting Wilts After Potting?
It happens. Don't freak out.
A little droop in the first 48 hours is normal. The roots are adjusting. If the wilting continues past Day 5, check your moisture levels. Too wet? Let it dry. Too dry? Give it a light watering.
I had one cutting that looked completely limp by Day 3. I moved it to a shadier spot, stopped touching it, and by Day 10 it perked up. Patience wins here.
FAQ
How long before I see new growth after potting? Usually 2–4 weeks. Some cuttings push new leaves faster. Others focus entirely on root development first. Both are normal. Don't judge progress by what's happening above the soil.
Can I pot a cutting directly into soil without rooting it in water first? Yes. In fact, some growers prefer it. Soil-rooted cuttings develop stronger roots from the start and skip the water-to-soil transition entirely. But if you already have water roots, just follow the steps above and be extra careful with moisture.
Should I use rooting hormone on already-rooted cuttings? Not necessary. Rooting hormone helps trigger root formation. If roots already exist, it won't add much. Save it for your next fresh cutting.
Wrapping Up
Potting newly rooted aglaonema cuttings isn't complicated, but it's not foolproof either. The main things: wait for 2–3 inches of root, use a chunky mix, pick a small pot, and go easy on the water. Those four habits alone will save most cuttings.
I've lost my share of plants learning this. You probably will too, at least once. But once you get the rhythm — the dry-back timing, the right light, the right pot — aglaonema becomes one of the most rewarding houseplants to propagate. Slow, steady, and genuinely hard to kill once it's established.
Give it two weeks. Take notes. And step away from the watering can.





