 bluename
 How to Transition Aglaonema From Soil to Water (Without Killing It)
If you want to know how to transition Aglaonema from soil to water, here's the short answer: pull the plant out, rinse every speck of soil off the roots, cut away anything mushy, then sit the roots in a clean glass of tepid water and change that water every 5–7 days. Don't add fertilizer for the first month, and keep the glass out of direct sun. That's it. No magic, no rooting hormone required. I've moved five Aglaonemas from dirt to water over the past two years, and I've also killed one doing it the lazy way, so let me walk you through what actually works.
I'm writing this as someone who keeps about thirty houseplants on windowsills and bookshelves in a drafty old apartment. Not an expert with a greenhouse. Just a person who has scrubbed root balls in the kitchen sink at 11 p.m. and learned a few things the hard way.
Why Bother Growing Aglaonema in Water?
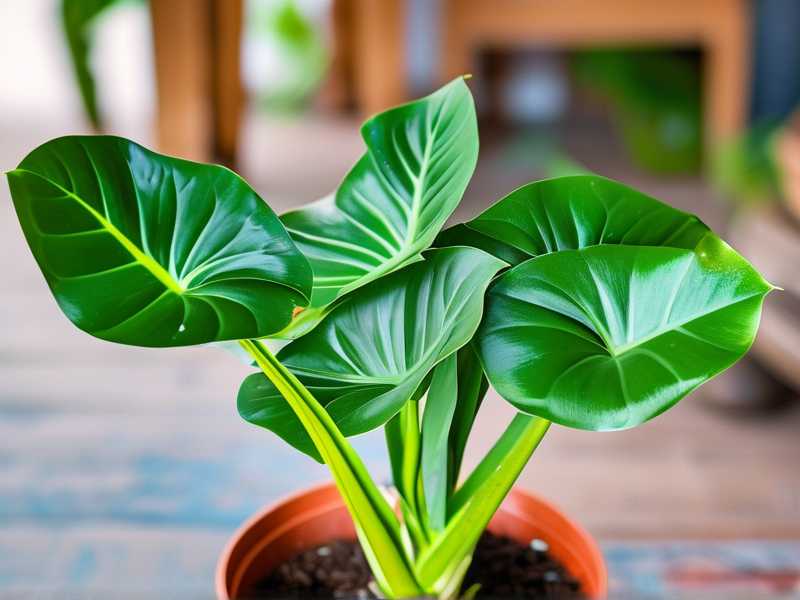
Aglaonema, often sold as Chinese evergreen, is one of those plants that genuinely tolerates water culture. Not just survives, actually grows. The roots adapt to being submerged as long as they still get oxygen, which is why you'll see new white roots popping out within two to three weeks.
There's another perk. No fungus gnats. If you've ever fought a gnat infestation in bagged potting mix, you know the appeal.
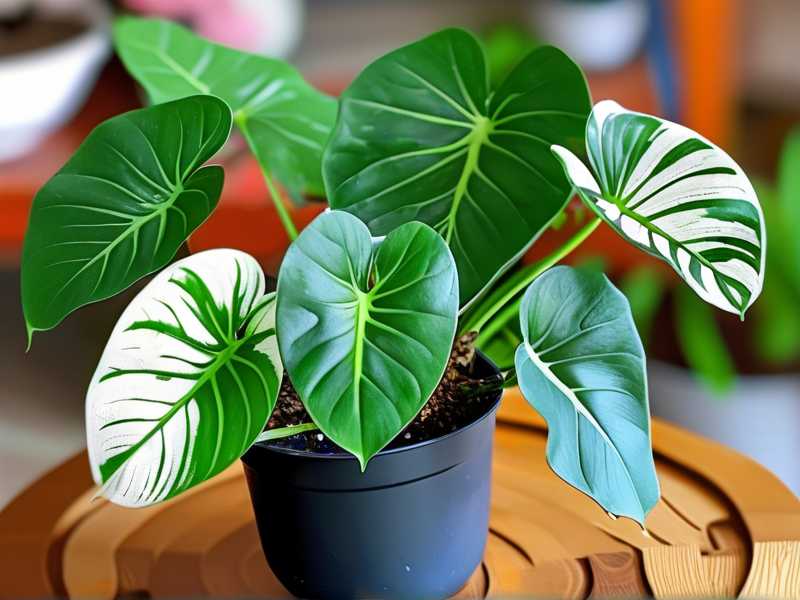
And honestly, water-grown Aglaonema looks good. A variegated 'Red Siam' or 'Silver Bay' sitting in a clear glass vase on a shelf is a whole aesthetic. It's the reason a lot of people search for this in the first place.
That said, the transition itself is where most plants get lost. Let's fix that.
What You'll Need Before You Start
Gather everything first so you're not running around with a half-bare root system dripping on the floor.
- A clean glass jar or vase. Dark glass slows algae growth, but clear works if you're diligent about water changes.
- Room-temperature water. Tap water is fine in most places, but let it sit out overnight so chlorine off-gasses.
- Sharp, clean scissors or pruning shears. Wipe them with rubbing alcohol first.
- A kitchen sink or a big bowl.
- Optional: a little activated charcoal or a few pebbles for the bottom of the vase.
One thing I'd skip: those decorative hydroponic pebbles that promise to "wick moisture." They do nothing for an established plant. Plain water is simpler.
Step 1: Water the Plant the Day Before
This sounds fussy, but a well-hydrated plant handles root disturbance far better than a dry one. I water the day before I plan to dig it up.
If the potting mix is bone dry, the roots get brittle and snap when you work them free. You'll lose more of them than you need to.
Step 2: Ease the Plant Out of Its Pot
Turn the pot on its side and squeeze the sides if it's plastic. Work the root ball out gently. Don't yank the stems.
If the plant is root-bound, you may need to run a butter knife around the inside edge of the pot. I've done this with a chopstick before. Whatever's clean and thin works.
Step 3: Rinse, Rinse, Rinse
This is the part people rush, and it's the part that matters most.
Hold the root ball under lukewarm running water and use your fingers to tease the soil away. Break up clumps gently. Get in between the roots.
You're aiming for zero soil left. Any organic matter that stays behind will rot in the water, turn it cloudy, and smell like a swamp within a week.
It took me about ten minutes per plant the first time. Now it's closer to four. Be patient.
Step 4: Trim the Roots Like You Mean It
Once the roots are clean, lay the plant on a towel and look closely.
Cut off anything that's brown, black, mushy, or smells bad. Healthy Aglaonema roots are firm and pale, often with pinkish or orange tips on newer growth.
Don't be shy here. A root that's already rotting won't recover in water. It'll just foul the whole glass.
I lost my second attempt at this because I left a soft brown root in place thinking it might bounce back. It didn't. Three days later the water was murky and the remaining roots started going soft too.
Step 5: Let the Roots Breathe for an Hour
Set the plant somewhere out of direct sun for about an hour with the roots exposed. This lets any nicks and cuts callous over slightly.
It's not strictly required, but I've found it reduces the chance of immediate rot.
Step 6: Into the Water It Goes
Fill your jar so the water covers the roots but not the base of the stems. If stems sit underwater for days, they rot.
This distinction matters. Roots can handle being submerged. Stems can't.
Set the jar somewhere with bright, indirect light. A north or east window is ideal. Direct afternoon sun will cook the water and stress the plant.
My Two-Week Observation Log
I kept notes on my most recent transition, a 'Silver Bay' I moved in early spring. Here's what actually happened.
Days 1–3: The plant looked sad. A couple of lower leaves drooped and yellowed. That's normal transplant shock. I resisted the urge to "fix" it, which mostly means resisting the urge to overwater or move it around.
Day 4: First water change. Slightly cloudy. No smell. Good sign.
Day 6: One leaf dropped. Again, normal. The plant is rebalancing its root-to-leaf ratio.
Days 8–10: I saw the first new root nubs. Tiny white bumps on the older roots. This is when you know it's working.
Day 12: Second water change, still clear. Two new leaves unfurling from the crown.
Day 14: Roots clearly longer, water staying clean between changes, and the yellowing stopped. At this point I knew the plant had made it.
That two-week window is realistic. Some plants adapt in ten days, others take a month. Don't panic if yours is slow.
The 3 Mistakes That Kill Most Transitions
I've made all three of these. Let me save you the trouble.
Mistake 1: Thinking more water equals happier plant.
Here's the number that matters: 90% of indoor plants die from overwatering. In soil that's soggy roots. In water culture it looks different, but the principle is the same. Stems sitting below the waterline, a jar that never gets refreshed, roots suffocating in stagnant water. "Water" isn't automatically safe just because the plant lives in it.
The fix: change the water every 5–7 days without fail, and never submerge the stem. If the water smells off, dump it immediately and rinse the roots.
Mistake 2: Putting the jar in the wrong light.
I once parked a freshly transitioned Aglaonema on a south-facing sill because I thought it needed "good light to recover." The water heated up, algae bloomed, and the roots turned to mush in under a week.
Aglaonema is a understory plant. It wants bright, indirect light. A few feet back from a south window, or right in an east window, is the sweet spot.
Mistake 3: Using the wrong container.
This one sneaks up on people. A narrow-necked bottle that forces roots into a tight bundle, or a huge vase with three inches of water sloshing around, both cause problems.
The right vessel is wide enough that the roots can spread naturally, and just tall enough that the water covers them with a little room to spare. A simple mason jar or a straight-sided glass vase works better than anything fancy.
The Royal Horticultural Society notes that Aglaonema prefers consistently moist but well-drained conditions in soil, and that's the key insight for water culture too. "Consistently moist" doesn't mean "flooded." It means stable, oxygenated moisture. That's why water changes aren't optional. The American Horticultural Society also points out that aroid roots are adapted to cling to surfaces rather than sit in standing water, which is why a clean jar with room to breathe works better than a sealed, stagnant one.
Long-Term Care Once It's Settled
After the first month, you can start adding a very diluted liquid fertilizer, maybe a quarter of the recommended strength, once a month. Full strength will burn the roots.
Keep changing the water weekly. Skip the fertilizer the week you change it, or just alternate.
If algae starts growing on the glass, rinse the jar and roots with fresh water and move the setup out of bright light for a few days. Algae isn't harmful to the plant, but it's ugly and it competes for oxygen.
Some people add a drop of hydrogen peroxide to the water. I don't, and I'd suggest new growers skip it too until they've got a feel for the routine. It's easy to overdo.
Transplanting Back to Soil Later
If you ever want to move the plant back into potting mix, you can. But do it in stages. Pot it up in a chunky, airy mix and keep it slightly drier than you think you should for the first two weeks. Water roots are softer than soil roots, and they need time to toughen up.
I've done this once and the plant sulked for about three weeks before pushing new growth. It survived. It just wasn't pretty.
Frequently Asked Questions
How long does it take for Aglaonema to adjust to water?
Most plants show new root growth within 10–14 days. Full adjustment, where the plant is stable and pushing new leaves regularly, takes about four to six weeks.
Can I put a soil-grown Aglaonema straight into water without rinsing the roots?
No. Leftover soil rots in the water and causes bacterial bloom. Rinse thoroughly, every time. This is the single biggest reason transitions fail.
Why are my Aglaonema leaves turning yellow after the switch?
Some yellowing in the first two weeks is normal transplant shock. If it continues past that, check your water level (stems shouldn't be submerged), your light (no direct sun), and how often you're changing the water.
A Few Last Thoughts
The transition from soil to water isn't difficult. It's just unforgiving of shortcuts. Clean the roots properly, keep the stems dry, change the water on schedule, and give the plant indirect light. Do those four things and you'll watch new roots form inside two weeks. Skip them and you'll be scrubbing a slimy jar wondering what went wrong.
I've been on both sides of that. Trust me, the patient version is worth it.





