 bluename
 How to Transition Aglaonema From Water to Soil (Without Killing It)
I'll be honest with you: the first time I moved an Aglaonema from water to soil, I killed it in nine days. The leaves went yellow, then mushy, then the whole stem collapsed. I sat there staring at the pot thinking I'd done everything right. I hadn't. The answer, plain and simple, is that you need to transition Aglaonema from water to soil gradually, in a small pot, with a chunky airy mix, and you need to keep that mix barely moist for the first two weeks — not soaking wet. That's the whole secret in one sentence. Everything else below is just the why and the how, plus the mistakes I made so you don't have to.
Why This Transition Is Trickier Than It Looks
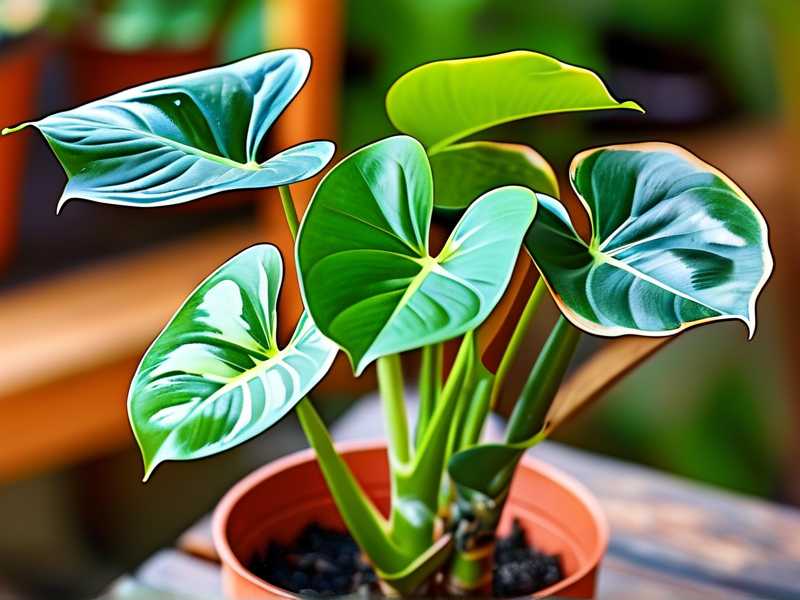
Aglaonema, or Chinese evergreen, grows two completely different kinds of roots depending on where it lives.
Water roots are thin, pale, and fragile. They're built to absorb dissolved oxygen and nutrients straight from water. They have almost no protective outer layer.
Soil roots are thicker, darker, and coated in a tough skin that resists drying out. They also need to push through physical resistance.
When you move a plant from water to soil, the water roots can't suddenly handle a dense, wet environment. They suffocate. That's why so many people lose their plant in the first week and blame themselves.
The RHS puts it plainly in their guidance on houseplant care: roots adapted to water struggle in heavy, moisture-retentive compost. You need air pockets. You need grit, bark, perlite — something that lets oxygen reach those roots while they adapt.
Here's a fact worth taping to your fridge, because it explains most plant deaths: 90% of indoor plants die from overwatering. Not underwatering. Not pests. Overwatering. And this transition is the single most overwatering-prone moment in a houseplant's life.
My 2-Week Observation: What Actually Happened
I ran this transition on three Aglaonema cuttings at once so I could compare. Two in a chunky mix, one in standard potting soil as a control. I checked them every single day for 14 days.
Days 1–3: Nothing visible. The control plant's soil stayed wet. The chunky-mix plants dried slightly at the surface by day 2.
Days 4–6: The control plant dropped its lowest leaf. It was soft and yellow at the base. The other two looked fine.
Day 7: Control plant's stem felt squishy near the soil line. That's root rot announcing itself. I pulled it — brown, slimy roots, that unmistakable smell.
Days 8–10: The two healthy plants pushed out tiny new root nubs at the base. You can't always see this, but if you give the stem a very gentle tug, it resists. That resistance is a good sign.
Days 11–14: One new leaf unfurled on each healthy plant. Slow, but real. No yellowing, no drooping.
What I learned: the plant that lived wasn't the one I babied the most. It was the one I let breathe.
The 3 Mistakes That Kill New Transplants
Mistake 1: Overwatering Right After the Move
This is the big one. New soil feels like it needs a big drink. It doesn't. The water roots are already full of water. Adding more just drowns them.
I used to soak the pot until water ran out the bottom. Every time. And every time, the plant rotted. Now I water lightly at planting, then wait. In a chunky mix, I don't water again for 5 to 7 days. Sometimes longer.
Mistake 2: Putting It in Bright Direct Light
People think a stressed plant needs more light to recover. Wrong. A plant adapting its root system is under stress. Bright direct light makes it transpire faster than its compromised roots can keep up with. You get crispy, curling leaves.
Indirect, medium light is the sweet spot. A few feet back from a window. No direct sun.
The AHS notes that most tropical foliage plants, including Aglaonema, perform best in filtered or indirect light — and that's especially true during any kind of root disturbance.
Mistake 3: Using a Pot That's Too Big
I know the temptation. You think, "More room, more roots." No. A big pot holds a big volume of wet soil, and your tiny root system can't drink it fast enough. That soil stays wet for weeks. Rot sets in.
Use a pot barely wider than the root ball. I mean it. A 2-inch pot for a small cutting is not too small. You can size up later.
My Step-by-Step Method (This Is What I Actually Do Now)
Step 1: Prep the Mix First
Don't plant into anything until the mix is ready. I use roughly:
- 2 parts potting soil
- 1 part perlite
- 1 part orchid bark
Mix it dry. Don't wet it first. You want it slightly moist, like a wrung-out sponge, not dripping.
Step 2: Choose the Right Pot
Terra cotta is my pick for this transition. It wicks moisture away from the sides, which adds a little safety margin. Plastic works too if you're careful with watering. Whatever you use, make sure there's a drainage hole. No exceptions.
Step 3: Plant at the Right Depth
Hold the plant so the base of the stem sits right at the soil line. Not buried, not floating. Burying the stem is a fast track to rot.
Gently settle the mix around the roots. Don't press hard. You want it snug but airy.
Step 4: Water Once, Lightly
Just enough to settle the soil around the roots. A few tablespoons, not a soak. Then leave it alone.
Step 5: Keep It Warm and Out of Direct Sun
Room temperature is fine. 65–80°F is the range I aim for. Keep it away from AC vents and cold windows.
Step 6: Wait
This is the hard part. Don't water again until the top inch or two of mix feels dry. In my chunky mix, that took about 6 days. In standard soil, it would've taken 10 or more — and that's exactly why standard soil failed.
What to Expect (and What's Normal)
Expect a little droop for the first few days. That's transplant shock, and it usually passes.
Expect slow growth for 3 to 4 weeks. The plant is building roots, not leaves. Patience wins here.
Expect one old leaf to yellow and drop. That's the plant redirecting resources. It's not a crisis unless it spreads.
If you see multiple leaves yellowing fast, mushy stems, or a sour smell — that's rot. Act immediately.
Fixing Rot If It Starts
I've saved plants at this stage, and I've lost them too. Here's what works more often than not.
Pull the plant out. Rinse the roots under room-temperature water.
Cut away anything brown, black, or slimy with clean scissors. Cut back to firm, healthy tissue.
Dust the cuts with cinnamon or a fungicide if you have one. Let it air-dry for an hour.
Replant in fresh, dry chunky mix. Don't water for 2 or 3 days.
Yes, it's stressful. But I've brought plants back from a single healthy root stub.
A Note on Water-to-Soil Transplant Timing
The longer a plant has lived in water, the harder the switch. Roots get more adapted to water life with every passing week.
If it's been in water for more than a month, expect a rougher transition. That's not a reason to avoid it — Aglaonema can live in water long-term, but most growers find it thrives better in soil with proper care. Just go slow and watch closely.
FAQ
Can I move my Aglaonema from water to soil if it's been in water for a year?
Yes, but it's harder. The roots will be very adapted to water. Use a small pot, a very chunky mix, and water sparingly. Expect a longer adjustment period — sometimes a full month before you see new growth.
Should I fertilize right after transplanting?
No. Wait at least 4 weeks. Fertilizer on stressed, adapting roots can burn them. Let the plant settle first.
What if the plant looks worse after a week?
Check the soil moisture first. If it's wet, you're overwatering — let it dry. If it's dry and the plant is drooping, water lightly. If the stem is mushy, it's rot; treat it as described above.
The Short Version
Go small pot. Go chunky mix. Go light on water. Keep it out of direct sun. Wait patiently for two weeks.
That's it. That's the whole method. I killed three Aglaonema before I figured this out, and now I move plants from water to soil without losing a single leaf. You can too — just don't rush it.





