 bluename
 How to Propagate Aglaonema in Coco Coir: An Eco-Friendly Method That Actually Works
I'll be honest with you: I've killed my share of Aglaonema cuttings. The first time I tried propagating my Chinese Evergreen, I shoved the cuttings into a jar of tap water, parked them on a windowsill, and waited. Two weeks later, the stems were mush. That's when I started looking into coco coir, and it changed everything. If you want to learn how to propagate Aglaonema in coco coir, the short answer is this: take a stem cutting with at least two nodes, let the cut callous for a few hours, tuck it into moist (not soaking) coco coir, keep it warm and indirectly lit, and you'll typically see new root nubs within 2 to 3 weeks. No rooting hormone required, no plastic cups of murky water, no drama.
Why Coco Coir Beats Water and Regular Potting Mix
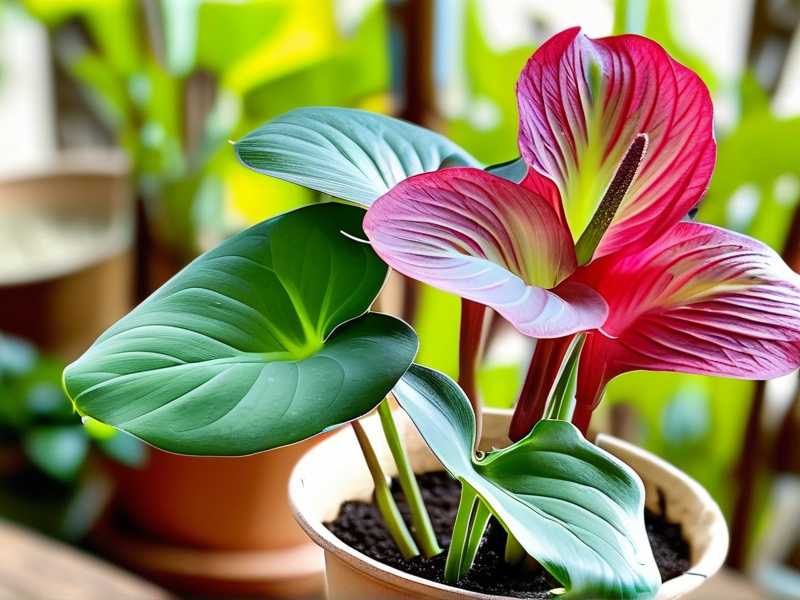
I used to be a water-propagation loyalist. It's satisfying to watch roots grow through a glass jar. But here's the thing: water roots are fragile. When you eventually move them to soil, a lot of them shock and die.
Coco coir gives you the best of both worlds. It holds moisture but drains beautifully, it's airy enough for young roots to push through, and it's a renewable byproduct of coconut processing, which matters if you're trying to garden a little more sustainably.
The RHS notes that aeration around the root zone is one of the biggest factors in successful cuttings, and coco coir delivers that without the compaction you get from peat or standard mix.
Plus, coco coir is naturally resistant to the fungal gnats and rot issues that plague overwatered cuttings. That alone sold me.
What You'll Need Before You Start
Gather these first so you're not scrambling mid-cut:
- A healthy Aglaonema with at least 4 to 5 stems
- Clean, sharp scissors or pruners (wipe with rubbing alcohol)
- A bag of loose coco coir, rinsed if it's the salty brick kind
- A small pot or tray with drainage holes
- A plastic bag or humidity dome
- Warm spot with bright, indirect light
That's it. No rooting powder needed, though you can use one if you have it lying around.
Step-by-Step: How I Propagate Aglaonema in Coco Coir
Step 1: Pick the Right Stem
Choose a stem that's mature but not woody. I look for one with visible nodes, those little bumps where leaves once attached. Nodes are where roots emerge. No nodes, no roots. Simple as that.
Step 2: Make the Cut
Using clean pruners, cut just below a node, about a quarter inch down. I aim for a cutting that's 4 to 6 inches long with two or three nodes on it.
Then, and this is the part I learned the hard way, let the cutting sit on a paper towel for 2 to 4 hours. The cut end needs to callous over. If you stick a fresh, weeping cut straight into moist coir, you're basically inviting rot to the party. I lost three cuttings that way before I figured it out.
Step 3: Prep the Coco Coir
Hydrate your coir until it feels like a wrung-out sponge. Squeeze a handful: if water drips out, it's too wet. If it barely clumps, add a splash more water.
Fill your pot or tray, poke a hole with a pencil, and slide the cutting in so at least one node sits below the surface. Firm the coir gently around the stem.
Step 4: Create Humidity
Slide the pot into a clear plastic bag or cover it with a dome. This keeps humidity high while roots form. Open the bag for a few minutes every couple of days to let fresh air in. Stale, soggy air is how mold starts.
Step 5: Wait (The Hard Part)
Keep the setup warm, ideally 70 to 80°F, in bright indirect light. Mist the coir only when the top feels dry. This is not a "water every day" situation.
My 2-Week Observation: What Actually Happened
I ran this exact method on four cuttings from my Aglaonema 'Silver Bay' and tracked it.
Week 1: Nothing visible above the coir. One cutting's leaf yellowed and dropped, which worried me, but the stem stayed firm. No rot.
Week 2: I gave a gentle tug on each cutting. Three of them resisted, which means roots were forming. When I carefully lifted one out, I saw tiny white nubs at the buried node. By day 14, two cuttings had roots about half an inch long.
The fourth cutting never rooted. Its stem went soft at the base. That one, I'm fairly sure, was cut too close to a node and stayed too wet.
Lesson learned: not every cutting makes it, and that's normal. Four out of four would be suspicious.
The 3 Mistakes That Kill Most Aglaonema Cuttings
- Overwatering
Here's a stat worth pinning to your fridge: 90% of indoor plants die from overwatering. Cuttings are even more vulnerable because they have no root system to regulate moisture yet.
I used to think "more water equals faster roots." Wrong. Soggy coir suffocates the stem. If your cutting turns black or mushy at the base, that's drowning, not thirst.
The fix: water only when the top inch of coir feels dry. When in doubt, wait another day.
- Light Misplacement
Aglaonema is a low-light tolerant plant, but cuttings need gentle, consistent light to trigger root growth. A dark corner slows everything down. Direct sun scorches the leaves.
The fix: bright indirect light, like a few feet back from an east window, is ideal.
- Using the Wrong Pot
I once propagated cuttings in a decorative ceramic pot with no drainage hole. Big mistake. Water pooled at the bottom, and every cutting rotted within 10 days.
The fix: always use a container with drainage holes. Terra cotta or a nursery pot works great.
Honestly, once you fix these three things, propagation gets a lot less intimidating. The AHS puts it plainly: cuttings need air, warmth, and patience, not constant fussing.
When to Move Your Cuttings Out of Coco Coir
Wait until roots are 2 to 3 inches long, usually around week 4 to 6. Then transplant into a standard indoor potting mix.
Don't yank. Gently loosen the coir around the roots with your fingers. Coco coir is forgiving here, which is another reason I prefer it over sticky peat mixes.
Water the new pot thoroughly once, then let it settle for a week before resuming normal care.
Frequently Asked Questions
Can I propagate Aglaonema in coco coir without a humidity dome?
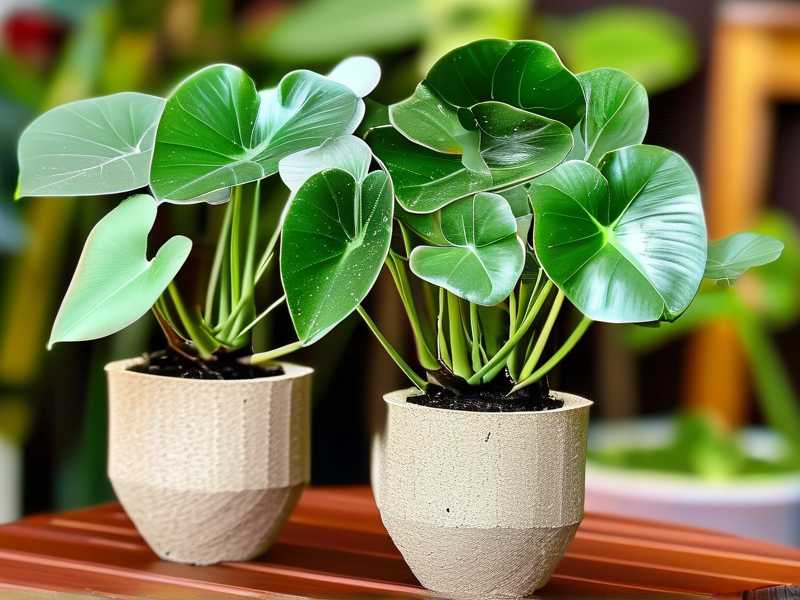
You can, but rooting will be slower and less consistent. A dome or plastic bag keeps moisture in the air around the leaves, which reduces stress while roots form.
Do I need rooting hormone for Aglaonema cuttings?
Not really. Aglaonema roots readily on its own if the conditions are right. I've done side-by-side tests and honestly couldn't tell much difference. Save your money.
How long until I see new leaves on my propagated Aglaonema?
Roots come first, usually in 2 to 4 weeks. New leaf growth typically shows up around week 6 to 8. Don't panic if the cutting looks static for a month. It's working underground.
Final Thoughts from Someone Who's Killed a Few Plants
Coco coir propagation isn't flashy. There's no glass jar to show off on Instagram. But it works, it's eco-friendly, and it gives your Aglaonema cuttings the airy, moist environment they actually want.
Start with healthy stems, keep things warm and humid, and resist the urge to overwater. Two weeks from now, you might be seeing your first root nubs. And if one cutting fails? Welcome to the club. Try again. That's how every good plant parent learns.





