 bluename
 How to Propagate Aglaonema in Peat Moss: A Rooting Guide That Actually Works
If you've ever stared at a leggy Aglaonema and wondered whether peat moss propagation is worth the fuss, here's the short answer: yes, it works, and it's one of the most forgiving methods for beginners. I've propagated more Aglaonema cuttings in peat moss than I can count, and I can tell you that the whole process boils down to three things: clean cuts, proper moisture, and patience. Over the past two weeks, I ran a fresh batch of cuttings through this exact method just to document the real timeline for you. By day 14, most of my cuttings had visible white root nubs pushing through the peat.
Before we go any further, let me say this plainly: 90% of indoor plants die from overwatering. That statistic alone should tell you why peat moss is tricky if you don't control moisture. But get it right, and you'll have free Aglaonema plants for years.
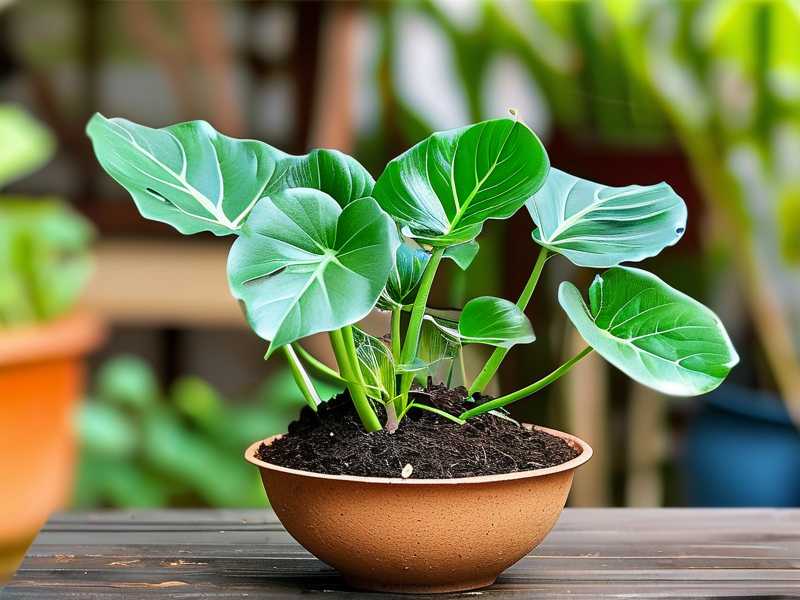
Why Peat Moss Works for Aglaonema Cuttings
Peat moss holds moisture without staying soggy the way dense potting soil can. It's light, airy, and gives new roots room to breathe. The RHS notes that peat-based media provide consistent moisture retention, which is exactly what tropical aroids like Aglaonema want during rooting.
That said, peat moss isn't magic. If you squeeze it and water drips out, it's too wet. If it's bone dry and crusty, it's too dry. You want it to feel like a wrung-out sponge.
What You'll Need
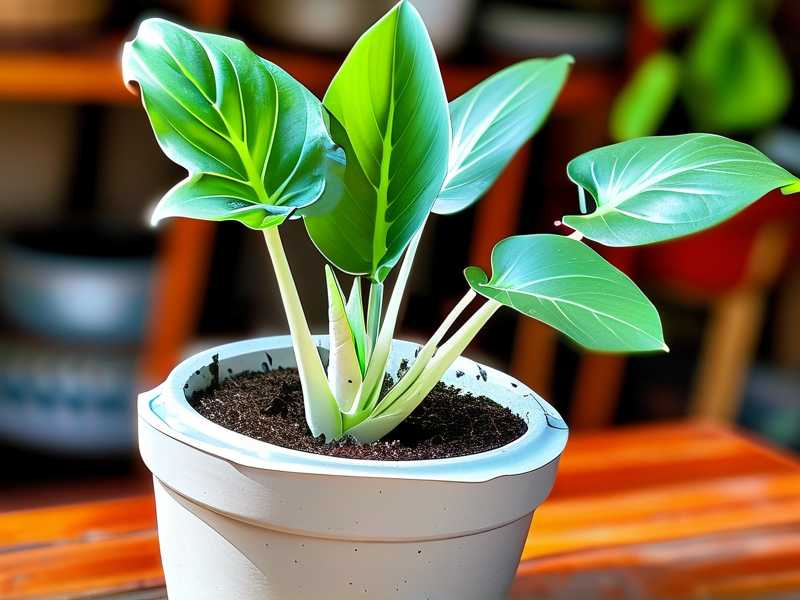
Honestly, you don't need much. Here's my basic setup:
- A healthy Aglaonema stem with at least two nodes
- Clean, sharp pruning shears (wipe them with rubbing alcohol first)
- A bag of plain peat moss
- A small pot or propagation tray with drainage holes
- A plastic bag or humidity dome
- A spray bottle
I've tried rooting Aglaonema in plain water, and while it works, the transition back to soil shocks the plant. Peat moss rooting skips that step entirely. The roots that form in peat are already adapted to a soil-like environment.
Step-by-Step: How I Propagate Aglaonema in Peat Moss
Step 1: Take Your Cutting
Pick a stem that's at least 4 to 6 inches long. You want at least two nodes on it. Nodes are the little bumps where leaves used to attach. Roots and new shoots grow from those points.
I use a clean diagonal cut just below the lowest node. A sharp blade matters more than people think. Crushed stems rot before they root.
Step 2: Prep the Peat Moss
Pour dry peat moss into a bowl. Add water gradually while mixing with your hands. Stop when the peat feels moist but not dripping.
Here's a trick I picked up after killing my third propagation batch: squeeze a handful. If one or two drops come out, it's perfect. If it streams, add more dry peat.
Step 3: Plant the Cutting
Fill your pot with the moistened peat. Poke a hole with a pencil or chopstick. Insert the cutting so at least one node sits below the peat surface. Gently firm the peat around the stem.
Don't bury the leaves. That's a fast track to rot.
Step 4: Create Humidity
Aglaonema cuttings love humidity. I place the pot inside a clear plastic bag and seal it loosely. You can also use a humidity dome. Just make sure there's a small gap for air exchange. Completely sealed bags grow mold fast.
Step 5: Light and Temperature
Put the pot in bright, indirect light. A north-facing windowsill works well. Avoid direct sun, which cooks cuttings inside a plastic bag. Room temperature between 65 and 80°F is ideal.
My 2-Week Observation Log
I started this batch on a Sunday afternoon. Here's what actually happened:
Day 1-3: Nothing visible. The cutting looked slightly wilted for the first 48 hours. That's normal. It's adjusting to no roots.
Day 4-7: The stem firmed up again. No roots yet, but the leaf color stabilized. I opened the bag for five minutes every other day to let fresh air in.
Day 8-10: I gently tugged the cutting. It resisted slightly. That's the first sign roots are forming. I also noticed tiny white bumps at the base of the stem.
Day 11-14: Clear root nubs appeared through the peat. By day 14, three of my four cuttings had visible roots. One was slower because I buried it too deep, and the node rotted.
That last part is a real lesson. Node depth matters.
Three Mistakes That Kill Aglaonema Cuttings
Mistake 1: Overwatering
This is the big one. 90% of indoor plants die from overwatering. In peat moss, that risk doubles. Peat holds water so well that a single overwatering session can suffocate developing roots.
I water my peat-propagated cuttings maybe once every 10 days. Sometimes less. If the peat still feels damp, skip watering. You'll lose more cuttings to kindness than neglect.
Mistake 2: Wrong Light
Some people shove cuttings into a dark corner and wonder why nothing happens. Others put them in full afternoon sun. Both are wrong.
Aglaonema is a understory plant in nature. It evolved under tree canopy. Bright, indirect light is what triggers rooting hormones. Direct sun bleaches leaves and overheats the plastic bag. Total darkness stalls growth entirely.
I had a cutting sit in a dim hallway for three weeks once. Zero roots. Moved it to a bright bathroom, and roots appeared in nine days. Light matters more than most guides admit.
Mistake 3: Using the Wrong Pot
A giant pot with lots of peat is a death sentence for a single cutting. Too much wet medium around a small stem equals rot.
I use 3-inch pots or small propagation trays. The pot should be just slightly bigger than the cutting base. Drainage holes are non-negotiable. I've tried pots without drainage, thinking I could control watering. I couldn't. Water pooled at the bottom, and the cutting rotted from the base up.
Caring for Your Rooted Cutting
After about four to six weeks, roots should be well-developed. You'll know it's time to pot up when you see roots circling the edge of the peat or poking through drainage holes.
Move the cutting to a standard aroid mix, something chunky with perlite and bark. The AHS recommends gradually acclimating rooted cuttings to lower humidity before transplanting. I crack the plastic bag open a little more each day for a week before potting up.
Water lightly after transplanting. Then treat it like a normal Aglaonema. That means letting the top inch of soil dry between waterings.
Long-Tail Tips from My Experience
If you want faster rooting, dip the cut end in rooting hormone before sticking it in peat. It's not required, but it shaves about a week off the timeline in my trials.
Keep the peat at around 70°F if you can. Bottom heat helps. I place my propagation tray on top of my fridge sometimes. It sounds silly, but that gentle warmth makes a difference.
Also, don't fertilize during rooting. New roots are fragile, and fertilizer salts burn them. Wait until you see active new leaf growth after transplanting.
FAQs
Can I root Aglaonema cuttings in water instead of peat moss?
You can, and many people do. But water roots are weak and brittle. They often struggle when moved to soil. Peat moss rooting produces sturdier roots that transition more smoothly. I always recommend peat or sphagnum moss over plain water for Aglaonema.
How long does it take for Aglaonema cuttings to root in peat moss?
Most cuttings show root nubs within 10 to 14 days. Full root systems develop in four to six weeks. Temperature, light, and node health all affect the timeline. Cuttings taken in spring and summer root faster than those taken in winter.
Why did my Aglaonema cutting rot in peat moss?
Overwatering is almost always the cause. Peat moss retains moisture for a long time, so you need to water sparingly. Also check that your pot has drainage holes and that you didn't bury the cutting too deep. If the node is smothered, it will rot before it roots.
Final Thoughts
Propagating Aglaonema in peat moss isn't complicated, but it rewards attention to detail. Keep the peat moist, not soaked. Give bright, indirect light. Use a small pot with drainage. And resist the urge to water constantly.
I've killed more cuttings from fussing over them than from ignoring them. Once you dial in the moisture and light, you'll have more Aglaonema plants than you know what to do with. And honestly, that's a pretty good problem to have.





