 bluename
 How to Propagate Aglaonema With Hardwood Cuttings: A Realistic Guide From Someone Who Killed Three Before Getting It Right
I'm going to give you the short answer right now, because I hate scrolling through 800 words of fluff just to find out whether a plant can even be propagated this way. Yes, you can propagate aglaonema with hardwood cuttings, but here's the catch — what most people call "hardwood" on an aglaonema is really the mature, woody lower stem tissue, not the soft green tips. And if you cut it wrong or pot it wrong, it rots. I know because I've done it. Three times, actually. The fourth time worked, and I'll show you exactly what changed.
The reason this matters is simple: 90% of indoor plants die from overwatering, and propagation cuttings are even more vulnerable because they have no established root system to handle excess moisture. So the entire game here is moisture control, light placement, and container choice. Get those three right and you'll have a new aglaonema in about six to eight weeks. Get them wrong and you'll have a mushy brown stick in a pot of wet soil, wondering what went wrong.
Why Hardwood Cuttings Work Differently on Aglaonema
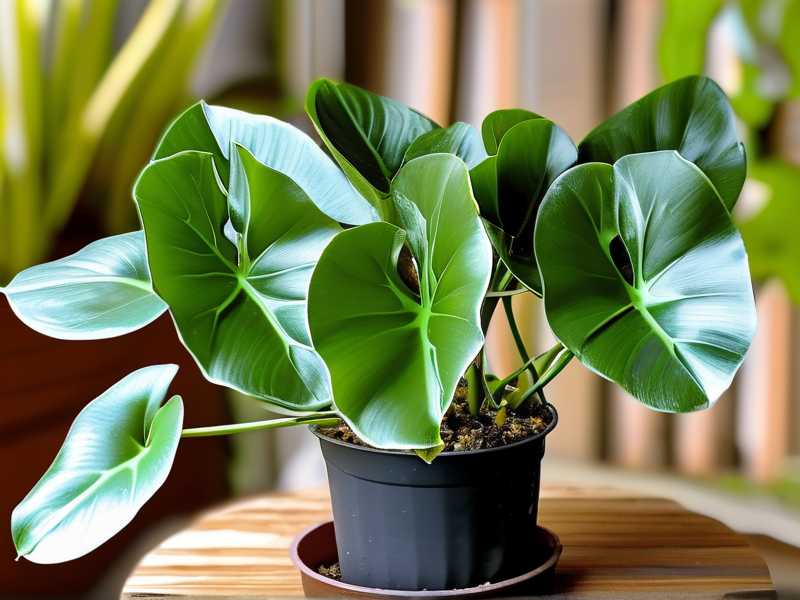
Aglaonema — Chinese evergreen, if you're not into Latin — is not a woody shrub like a rose or a fig. It's an aroid with thick, fleshy stems that get tougher and more fibrous as they age. The older stem sections near the base are what I'm calling "hardwood" here, and they're actually the best candidates for propagation because they hold more stored energy.
Soft green tip cuttings will root too, but they're drama queens. They wilt fast, they rot fast, and they need constant humidity. Hardwood sections are more forgiving. They already have thickened tissue that can survive a few days of neglect.
The RHS notes that stem cuttings from mature tissue generally root more reliably than softwood cuttings in tropical houseplants, though they take longer. That matches my experience exactly. My soft tip cuttings rooted in three weeks but half of them died within the first ten days. My hardwood cuttings took five to six weeks but almost all of them made it.
What You Actually Need Before You Cut Anything
I used to just grab scissors and hack away. That's mistake number one. Here's what I lay out now before I touch the plant:
A clean, sharp knife or bypass pruners. Not kitchen scissors. Not a bread knife. I'm serious — I tried a butter knife once out of laziness and crushed the stem, and the crushed end rotted within four days.
A rooting medium that drains fast. I use a mix of 60% perlite and 40% peat moss. Some people use straight perlite. Some use sphagnum moss. I've tried all three and the perlite-peat blend gave me the best root development without rot.
A small pot — 3 to 4 inches across, max. This is where I screwed up for two years. I kept putting single cuttings into 6-inch pots because I thought they needed "room to grow." That's nonsense. A big pot holds way more moisture than a single cutting can drink, and the excess water sits there breeding fungus. More on this in the mistakes section.
A humidity dome or clear plastic bag. Not fancy. A Ziploc bag over a cup works fine.
How I Actually Take the Cutting (Step by Step)
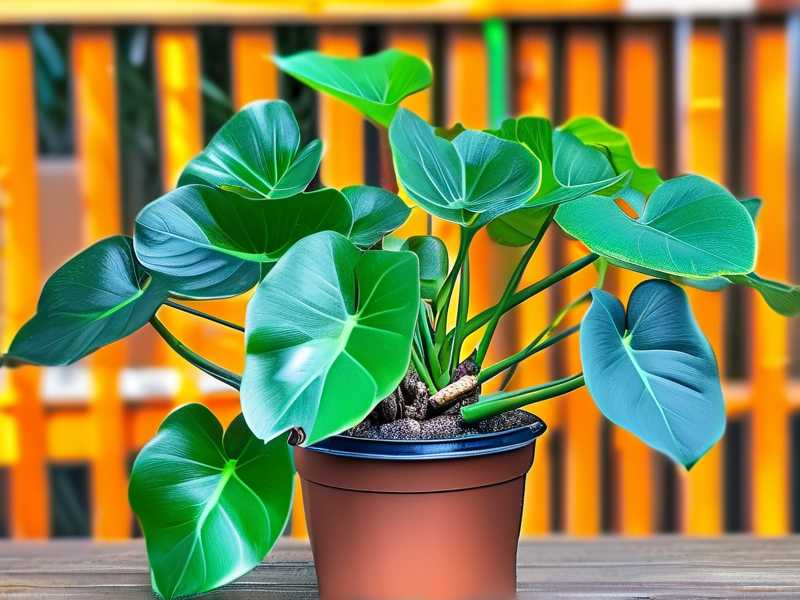
I wait until my aglaonema has a stem that's at least a quarter-inch thick and has started to turn slightly brown or woody at the base. That's usually on a plant that's been growing for a year or more.
I make my cut just below a node — the little bump where a leaf used to attach. The node is where roots emerge. If you cut between nodes, you're just propagating a stick. I made that mistake on my first attempt and waited two months for roots that were never coming.
Each cutting should be 4 to 6 inches long with at least two nodes. I strip the lower leaves so that one or two nodes are exposed. Those exposed nodes go into the rooting medium. The leaves stay above the surface.
I let the cutting callus over for about 2 to 4 hours before planting. This is a step a lot of people skip. Fresh cuts are like open wounds — they absorb whatever they touch. Letting them dry slightly seals the cut surface and reduces the chance of bacterial rot. I learned this after losing an entire batch to stem rot that started at the cut end.
One thing I want to mention: I don't use rooting hormone anymore. I tried it for a few rounds and honestly couldn't tell the difference with aglaonema. The plant roots slowly on its own. Save your money unless you're propagating something notoriously stubborn.
The First Two Weeks: What I Observed
I kept a journal for this because I wanted to know what "normal" looks like. Here's what happened during the first 14 days.
Days 1 to 3: Nothing. The cutting looks exactly the same. Maybe slightly limp. I kept the medium barely moist — like a wrung-out sponge — and the humidity dome on. I misted the inside of the dome once a day, not the cutting itself.
Days 4 to 7: The leaves on one cutting started yellowing. I panicked and thought it was dying. It wasn't — it was just the cutting redirecting energy from old leaves to root production. The yellow leaf eventually dropped off. The stem stayed firm. That's the key indicator: firm stem equals alive, mushy stem equals dead.
Days 8 to 10: I gently tugged on one cutting to check for resistance. Nothing yet. I resisted the urge to dig it up. Digging up cuttings to "check" is the fastest way to kill them. The roots are microscopic at this stage and you'll snap them off without even seeing them.
Days 11 to 14: I noticed tiny white nubs at the base of one cutting where it met the medium. Those were root primordia — the very beginnings of roots. Not actual roots yet, but close. The other two cuttings showed nothing visible, but they were still green and firm. Some cuttings just take longer.
By the end of week two, I had one cutting with visible root starts and two that were still working on it. None had rotted. That's a win in my book.
Three Mistakes That Killed My Earlier Attempts
Mistake 1: Overwatering the Cutting
I drowned my first batch. I kept the medium soaking wet because I thought roots need water. Here's the thing — roots need oxygen too, and waterlogged medium has no air pockets. The cutting stems turned brown and soft within a week.
The fix: water the medium once when you plant the cutting, then don't water again until it's nearly dry. With a humidity dome, you barely need to water at all during the first two weeks. The dome traps moisture. I check by sticking my finger into the medium. If it feels damp, I leave it alone.
Mistake 2: Putting Them in the Wrong Light
My second attempt failed because I put the cuttings on a windowsill with direct afternoon sun. The leaves scorched and the medium dried out too fast. Then I overcorrected and put the next batch in a dark corner, where they just sat there doing nothing for six weeks.
The fix: bright, indirect light. A few feet back from an east or north window is perfect. If you're using a grow light, keep it 12 to 18 inches above the cuttings and run it for 12 hours a day. The AHS recommends indirect light for most tropical houseplant propagation, and aglaonema is no exception.
Mistake 3: Using a Pot That Was Way Too Big
I already mentioned this, but it deserves its own section because it's such a common error. A 4-inch cutting in a 6-inch pot is like putting a goldfish in a swimming pool. The medium stays wet for weeks. The roots can't reach the water at the edges. And fungus has a field day.
The fix: use the smallest pot that fits the cutting. A 3-inch nursery pot or even a plastic cup with drainage holes works perfectly. You'll need to repot sooner, but that's a good problem to have.
How to Tell If It's Working (Without Digging It Up)
After the two-week mark, here's what I look for:
The stem stays firm when I squeeze it gently. A rotting stem feels like a wet noodle.
New leaves eventually emerge from the node area. This usually happens around week four to six. When you see a tiny new leaf unfurling, you know roots are established.
The cutting resists a gentle tug. Not a hard yank — just a light pull. If it feels anchored, roots have formed.
If the stem goes mushy or turns black, toss it. There's no saving a rotting cutting. Cut your losses and start fresh with a healthier stem section.
When and How to Pot Up Your New Plant
I wait until the roots are about an inch long and I can see them through the drainage holes or when I gently lift the cutting. Then I move it to a slightly larger pot — maybe 4 inches — with regular indoor potting mix. I keep it in the same indirect light and water it normally.
The first week after potting up is delicate. The roots are still adapting to soil. I don't fertilize for at least a month. I just water when the top inch of soil feels dry and let it settle in.
Frequently Asked Questions
Can I propagate aglaonema in water instead of soil?
You can, and I've done it. Water propagation is actually easier to monitor because you can see the roots forming. But the transition from water to soil is rough. Water roots are weaker and often shock when they hit soil. I've had better long-term success starting in a perlite mix.
How long until I have a full-sized plant?
From cutting to a plant that looks like something you'd buy at a nursery? About six to eight months. It's not fast. Aglaonema grows slowly, especially in lower light. If you want speed, give it brighter indirect light and warm temperatures.
Do I need a humidity dome the whole time?
No. Once you see new growth — usually around week four to six — you can start opening the dome for a few hours a day. After a week of that, remove it entirely. Leaving the dome on too long can cause fungal issues, especially if the medium stays wet.
A Few Final Thoughts From Someone Who Learned the Hard Way
Propagating aglaonema from hardwood cuttings isn't complicated, but it's not foolproof either. The biggest shift in my success came when I stopped treating the cuttings like delicate seedlings and started treating them like what they are — tough, resilient stem sections that just need the right conditions to do their thing.
Keep the medium barely moist. Keep the light indirect. Keep the pot small. And for goodness sake, don't dig them up to check on them. Patience wins here. I've killed enough plants to know that the urge to "help" is often the thing that kills them.
If you're reading this because you're about to take your first cutting, good luck. And if it rots, don't beat yourself up. My first three did too.





