 bluename
 How to Flush Aglaonema Soil Properly: My Step-by-Step Guide to Reviving Your Chinese Evergreen
I’ve killed my fair share of Aglaonemas, or Chinese Evergreens, by loving them a little too much. The most common killer? It wasn’t neglect—it was overzealous care, leading to a silent, soil-bound crisis: salt and mineral buildup. You might see the symptoms—browning leaf tips, a white crust on the soil or pot, yellowing leaves, or a general look of unhappiness despite your regular watering. I’ve been there, staring at a beloved ‘Silver Bay’ with crispy edges, wondering what I was doing wrong. The answer, I learned, wasn’t more fertilizer or a different spot. It was learning how to flush Aglaonema soil properly. This isn’t just a quick tip; it’s a fundamental rescue and maintenance operation. In this guide, I’ll walk you through my exact process, the mistakes I made along the way, and the remarkable recovery I witnessed over a critical two-week period.
Why Your Aglaonema’s Soil Needs Flushing
Before we get our hands dirty, let’s understand the “why.” Tap water and fertilizers contain dissolved salts and minerals. Every time you water, these compounds are left behind as the water evaporates or is used by the plant. Over months, they accumulate in the soil, increasing its salinity. This creates a hostile environment for your Aglaonema’s roots. Essentially, it becomes harder for the plant to absorb water, leading to a form of drought stress even when the soil is damp—a condition often called “fertilizer burn” or salt toxicity.
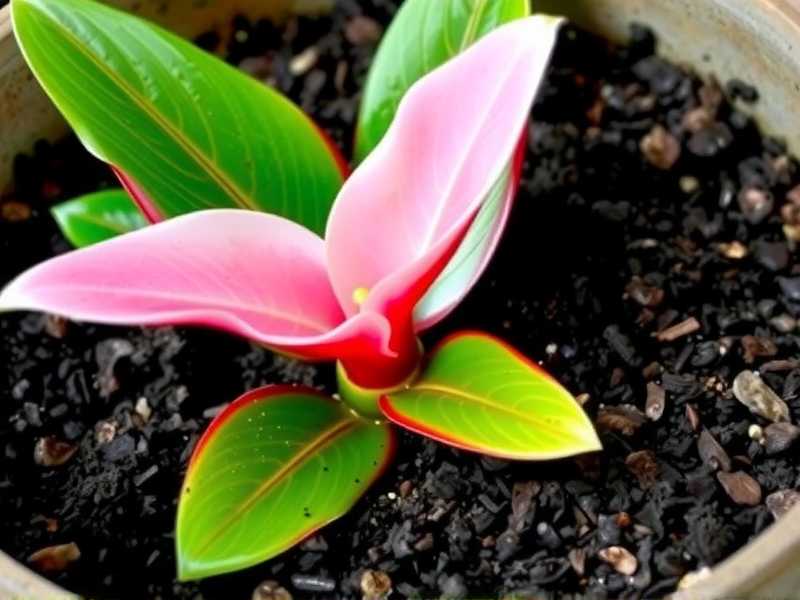
The Royal Horticultural Society (RHS) explicitly notes that “a white crust on the soil surface or pot rim is a sign of salt buildup,” which can hinder plant growth and health. Flushing is the process of leaching these excess salts from the root zone.
My Toolkit for a Successful Soil Flush
Gathering the right materials makes the process smooth. Here’s what I used:
- The Patient: My Aglaonema ‘Red Siam’, which had developed pronounced brown tips and a slight pale crust on its terracotta pot.
- Location: A sink, bathtub, or outdoor space with excellent drainage. I used my bathtub.
- Water: Lukewarm, filtered, or distilled water is ideal to avoid adding more minerals. If using tap water, let it sit out for 24 hours to allow some chlorine to dissipate.
- A Watering Can with a Long, Narrow Spout: For controlled application.
- A Chopstick or Skewer: For gently aerating the soil before starting.
- Patience: This is not a rushed job.
The Step-by-Step Flushing Process I Followed
Step 1: The Pre-Flush Assessment I first checked if flushing was truly needed. I looked for the classic signs: crusty soil surface, browning leaf tips, and slow growth. My ‘Red Siam’ was a textbook case. I also gently slid the plant out of its pot to check the root health—fortunately, they were still firm and white, not mushy (which would indicate overwatering, a different issue).
Step 2: Preparing the Plant and Workspace I placed the plant in the empty bathtub. Using the chopstick, I carefully poked several holes into the soil, being mindful not to damage major roots. This helps break up any compaction and allows water to flow through more evenly, rather than just running down the inside of the pot.
Step 3: The Slow, Thorough Flush This is the critical phase. The goal is to run a large volume of water through the soil, allowing it to dissolve salts and carry them out through the drainage holes.
- I slowly poured lukewarm, filtered water over the soil surface, ensuring I covered the entire area, not just one spot. I let it soak in and begin to drain from the bottom.
- I continued this slow pour for several minutes. The key is volume. A good rule of thumb from the American Horticultural Society (AHS) is to use a volume of water equal to at least twice the volume of the pot. For my 6-inch pot, I used approximately 2 gallons of water, applied in slow, steady stages.
- I let the pot drain completely in the tub for another 30 minutes, then repeated the entire slow-pour process one more time. A double flush ensures a more complete leaching.
Step 4: Post-Flush Care Once water stopped dripping freely from the bottom, I returned the plant to its saucer in its usual bright, indirect light spot. Crucially, I did not water it again until the top 1-2 inches of soil were completely dry. The soil is now thoroughly saturated, and the plant needs time to breathe.
The Two-Week Recovery: What I Observed
This is where the magic—and the learning—happened. I kept a simple log to track changes.
- Days 1-3: The plant looked a bit heavy and waterlogged, which is normal. No negative changes.
- Days 4-7: I noticed the soil was drying at a more normal, even rate. The existing brown tips remained (they never recover), but the overall green foliage looked perkier, less dull.
- Days 8-14: The most significant observation was no new browning on the leaf tips. The newest, unfurling leaf, which had been slightly pale, began to deepen to a healthier green. The plant’s overall posture seemed more upright and vigorous. This was my clear sign that the soil flushing for Aglaonema had worked—the root environment was healthier, allowing for proper water and nutrient uptake.
The Pitfalls I Encountered (And How to Avoid Them)
My first attempt at flushing, years ago, was a failure. Here’s what went wrong and how I fixed it this time.
- Pitfall 1: Rushing the Watering Process. I used to just dump a lot of water quickly. The water would channel through cracks and out the bottom, barely touching the root ball. Solution: The slow, methodical pour is non-negotiable. Let the water infiltrate.
- Pitfall 2: Using Ice-Cold Tap Water. This can shock the roots. Solution: Always use lukewarm water. Letting tap water sit also brings it to room temperature.
- Pitfall 3: Not Letting it Drain Fully. I once put the sopping-wet pot back on a decorative saucer, creating a mini swamp. Solution: Let it drain in the tub or sink until no more water drips out. This prevents immediate re-absorption of the salty runoff and guards against root rot.
- Pitfall 4: Resuming Normal Fertilizing Too Soon. The plant’s root system is in recovery. Adding fertilizer immediately reintroduces salts. Solution: Wait at least 4-6 weeks before resuming a diluted, half-strength fertilizer regimen. In fact, proper leaching excess salts from Chinese Evergreen soil often means you can fertilize less frequently overall.
Integrating Flushing into Your Aglaonema Care Routine
Flushing isn’t just a rescue tactic; it’s preventative maintenance. I now proactively flush the soil of my Aglaonema every 6-8 months, typically in early spring and late summer. This aligns with the start and end of the main growing season and prevents buildup before it causes visible damage. It’s a simple habit that promotes long-term Aglaonema root health and vibrant foliage.
How often should I flush my Aglaonema? For most home environments, a proactive flush every 6-8 months is sufficient. If you use very hard water or fertilize frequently, consider doing it every 4-6 months. Let the plant’s condition be your guide—if you see early signs of salt buildup, don’t wait.
Can I flush my Aglaonema if it’s already overwatered and drooping? No. Flushing is for salt/mineral buildup. If the plant is overwatered (with symptoms like widespread yellowing, mushy stems, and wet soil), the problem is fungal and related to lack of oxygen. Flushing will worsen it. For overwatering, you must let the soil dry out completely, improve air circulation, and potentially repot into fresh, dry, well-aerated mix.
Is it better to just repot with fresh soil instead? Repotting is a more invasive solution and should be done every 2-3 years as part of normal care. Flushing is a less stressful, targeted procedure for addressing salt buildup between repottings. They are complementary, not interchangeable, practices. Flushing maintains the soil you have; repotting replaces it.
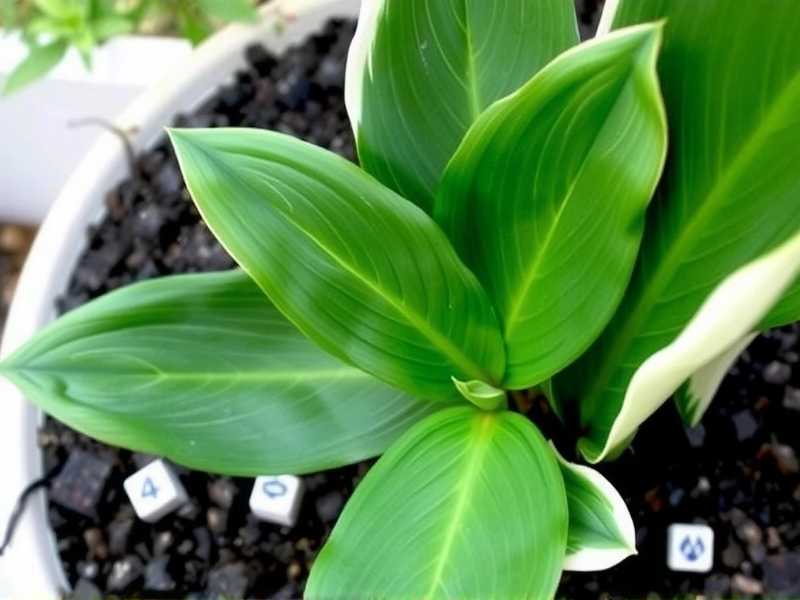
Seeing my Aglaonema stop its decline and begin to thrive again was deeply satisfying. The process of flushing its soil is a lesson in understanding what our plants need beneath the surface. It’s a act of care that goes beyond the superficial, addressing the root environment directly. By following these steps—slow, thorough watering with ample drainage, followed by patient observation—you can correct a common issue and set your Chinese Evergreen up for sustained, healthy growth. Remember, sometimes the best way to help a struggling plant isn’t to add something, but to gently and thoroughly take the harmful things away.





