 bluename
 How to Fix Aglaonema Nutrient Buildup in Soil: A Plant Lover's Step-by-Step Recovery Guide
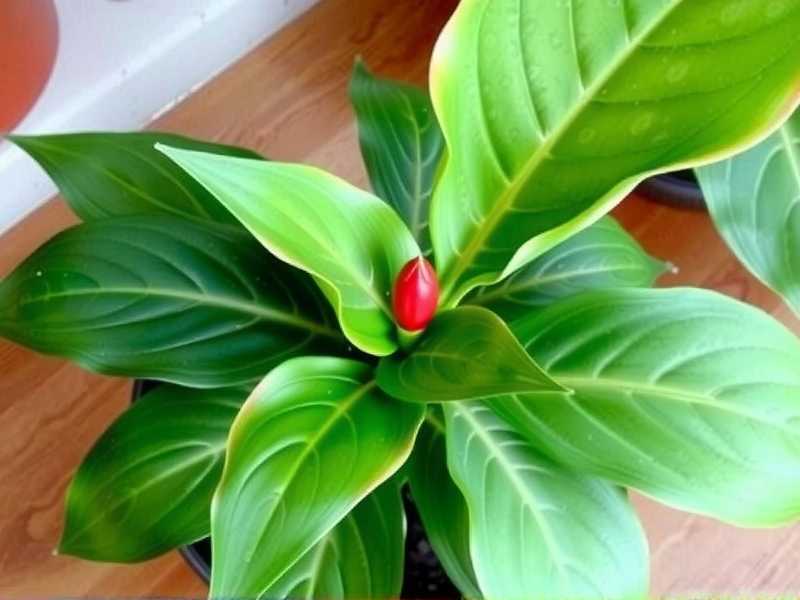
I’ll admit it—I almost lost my favorite Aglaonema ‘Silver Bay’ to kindness. The leaves, once a vibrant tapestry of green and silver, started sporting crispy brown edges and an overall dull, yellowish tinge. New growth was stunted, and the soil surface had a strange, whitish crust. I was faithfully fertilizing, yet my plant looked increasingly malnourished. Sound familiar? If your Chinese Evergreen is showing similar distress, the culprit might not be neglect, but its opposite: nutrient buildup in the soil. This silent issue, often caused by over-fertilization or watering with hard tap water, leads to a toxic concentration of salts that lock roots out of absorbing water and nutrients, effectively starving your plant. After diagnosing this in my own collection, I embarked on a deliberate, two-week rescue mission. Here’s exactly what I did, what I learned the hard way, and how you can fix Aglaonema soil toxicity for good.
Understanding the Enemy: What Exactly is Nutrient Buildup?
Before diving into the fix, let’s understand the problem. Nutrient buildup, often visible as salt deposits, occurs when more minerals are added to the soil than the plant can use or than can be washed away. Every fertilizer application, especially synthetic ones, and every watering with mineral-rich tap water contributes salts. In healthy conditions, these are flushed out during watering. But with infrequent watering, poor drainage, or simply overzealous feeding, these salts accumulate. They increase the soil’s electrical conductivity, making it harder for roots to take up water—a sort of physiological drought. The Royal Horticultural Society (RHS) notes that symptoms like leaf burn and stunted growth are classic signs of this excess soluble salts issue. For our Aglaonemas, which are relatively light feeders, this is a common pitfall for well-meaning plant parents.
My Step-by-Step, Two-Week Recovery Protocol
I committed to a careful process, knowing that a stressed plant needs a gentle yet decisive intervention. Rushing could cause more shock.
Phase 1: The Initial Flush (Days 1-3)
My first step was to leach the soil of excess nutrients. This is the cornerstone of fixing buildup.
- Preparation: I moved my Aglaonema to the sink or bathtub. Good drainage is non-negotiable here.
- The Flushing Process: I slowly poured a large volume of lukewarm, distilled or filtered water over the soil. The goal is to use water equal to at least 4-5 times the volume of the pot. For my 6-inch pot, I used roughly 5 gallons of water, allowing it to run freely through the drainage holes for several minutes. This gradual, deep flooding dissolves the accumulated salts and carries them out of the pot. I repeated this process twice over the first two days, as the initial crusting was severe.
- The First Observation: After the first flush, the water running out was noticeably cloudy. By the third flush, it ran much clearer—a good visual indicator that salts were being removed.
The Pitfall I Hit: I didn’t elevate the pot properly during the first attempt. The saucer filled up, and the pot sat in the runoff, allowing some salts to be reabsorbed. The Fix: Always ensure the pot is elevated on a rack or pebbles so the water drains completely away without any “bathwater” contact.
Phase 2: Assessment and Pruning (Day 3)
Once the soil was thoroughly flushed, I assessed the damage above ground. The American Horticultural Society (AHA) advises removing severely damaged foliage, as the plant will waste energy trying to repair leaves past the point of recovery. With sterilized scissors, I pruned the leaves that were more than 50% browned or yellowed. This was tough but necessary. It immediately made the plant look better and redirected its energy.
Phase 3: The Waiting & Observation Period (Days 4-14)
This is where patience is key. You cannot force a recovery.
- Watering Regimen: I let the top two inches of soil dry out completely before watering again, using only distilled or rainwater to prevent new mineral additions. I checked by finger, not by schedule.
- Fertilizer? Absolutely Not: I withheld all fertilizer for this entire period and planned to do so for at least 2-3 months. The plant needed to recover, not be fed.
- Environment: I placed the plant in a spot with consistent, bright indirect light (away from direct sun, which would add stress) and stable warmth.
- Key Observations: For the first 5-7 days, nothing dramatic happened—and that was okay. No new browning was a positive sign. Around Day 10, I noticed the remaining leaves looked perkier, with a slight return of sheen. The most promising sign came on Day 14: a tiny, firm nub of new growth peeking from the base of the plant. This was the ultimate confirmation that the roots were recovering and the Aglaonema nutrient lockout was being reversed.
Long-Term Prevention: Building a Better Routine
Fixing the problem once is only half the battle. Preventing its return is crucial for maintaining healthy Aglaonema soil.
- Water Wisely: I now primarily use distilled, filtered, or collected rainwater. If using tap water, I let it sit out overnight to allow some chlorine to evaporate (though this doesn’t remove hard minerals).
- Fertilize with Extreme Caution: I follow the golden rule: “weakly, weekly, during the growing season.” I dilute a balanced, liquid houseplant fertilizer to half or even a quarter of the recommended strength and apply it only when I’m watering a actively growing plant. In fall and winter, I fertilize only once a month or not at all.
- Annual Soil Refresh: Each spring, I gently scrape off the top inch of soil and replace it with fresh potting mix. This removes surface salts before they get washed deeper. Every 2-3 years, I repot entirely into a fresh, well-draining aroid mix.
- The Power of Flushing: As a preventative measure, I give all my plants a thorough, slow-water flush every 4-6 months, even if they show no symptoms. It’s a simple reset.
My plant looked worse after flushing! Is that normal? Yes, it can be. The plant is under significant stress from the buildup and the flush itself. Some existing damaged leaves may deteriorate further. Focus on the new growth and the halt of spreading damage. If new leaves emerge with browning, reassess your water quality and light conditions.
Can I just repot it in fresh soil instead of flushing? While repotting removes the problem soil, it’s also a major shock to a plant already struggling with root stress. Flushing is a less invasive first treatment. If flushing doesn’t yield improvement in 3-4 weeks, or if the soil is also compacted and waterlogged, then repotting becomes the necessary next step.
How do I know if it’s nutrient buildup or a deficiency? This is the tricky part, as both can cause yellowing. Buildup typically shows with burned, crispy leaf edges and tips alongside yellowing, and often a crust on the soil or pot rim. A deficiency (like nitrogen) usually presents as an overall, uniform pale yellowing of older leaves, without the crispy browning. When in doubt, suspect buildup first, as over-fertilizing is far more common than under-fertilizing with houseplants.
Watching that first new spear of growth emerge from my Aglaonema after two weeks was incredibly rewarding. The process taught me that more food isn’t more love—it’s about balance and consistency. By understanding the signs of salt accumulation, acting decisively with a thorough soil leaching, and adopting a restrained, preventative care routine, you can rescue your plant from this common downward spiral. The key is to work with the plant’s pace, provide a stable environment, and let the natural recovery process unfold. Your Aglaonema’s return to vibrant, glossy leaves will be the best thanks you can get.





