 bluename
 How to Fix Aglaonema Winter Care Mistakes and Save Your Chinese Evergreen
I’ve killed my share of houseplants. There, I said it. But nothing stung quite like watching my favorite Aglaonema ‘Silver Bay’—a plant that had thrived for years—start to droop, develop yellow, mushy leaves, and lose its vibrant variegation last winter. I thought I was a pro, but the cold months exposed every flaw in my routine. If you’re here, you’re probably seeing the same warning signs: crispy edges, sudden leaf drop, or a general look of despair. Don’t panic. Over the last two winters, I’ve turned my failures into a foolproof system. This guide isn’t just theory; it’s my lived experience on exactly how to fix Aglaonema winter care mistakes, step by step.
Understanding Why Your Aglaonema Struggles in Winter
Winter isn’t just colder; it’s a completely different environment. Light levels plummet, indoor heating creates arid desert-like conditions, and plant metabolism slows to a crawl. Continuing your summer care is the biggest mistake. The Royal Horticultural Society (RHS) notes that overwatering during dormancy is the leading cause of houseplant death in winter, as roots require less moisture and are prone to rot in cold, wet soil. My Aglaonema’s decline was a textbook case of this, compounded by other factors I was blind to.

The Two-Week Rescue Protocol: My Personal Experiment
When I noticed the first yellow leaf, I instituted an immediate intervention. I committed to monitoring and adjusting care for a full two weeks, tracking changes daily. Here’s exactly what I did.
Mistake 1: The "Just a Little More Water" Trap
My initial instinct was to water it, thinking it looked thirsty. Big mistake. The soil was still damp an inch down. I learned that Aglaonema, like many tropicals, enters a semi-dormant state in low light.
The Fix: Mastering the Winter Watering Technique
- The Finger Test is Non-Negotiable: I stopped watering on a schedule. Instead, I inserted my finger into the soil up to the second knuckle. I only watered when that entire depth felt completely dry. For my medium-sized pot, this meant switching from weekly watering to once every 18-22 days.
- Use Tepid Water: I started filling my watering can and letting it sit overnight. Ice-cold tap water shocks the roots. Room-temperature water is much gentler.
- Soak and Drain Thoroughly: When I did water, I did it properly—at the sink, allowing water to flow through the drainage holes for a full minute, ensuring the entire root ball was hydrated, then letting it drain completely before returning it to its decorative pot. No more decorative pot saucers full of standing water!
The 2-Week Observation: Within the first week, the progression of yellowing on newer leaves stopped. The soil surface stayed dry, discouraging fungus gnats. By day 14, the plant’s posture improved slightly—less of a dramatic droop. The key takeaway was that correcting overwatering doesn’t produce overnight miracles (like new growth), but it halts the decay. You’re stopping the bleeding first.
Mistake 2: Ignoring the Humidity Crisis
My home’s humidity in winter, thanks to forced-air heating, hovered around 25%. Aglaonemas prefer 40-60%. The crispy brown tips and edges on my plant were a direct cry for help.
The Fix: Creating a Humid Microclimate I rejected misting (it’s fleeting and can promote leaf fungus) and invested in two solutions:
- The Pebble Tray: I placed the pot on a wide tray filled with pebbles and a shallow layer of water. The pot sits on the pebbles, not in the water. As the water evaporates, it surrounds the plant with moisture. This is a classic, low-tech method endorsed by many horticultural societies.
- The Grouping Method: I moved my Aglaonema to a shelf near other humidity-loving plants like a Peace Lily and a Fern. Plants naturally release moisture (transpiration), and grouping them creates a shared, more humid atmosphere.
The 2-Week Observation: After about 10 days, I noticed the newest, still-unfurling leaf had zero brown edges. Existing crispy tips didn’t heal (they never do), but no new damage appeared. The overall foliage looked less brittle. This confirmed that addressing low humidity for Chinese Evergreen was crucial for preserving new growth.
Mistake 3: Light Starvation and Temperature Shocks
I had pulled my plant back from a bright summer window to "protect" it from drafts, placing it in a dim corner. It was now getting maybe 2 hours of weak, indirect light a day. Furthermore, it was near a frequently opened front door, suffering constant cold blasts.
The Fix: Strategic Placement for Light and Warmth
- Maximize Indirect Light: I relocated it to a north-facing windowsill (in the Northern Hemisphere) where it received bright, consistent but indirect light all day. No direct hot sun, which can scorch leaves, but vastly more ambient light. If you only have low-light rooms, consider a simple grow light for 4-6 hours a day.
- Eliminate Drafts: I moved it away from exterior doors, drafty windows, and heating/AC vents. Aglaonemas hate sudden temperature changes. The American Horticultural Society (AHS) emphasizes that consistent temperatures above 60°F (15°C) are vital for tropical foliage plants in winter.
- Check Leaf Temperature: This was a game-changer. I bought an inexpensive infrared thermometer. On a cold day, the leaf surface near the window was 55°F (13°C), while the room air was 68°F (20°C). I moved the plant just 12 inches away from the glass, and the leaf temperature rose to 65°F (18°C). A simple fix with a dramatic impact.
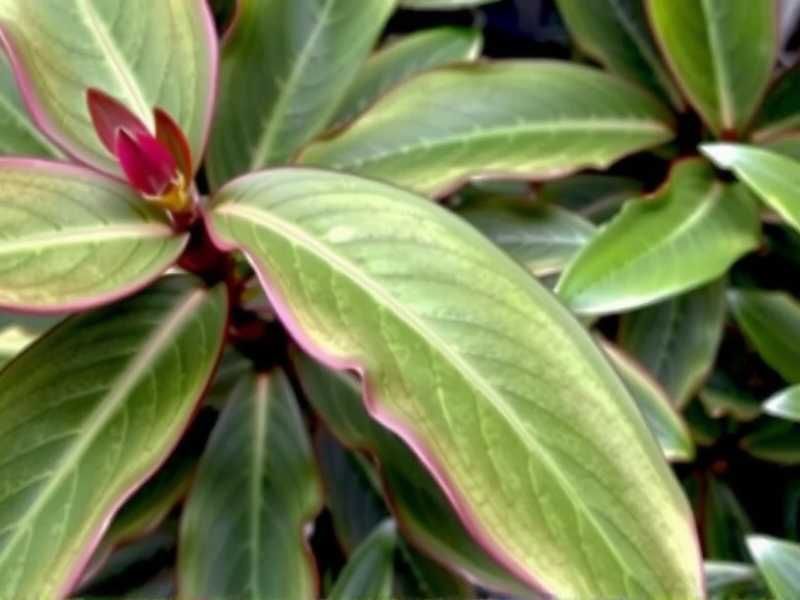
The 2-Week Observation: This change, combined with the others, yielded the most visible result. Within two weeks, the plant’s variegation—the beautiful silver and green patterns—became more pronounced. It looked like the plant had "woken up" and was finally able to photosynthesize efficiently again. The stems also felt firmer.
The Road to Recovery and Long-Term Winter Care
After the intensive two-week correction period, my Aglaonema was stable. The rescue mission shifted to a long-term maintenance plan for the rest of the winter:
- I Stopped Fertilizing Completely: No nutrients from November to March. The plant isn’t growing actively and can’t use them, leading to harmful salt buildup in the soil.
- I Resisted Repotting: Repotting is a growth-season activity. Disturbing the roots in winter adds immense stress. Unless you have severe root rot (which requires emergency surgery), wait for spring.
- I Became a Clean Leaf Advocate: I gently wiped the leaves with a damp cloth every few weeks. Dust blocks precious light, and clean leaves can breathe and absorb what little humidity is available more effectively.
My Aglaonema has yellow leaves. Is it overwatered or underwatered? This is the toughest question. Here’s how I differentiate: Overwatered leaves tend to turn yellow, feel soft and mushy, and may fall off easily. The stems might also feel soft. Underwatered leaves turn yellow or brown, but feel dry, crispy, and brittle. The soil will also be bone dry. In winter, overwatering is far more common.
Can I cut off all the damaged leaves at once? No. This is another mistake I made early on. Removing too many leaves at once shocks the plant, as it loses its ability to produce energy. Prune only the most severely damaged or dead leaves (never more than 1/3 of the foliage at a time). Leave partially damaged leaves until the plant pushes out healthy new growth in spring.
My home is very dark. What’s the absolute minimum light for Aglaonema in winter? While Aglaonemas are tolerant, they need some light to survive. A spot that is bright enough to comfortably read a book during the day is the bare minimum. If you can’t provide that, a basic LED grow light placed 12-18 inches above the plant for 6-8 hours a day will make a monumental difference and is the single best solution for maintaining Aglaonema in low light conditions.
Watching my Aglaonema recover taught me that winter care is less about doing more and more about doing less, but with greater intention. It’s a season of vigilance, not vigorous activity. By mastering the balance of restrained watering, boosting humidity, and securing the right light, you’re not just preventing damage—you’re setting the stage for explosive growth when spring arrives. Your Chinese Evergreen can not only survive winter but enter the growing season stronger than ever.





