 bluename
 How to Revive Aglaonema Cuttings Not Rooting: A Step-by-Step Rescue Guide
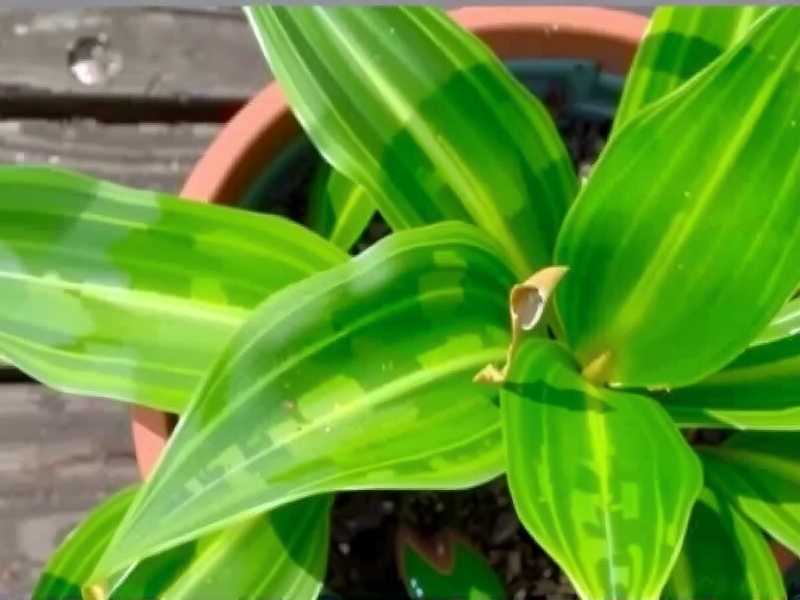
There's a special kind of plant parent heartbreak that comes from watching a once-vibrant Aglaonema cutting just… sit there. Weeks go by in the water or soil, and instead of plump, white roots, you're met with a limp stem, yellowing leaves, or worse, a mushy end. If you're staring at your stubborn, Aglaonema cuttings not rooting, you're not alone. I've been there, feeling that mix of frustration and determination. After numerous trials, errors, and a particularly challenging two-week rescue mission, I've compiled a practical, from-the-trenches guide to not only diagnose the problem but actively revive Aglaonema cuttings and coax those roots to life.
Understanding Why Your Aglaonema Cutting is Struggling
Before we jump into rescue mode, it's crucial to play plant detective. A cutting that fails to root is usually sending clear signals; we just need to learn to read them. The most common culprits are interconnected, often creating a cascade of issues.
The Silent Killer: Rot and Bacterial Infection This was my first major pitfall. I took a beautiful cutting, placed it in a gorgeous, tall vase of water, and waited. After about ten days, the stem felt soft near the cut. I had submerged too many leaves and nodes, creating a crowded, oxygen-poor environment perfect for bacteria. The Royal Horticultural Society (RHS) notes that stagnant water quickly depletes oxygen, which is vital for root initiation, and promotes rot-causing pathogens. My cutting wasn't rooting because it was fighting for its life.
The Environment Factor: Temperature and Light Aglaonemas are tropical understory plants. They root best in warm, humid, and brightly indirect light. I attempted to root cuttings in my slightly drafty home office in early spring, where temperatures would dip at night. The growth was virtually stagnant. According to principles often cited by the American Horticultural Society (AHS), consistent soil or water temperature around 70-75°F (21-24°C) is ideal for stimulating root growth in tropical cuttings. My environment was too cold and variable, putting the cutting into a state of suspended animation.
The Cutting Itself: Quality and Preparation Not all cuttings are created equal. A weak, diseased, or improperly taken cutting has a low chance of success. I learned this the hard way by using a blade that wasn't sterilized, potentially introducing infection, and sometimes taking cuttings that were too young or too woody.
My Two-Week Rescue Protocol for Non-Rooting Cuttings
This is the exact, step-by-step process I used to save my last batch of struggling Aglaonema 'Silver Bay' cuttings. I documented everything over a critical 14-day period.
Day 1-2: Assessment and Emergency Surgery
- Remove and Inspect: I gently removed all cuttings from their medium (water or soil). The smell was a telltale sign—one had a faint, unpleasant odor.
- The Cut: Using a razor blade sterilized with isopropyl alcohol, I cut about half an inch above the lowest visible sign of mush or discoloration. A healthy stem interior should be firm and white or pale green. Any brown or black stringiness inside means you must cut higher.
- Let it Callus: This step is non-negotiable. I placed the freshly cut stems on a paper towel in a warm, dry, shaded spot for a full 24 hours. This allows the wound to seal, forming a callus that acts as a barrier against rot when placed back in water or soil. Rushing this step was a past mistake that cost me several cuttings.
Day 3-14: The Rooting Environment Reset
I switched to a method that gave me more control: sphagnum moss. Moss retains moisture while allowing excellent air circulation around the stem, a balance that plain water often fails to achieve.
- Prepare the Medium: I soaked a handful of sphagnum moss in water, then squeezed it out thoroughly until it was moist but not dripping—like a damp sponge.
- The Setup: I placed the moist moss in a clear plastic container with a lid (a takeout container works perfectly). I nestled the callused cuttings into the moss, ensuring the bottom node was in contact but the leaves were free. I closed the lid to create a mini-greenhouse, ensuring high humidity.
- The Perfect Spot: I placed the container on a seedling heat mat set to 72°F. This was a game-changer. Above it, I provided bright, indirect light from a grow light for 12 hours a day. No drafts, no temperature swings.
- Monitoring and Care: Every other day, I opened the lid for 15 minutes to allow fresh air exchange and checked the moss moisture. I only added a light mist if it felt slightly dry.
The Two-Week Observation: A Turnaround
- Days 3-7: The cuttings, which had been slightly droopy, perked up. The leaves felt turgid again. No further signs of stem softening. This was a major win—the decline had stopped.
- Days 8-14: By day 10, on one cutting, I spotted tiny, nub-like protrusions from a node. These weren't roots yet, but primordial root initials. This is the first sign of success! By day 14, two of the three cuttings had definite white root tips emerging, about 2-3mm long. The third cutting showed the nubs but was slower, likely due to its original condition.
Key Takeaways and Lessons from My Mistakes
My success came from correcting my previous errors. Here’s what finally worked:
- Sterility is Paramount: Always use clean, sharp tools. Think of the cut as a surgical wound.
- Callus First, Root Second: Never skip the callusing period. It’s the foundation of healthy rooting.
- Heat is a Catalyst: A consistent bottom heat source accelerated the process dramatically. The AHS emphasizes root zone temperature as a critical, often overlooked, factor in propagation.
- Humidity Over Submersion: For Aglaonemas, maintaining high ambient humidity around the leaves and stem is more effective than keeping the entire stem submerged, which risks rot.
- Patience with Observation: I didn't fuss with them daily. I set up the right system and checked in systematically, allowing the plant to do its work.
Alternative Methods if Moss Isn't Your Choice
If sphagnum moss isn't available, you can adapt the principles:
- Water Propagation: Use a narrow vessel so only the very bottom node is submerged. Change the water every 5 days to keep it oxygenated. Add a small air stone from an aquarium for even better results.
- Soil Propagation: Use a superbly draining mix (e.g., perlite and potting soil). Water once thoroughly, then place in a sealed plastic bag under warm, bright light. Do not water again until you feel very slight resistance when giving the cutting a gentle tug, indicating root growth.
Why are the leaves on my unrooted cutting turning yellow? This is typically a stress and nutrient response. The cutting is using energy stores in its leaves to try and survive and create roots. Ensure it has adequate indirect light for photosynthesis and isn't sitting in cold, soggy conditions. Some leaf loss can be normal, but widespread yellowing signals environmental distress.
Can I use rooting hormone on Aglaonema cuttings? Absolutely, and I recommend it for difficult cases. After making your fresh cut and before callusing, dip the very end of the stem in a rooting hormone powder or gel. This contains growth hormones that stimulate root cell division. It was part of my successful rescue protocol.
How long should it really take for Aglaonema cuttings to root? Under ideal conditions (warmth, humidity, bright light), you may see initial root nubs in 10-14 days, as I did. For substantial roots ready for potting (1-2 inches long), expect 4-8 weeks. If it's been longer than 8 weeks with no change, it's time to reassess the cutting's health and the environment using the steps outlined above.
Watching a failing Aglaonema cutting push out its first new root is immensely rewarding. It transforms from a source of frustration into a testament to resilience—both the plant's and your own as a grower. The key is moving from a passive "wait and see" approach to an active, diagnostic, and optimized care strategy. By ensuring a sterile start, a warm and humid environment, and practicing patient observation, you can dramatically increase your success rate. Remember, even the most experienced gardeners face propagation challenges; the difference is learning how to systematically troubleshoot and provide the precise conditions these beautiful tropical plants need to thrive.





