 bluename
 How to Fix Aglaonema Standing Water Issues: A Plant Lover's Step-by-Step Rescue Guide
There's a sinking feeling every plant parent knows. You lift your beloved Aglaonema, expecting a pot that's getting lighter, only to feel a surprising, concerning heaviness. A peek at the drainage hole reveals nothing—no water escapes. The soil surface might even look innocent, but a gentle probe with your finger confirms the worst: the bottom of the pot is a cold, soggy swamp. This isn't just overwatering; this is standing water, a silent killer lurking beneath the surface, suffocating roots and inviting root rot. I've been there, staring at a drooping, yellowing Chinese Evergreen that was thriving just weeks before. Through trial, error, and a dedicated two-week rescue mission, I learned exactly how to fix Aglaonema standing water issues. Let me walk you through the real, actionable steps that brought my plant back from the brink.
Understanding Why Standing Water is a Death Sentence for Your Aglaonema
Before we dive into the fix, it's crucial to understand the "why." Aglaonemas, while adaptable, have roots that need oxygen. Persistent waterlogged soil creates an anaerobic environment, meaning oxygen is pushed out. Roots begin to rot, turning from firm and white to mushy and brown. They can no longer absorb water or nutrients, leading to the confusing paradox where a plant sitting in water shows symptoms of dehydration: yellowing leaves, drooping, and stunted growth.
The Royal Horticultural Society (RHS) clearly states that "poor drainage is a common cause of plant loss," emphasizing that waterlogging prevents root respiration. This isn't just an opinion; it's a fundamental plant physiology fact.
My 2-Week Rescue Protocol: A Step-by-Step Account
When I discovered my Aglaonema 'Silver Bay' was suffering, I didn't panic. I implemented a systematic rescue plan. Here’s exactly what I did, what I observed, and the pitfalls I encountered.
Day 1: The Emergency Assessment and Repot
Step 1: Unpot and Diagnose the Root System Gently removing the plant from its pot was revealing. The outer soil was damp, but the core was a waterlogged clump. I carefully rinsed the roots under lukewarm water to remove the old soil. The diagnosis was early-stage root rot: about 20% of the roots were soft and brown. The healthy roots were still firm and creamy-white.
Step 2: The Surgical Trim Using sterilized, sharp scissors, I pruned away all the rotten roots. This is non-negotiable. Rotten tissue spreads disease. I cut back until I saw only healthy, firm material. I also trimmed about 20% of the foliage to reduce stress on the reduced root system.
Step 3: Repotting with the Right Arsenal This is where most fixes fail. I chose a new pot only 1-2 inches larger in diameter than the remaining root ball, with multiple, large drainage holes. The soil mix was my game-changer. I created a well-draining potting mix for Aglaonema using:
- 40% high-quality indoor potting mix
- 30% perlite (for aeration)
- 20% orchid bark (for chunkiness and drainage)
- 10% horticultural charcoal (to absorb impurities and keep soil "sweet") This mix is airy and prevents compaction, the main cause of water retention in potted plants.
The First Mistake I Made: My first mix had too much peat. Even with perlite, it held moisture too long. I had to re-pot a second time on Day 3 with the chunkier mix above. Lesson learned: When in doubt, add more perlite.
Week 1: The Critical Recovery Phase
After repotting, I placed the plant in a warm spot with bright, indirect light—no direct sun, which would add stress. I did not water it. The fresh, slightly damp potting mix and the trauma of repotting meant the plant needed time to adjust.
Day 3 Observation: Leaves were still droopy but no new yellowing. The soil was drying out evenly, a good sign my new mix was working.
Day 7: The First Careful Watering I performed the "finger test," inserting my finger 2 inches deep. It was dry. I watered thoroughly until water flowed freely from the drainage holes, ensuring the entire root ball was hydrated. Crucially, I immediately emptied the saucer underneath. Letting the pot sit in drained water completely defeats the purpose.
Week 2: Signs of Life and Adjusting Care
Day 10 Observation: A miracle! The stems felt firmer, and the worst-drooping leaves had perked up significantly. No new yellow leaves had appeared. This was the confirmation that the root system was beginning to function again.
Day 14: Establishing a New Watering Routine By the end of the second week, the plant was visibly recovering. I learned that my Aglaonema watering schedule was not about a calendar but about soil condition. My new rule: water only when the top 1.5-2 inches of soil are completely dry. For my home environment, this now meant watering every 10-14 days, not weekly.
Preventing Future Standing Water Disasters
Fixing the problem once isn't enough. You must prevent it from recurring.
1. Master the "Pot Weight" Method. Lift your pot. Learn how it feels when bone dry and freshly watered. This intuitive check is often faster and more reliable than any probe.
2. Double-Check Your Drainage. A drainage hole isn't enough. Ensure it's not blocked by compacted soil or a root. Consider adding a layer of pebbles or broken pottery at the pot's base before adding soil, though be cautious as this can sometimes create a "perched water table." My preferred method is simply using a quality, fast-draining mix.
3. Consider a Terracotta Pot. Terracotta is porous, allowing soil to dry out more evenly from the sides. I switched my Aglaonema to a terracotta pot, which provided an extra buffer against overwatering.
4. Environmental Awareness. The American Horticultural Society (AHS) notes that plants use less water in low-light conditions and during cooler months. I drastically reduced watering frequency in winter, a season when I previously made many overwatering errors.
Troubleshooting Other Related Symptoms
Sometimes, standing water causes secondary issues. Here’s what to look for:
- Fungus Gnats: These pests thrive in moist soil. After fixing the watering, I used yellow sticky traps to catch adults. For larvae, I let the soil dry more deeply between waterings, which breaks their life cycle.
- Mold on Soil Surface: A white, fuzzy layer indicates excess moisture and poor air circulation. I gently scraped off the top layer of soil and replaced it with fresh, dry mix, then increased airflow around the plant.
Your Questions, Answered
Can an Aglaonema recover from severe root rot? Yes, if there are still healthy, firm roots left after pruning. The key is aggressive removal of all rot, repotting in fresh, airy soil, and providing consistent, stress-free care during recovery. Patience is essential; it may take months to see significant new growth.
How do I know if I’m underwatering instead of overwatering? Symptoms can be confusing. Underwatering typically causes leaves to become crispy, dry, and brown at the tips and edges, and the entire plant will wilt. The soil will be dusty and pull away from the pot's edges. Overwatering leads to soft, mushy, yellowing leaves, often starting with the lower leaves, and consistently wet soil.
What are the absolute best soil components to prevent waterlogging? For Aglaonemas, prioritize aeration. Perlite, pumice, and coarse orchid bark are champions. Horticultural charcoal is a great additive for soil health. A simple, fail-safe starter mix is 2 parts potting mix to 1 part perlite and 1 part orchid bark.
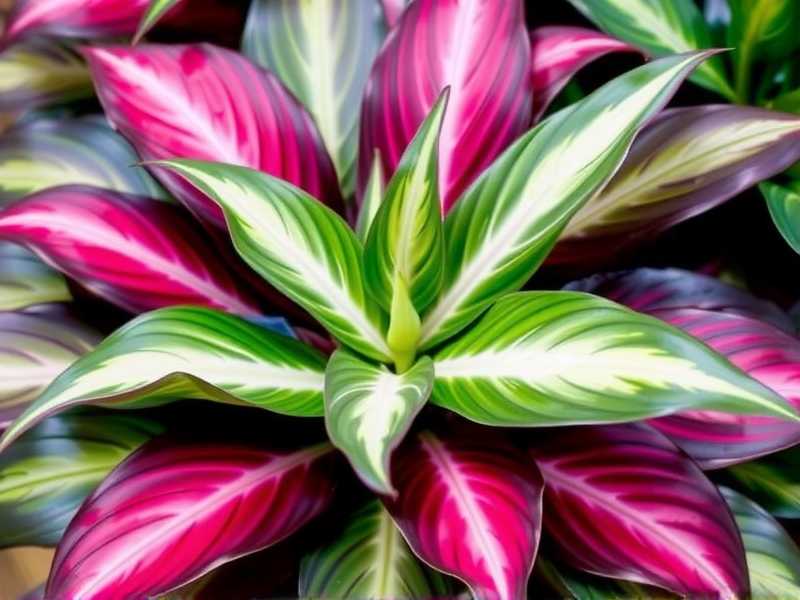
Watching my Aglaonema regain its vigor over those two weeks was immensely rewarding. The journey taught me that fixing Aglaonema standing water issues is less about a single act and more about adopting a holistic approach to care. It combines the right physical components—a chunky, breathable soil mix and a pot with excellent drainage—with a mindful watering practice tuned to your plant's actual needs, not a preset schedule. By understanding the "why" behind the problem, you can move from reactive panic to confident, preventative care. Your Aglaonema doesn't just want to survive; with the right foundation, it can truly thrive.





