 bluename
 How to Care for Aglaonema in Small Pots: A Plant Lover’s Complete Guide
You’ve brought home a beautiful, compact Aglaonema, perfect for your desk or a small shelf. It looked lush and vibrant at the nursery. But now, a few weeks later, you might be noticing yellowing leaves, drooping stems, or a general sense that your plant is just… unhappy. If you’re worried about keeping your Chinese Evergreen thriving in its limited space, you’re not alone. The challenge of how to care for Aglaonema in small pots is real. The confined environment changes everything—watering, feeding, and even the plant’s growth pattern. I’ve been there. I’ve overwatered, underfed, and watched my favorite Silver Bay variety struggle. But through dedicated trial, error, and a two-week intensive observation period, I’ve cracked the code. This guide is my personal journey from uncertainty to confidence, sharing every step and stumble along the way.
Understanding Your Aglaonema’s World in a Confined Space
First, let’s shift our perspective. A small pot isn’t just a container; it’s your plant’s entire universe. The roots have nowhere to go, which means moisture and nutrients are consumed rapidly, yet drainage must be flawless to prevent suffocation. According to the Royal Horticultural Society (RHS), plants in restricted pots are entirely dependent on the gardener for their welfare, making consistent care non-negotiable. My Red Siam Aglaonema taught me this the hard way. In a standard potting mix, water would pool at the bottom, leading to the dreaded root rot. The solution? The foundation of success lies beneath the soil.
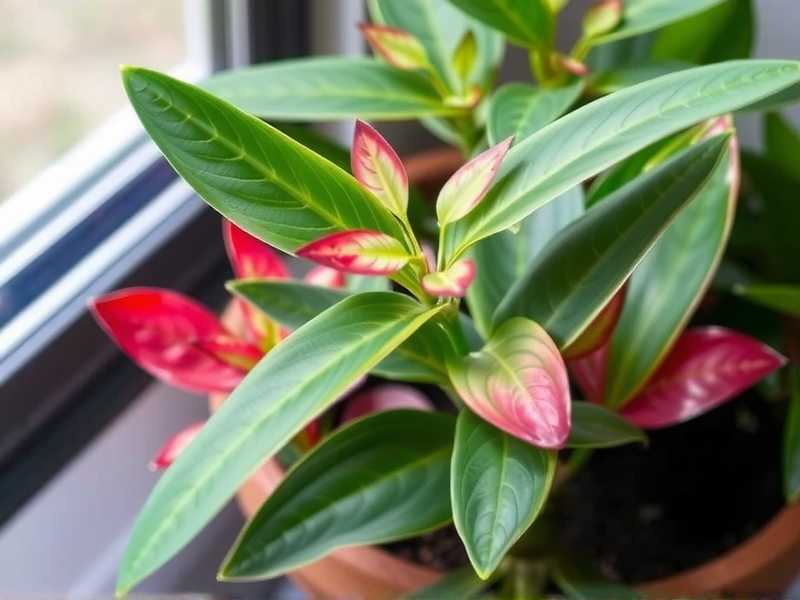
The Non-Negotiable First Step: Potting Mix and Drainage
Forget all-purpose soil. In a small pot, the growing medium must be airy and fast-draining. I use a blend I mixed myself: 50% high-quality potting soil, 30% orchid bark (for aeration), and 20% perlite. This creates a chunky, well-oxygenated environment. The American Horticultural Society (AHS) emphasizes that good drainage is the single most important factor in preventing root diseases, especially in containers without much soil volume.
Here’s my exact process:
- I chose a pot with multiple drainage holes. If yours has only one, consider drilling more.
- I added a one-inch layer of small pebbles or broken pottery at the bottom—not as a true drainage layer, but to prevent soil from washing out.
- I pre-moistened my custom mix slightly before planting to ensure even water absorption from the start.
- I gently placed the plant, filled in the gaps, and gave it a thorough initial watering until water ran freely from the bottom.
The Two-Week Observation: After repotting my stressed Aglaonema ‘Maria’ into this mix, I monitored it closely. For the first week, I placed it in bright, indirect light and resisted watering again. The leaves, which had been slightly limp, began to firm up by day five. The soil surface dried out noticeably faster than before, but a finger test revealed moisture an inch down. This was the first sign the mix was working—it held moisture without staying soggy.
Mastering the Art of Watering in a Small Container
This is where I made my biggest mistake. I used to water on a schedule. In a small pot, that’s a death sentence. The proper watering for potted Aglaonema is a tactile skill. The “soak and dry” method is your best friend, but with a crucial small-pot twist.
My method:
- Lift the Pot: Get familiar with its weight when dry versus freshly watered.
- The Finger Test: Insert your finger up to the second knuckle. If it’s dry, it’s time.
- Water Thoroughly: Take the pot to the sink and water slowly until it streams out of the drainage holes. This ensures the entire root ball is hydrated.
- Drain Completely: Let it sit in the sink for at least 30 minutes to drain all excess water. Never let it sit in a saucer of water.
My Two-Week Watering Log: I tracked my Aglaonema ‘Sparkling Sarah’ in a 6-inch pot. In my warm, 40% humidity home, the watering frequency was every 8-9 days. The key observation was that the top two inches dried out in about 5 days, but the pot still had weight. Waiting those extra 3-4 days made all the difference. New growth, a tiny curled pink leaf, emerged in the second week—a sure sign of root happiness.
Feeding Without Overwhelming: Nutrient Management
A small soil volume means nutrients deplete quickly, but over-fertilizing can cause toxic salt buildup. I follow a “weakly, weekly” approach during the growing season (spring and summer), but halve the recommended dose on the fertilizer bottle. I use a balanced, water-soluble fertilizer (20-20-20).
The Pitfall and Fix: After a month of healthy growth, my plant’s leaf tips began to brown. I suspected fertilizer burn. I flushed the soil by running slow, steady water through the pot for several minutes to leach out excess salts. I then skipped the next scheduled feeding. The browning stopped, confirming the diagnosis. Now, I flush the soil every third watering as a preventive measure, a tip supported by many container gardening experts.
Light and Placement for Compact Growth
Aglaonemas are famous for tolerating low light, but “tolerating” isn’t the same as “thriving.” In a small pot, you want robust growth to maintain the plant’s aesthetic. I provide bright, indirect light. An east-facing window is perfect. My Aglaonema small pot placement experiment involved two identical ‘Silver Bay’ plants.
- Plant A: Placed 3 feet from an east window.
- Plant B: Placed in a “bright” room but 8 feet from a north window.
After two weeks, Plant A showed noticeably tighter growth and a new leaf unfurling. Plant B’s new growth was slower and the stems stretched slightly, reaching for light. The lesson was clear: optimal light in a small space encourages a fuller, more compact plant, reducing the need for frequent rotation.
Recognizing and Solving Common Small-Pot Problems
Even with perfect care, issues arise. Here’s what I faced:
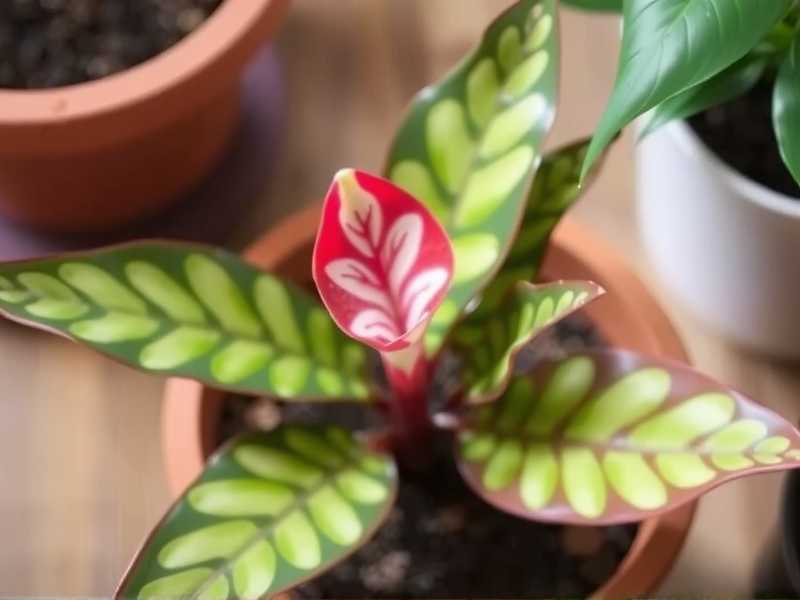
- Root Bound Signs: Slowed growth, roots circling the surface or emerging from drainage holes, water running straight through. My solution was a slightly larger pot (only 1-2 inches wider) and a gentle root tease before repotting.
- Yellowing Leaves: This was my first alarm. In my case, it was overwatering. I let the soil dry out completely, checked the roots (snipping any mushy ones with sterile scissors), and adjusted my watering habit.
- Leggy Growth: This is often a plea for more light. I moved the plant closer to my light source, and the new growth came in more compact.
Long-Term Health and When to Repot
Caring for a small-potted Aglaonema is a marathon. Rotate the pot a quarter turn weekly for even growth. Wipe the leaves with a damp cloth monthly to maximize photosynthesis. Repotting is needed only every 2-3 years, or when you see clear root-bound signals. Don’t rush to put a small plant in a large pot; it increases the risk of soil staying wet and causing rot.
Frequently Asked Questions
How often should I water my Aglaonema in a tiny pot? There’s no universal schedule. It depends on your home’s light, temperature, and humidity. Always use the finger test or weight check. In my environment, it’s typically every 7-10 days, but it could be weekly in summer and bi-weekly in winter.
What type of fertilizer is best, and how much should I use? A balanced, water-soluble fertilizer is ideal. The critical step is to dilute it to half the strength recommended on the label. Fertilize every 4-6 weeks during active growth (spring/summer) and stop entirely in fall and winter.
Can I keep my Aglaonema in a small pot forever? You can maintain it in a small pot for a long time, which will naturally limit its overall size—a technique called “pot bounding.” However, for the plant’s long-term health, occasional repotting (every few years) into a slightly larger pot with fresh soil is necessary to replenish nutrients and give roots minimal new space.
Caring for an Aglaonema in a small pot is a rewarding exercise in attentive gardening. It teaches you to read your plant’s subtle signals and respond with precision. By focusing on a stellar drainage system, mastering the soak-and-dry watering technique, and feeding with a light hand, you can cultivate a miniature masterpiece of vibrant, colorful foliage. My two-week journey of close observation transformed my approach from guesswork to a confident routine. The payoff is a resilient, beautiful plant that proves even the smallest spaces can host thriving natural life.





