 bluename
 How to Care for Aglaonema in Large Pots: My Hands-On Journey to Lush, Healthy Growth
You’ve just brought home a stunning, mature Aglaonema, or Chinese Evergreen, planted in a beautiful, substantial pot. It makes a bold statement in your living room. But after the initial excitement fades, a quiet anxiety creeps in. Is that pot too large? How often should you really water it? Why are the lower leaves starting to yellow? I’ve been there. Caring for an Aglaonema in a large pot feels different—it’s less forgiving than tending to a small nursery pot. A wrong move can lead to hidden problems, like root rot, that take weeks to manifest. Through my own trial and error, and a dedicated two-week observation period with a new, large-potted specimen, I’ve cracked the code. This guide will walk you through the exact steps, the pitfalls I encountered, and the solutions that ensured my plant not only survived but thrived.
Understanding the Large Pot Dynamic
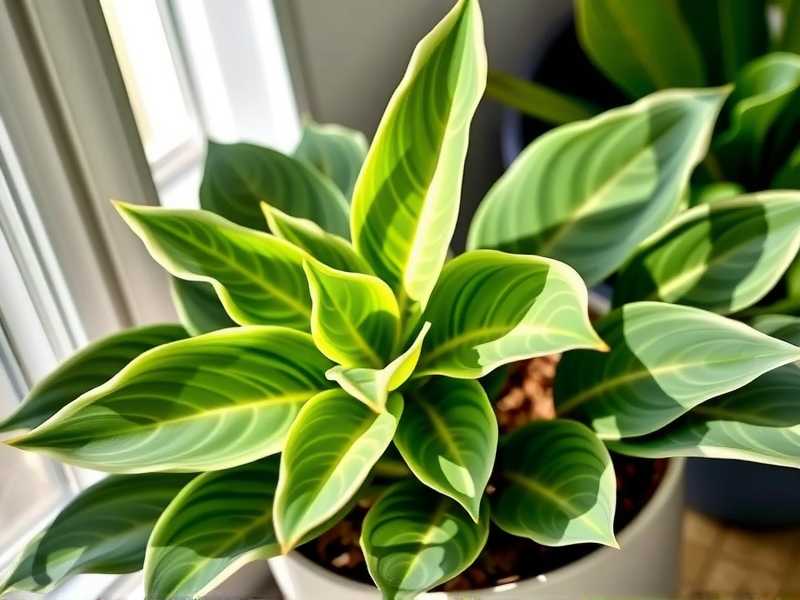
The first rule of caring for Aglaonema in large containers is to understand that you are no longer just caring for a plant; you are managing a small, self-contained ecosystem. The volume of soil is the biggest variable. According to principles often cited by the Royal Horticultural Society (RHS), a large soil mass retains moisture far longer than a small one. This dramatically changes your watering rhythm. My initial mistake was treating my new large-potted Aglaonema with the same weekly watering schedule as my smaller ones. The top inch of soil would feel dry, tempting me to water, but the root ball deeper down was still saturated. I learned this the hard way.
My Two-Week Observation and Adjustment Period
To get it right, I committed to a close observation phase. I placed my Aglaonema ‘Silver Bay’ in its 14-inch ceramic pot in bright, indirect light and resisted my urge to water on day one.
- Days 1-4: I monitored the plant’s posture and soil moisture daily. I used a simple wooden chopstick, inserting it deep into the soil near the root ball and leaving it for a minute. Upon removal, I could see and feel exactly how moist the deeper soil was. The top was dry, but the chopstick came out cool and damp halfway down.
- Days 5-7: The lower leaves showed the slightest hint of dullness—not quite wilting, but a loss of that perky rigidity. This was my plant’s first signal. I checked the chopstick again; it was now only slightly moist at the very bottom. This was my cue.
- Day 8 – The First Watering: I watered thoroughly, pouring slowly around the base until water freely ran out of the drainage holes. I ensured no water sat in the saucer. The plant’s response was almost visible; within hours, those lower leaves firmed up.
- Days 9-14: I repeated the chopstick test every other day. It took a full 12 days for the deep soil to approach dryness again. This established my new baseline: a 12-14 day watering interval in my home’s conditions, a far cry from the 7 days for my smaller pots.
The Essential Pillars of Care for Large-Potted Aglaonema
Perfecting Your Watering Technique The cornerstone of Aglaonema care in big pots is mastering moisture. Ditch the calendar. Your tools are your finger and a moisture meter or chopstick.
- The Deep Soil Check: Always probe the soil near the center of the pot, close to the stem base. Go deep—at least halfway down the pot’s depth.
- The “Dry-Down” Rule: For Aglaonema, which is prone to root rot, wait until the deep soil is mostly dry. The American Horticultural Society (AHS) emphasizes the “soak and dry” method for many houseplants, ensuring roots get both hydration and oxygen.
- Thorough Hydration: When you water, do it completely. A light sprinkle only moistens the topsoil, encouraging roots to stay shallow. A deep soak encourages a strong, deep root system that can better support the large plant.
Selecting the Right Soil and Pot Your soil must be your ally in moisture management. A dense, water-retentive mix is a death sentence in a large container.
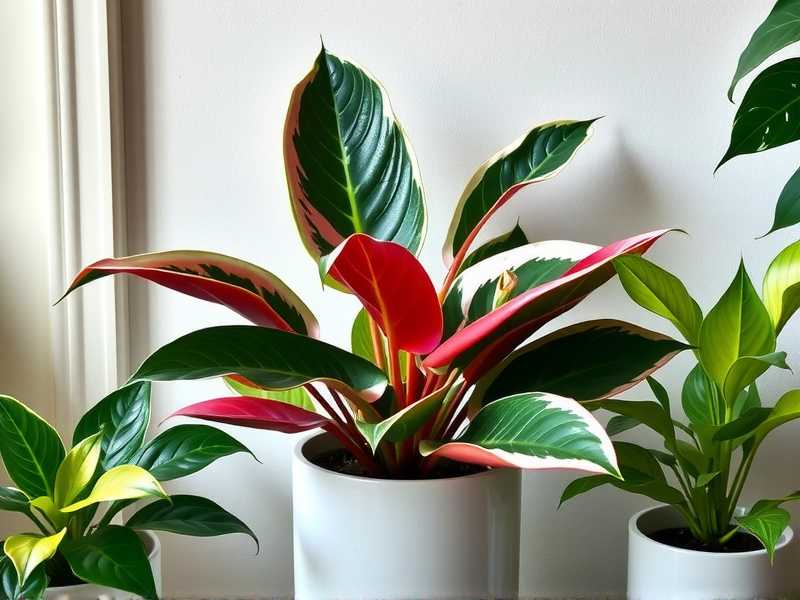
- My Mix: I use a high-quality, well-aerated potting mix designed for aroids. To this, I add approximately 30% perlite and a handful of orchid bark. This creates a chunky, fast-draining environment that prevents water from pooling around the roots, even in a deep pot.
- The Non-Negotiable Drainage Hole: This is non-negotiable. A large pot without drainage is a swimming pool for roots. Ensure your decorative pot has a hole, or use a plastic nursery pot with drainage inside a decorative cachepot, emptying the outer pot after watering.
Light and Fertilization: The Supporting Acts
- Light: Aglaonema in large pots are often floor plants. Ensure they are placed where they receive consistent, medium to bright indirect light. A spot 4-6 feet from a north or east-facing window is often ideal. Lower light will slow growth and further extend drying times, increasing rot risk.
- Fertilization: Less is more. In a large pot with fresh soil, nutrients are plentiful. I fertilize my large Aglaonema sparingly—only every 6-8 weeks during the growing season with a balanced, diluted liquid fertilizer. Over-fertilizing can lead to salt buildup in the large soil volume, damaging roots.
Troubleshooting: The Pitfalls I Faced and Fixed
Problem: Yellowing Lower Leaves. This was my first red flag during the observation period. I panicked, thinking “underwatering!” and almost watered prematurely.
- Cause & Solution: In a large container Aglaonema setup, yellowing lower leaves are most often a sign of overwatering or the plant’s natural senescence as it focuses energy on new growth. Since my deep soil probe showed adequate moisture, I allowed the plant to reabsorb nutrients from the yellowing leaf. Once it was fully yellow and crispy, I gently pulled it off. No new leaves yellowed after I corrected my watering schedule.
Problem: Fungus Gnats. The moist topsoil in a large pot, while the bottom is still wet, is a perfect breeding ground for these pests.
- Solution: I let the top 2 inches of soil dry out completely between waterings. I also placed yellow sticky traps in the pot to catch adults. This broke their life cycle within two weeks.
Problem: The Plant Feels Unstable or Top-Heavy. Sometimes, the root system hasn’t filled the large pot yet.
- Solution: I added a layer of clean, decorative pebbles on top of the soil. This added weight, improved stability, and also helped reduce moisture evaporation from the top layer, protecting the lower roots.
Ensuring Your Aglaonema Thrives Long-Term
Consistency is key. Now that I’ve established a routine based on deep soil checks, my large Aglaonema is pushing out new, vibrant leaves regularly. The plant looks robust and established. Every season, I reassess; watering may be more frequent in hot, bright summers and less so in gloomy winters. The principle remains: listen to the soil, not the schedule.
Frequently Asked Questions
Can I use a pot without a drainage hole if I put rocks at the bottom? I strongly advise against it. The “rocks for drainage” myth is just that—a myth. Water will still accumulate at the bottom, creating a perched water table that saturates the soil above it. Root rot is almost inevitable. Always choose a pot with a drainage hole for growing Aglaonema in oversized pots.
How do I know when it’s time to repot? With a large pot, you may not need to repot for several years. Look for roots growing out of the drainage hole or the plant becoming extremely root-bound. More commonly, you’ll repot to refresh the soil every 2-3 years. When you do, you can often use the same pot size, simply refreshing the soil and pruning any circling roots.
My large Aglaonema’s leaves are losing their variegation and becoming mostly green. What’s wrong? This is a light issue, not a potting issue. Your plant isn’t getting enough bright, indirect light. While Aglaonema tolerate low light, they need sufficient brightness to maintain their beautiful patterns. Gradually move it to a brighter location (avoiding direct sun) to encourage the variegation to return.
Caring for an Aglaonema in a large pot is a rewarding practice in patience and observation. By shifting your focus from the plant’s foliage to the hidden world of its roots and soil, you create the foundation for decades of growth. The large pot, once a source of worry, becomes the stage for a magnificent, statement-making plant that brings life and beauty to your space with surprisingly minimal, yet perfectly timed, care.





