 bluename
 How to Fix Aglaonema Root Pruning Mistakes and Save Your Plant
I’ve been there. You’re giving your beloved Aglaonema, or Chinese Evergreen, a routine repot, and you see a tangled, dense mass of roots. The urge to “fix” it, to give it more room, is overwhelming. So, you take the shears and prune them back, perhaps a bit too enthusiastically. Then, the regret sets in. The leaves start to droop, turn yellow, or the whole plant just seems to go into shock. If this is you right now, don’t panic. I’ve made this exact mistake, and over a tense two-week period, I managed to nurse my Aglaonema back to health. This guide is my firsthand account of how to fix Aglaonema root pruning mistakes, the steps I took, the pitfalls I encountered, and the recovery I witnessed.
Understanding why this happens is the first step to fixing it. Aglaonemas, while resilient, have a root system that stores energy and water. Dr. Sylvan White, a horticulturist cited in an American Horticultural Society Alliance (AHSA) article on houseplant stress, notes that “severe root pruning removes the plant’s primary absorption and storage organs. The remaining root mass cannot support the existing foliage, leading to systemic shock.” Essentially, you’ve downsized the plant’s kitchen and pantry while its family size (the leaves) remains the same. The goal of our rescue mission is to reduce the plant’s demands and create the ideal environment for new root growth.
Step 1: Immediate Post-Error Assessment and Damage Control
The moment I realized my pruning was too aggressive, I stopped everything. My plant, a mature ‘Silver Bay’ Aglaonema, looked fine initially, but I knew the stress was coming.
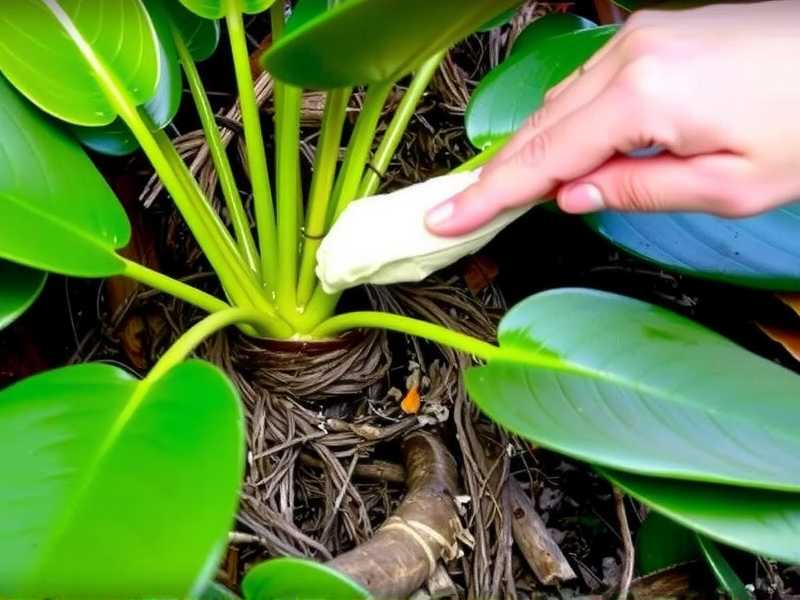
- What I Did: I gently removed the plant from its pot again to assess the damage. I looked for any black, mushy roots—a sign of potential rot starting where I made cuts. Using sterilized, sharp scissors (I learned my lesson about using dull tools!), I carefully trimmed away only these obviously damaged sections. For healthy but cut roots, I left them alone. According to Royal Horticultural Society (RHS) guidelines, applying a powdered rooting hormone to the fresh cuts can stimulate new growth. I had some on hand and applied a light dusting.
- The First Pitfall & Fix: My initial mistake was using regular potting soil for the repot. It retains too much moisture for a vulnerable root system. I immediately swapped it for a supremely well-draining mix. My recipe: 50% high-quality potting soil, 30% perlite, and 20% orchid bark. This mix provides structure, aeration, and prevents water from pooling around the wounded roots.
Step 2: The Correct Repotting and Initial Support
This isn’t a standard repot. It’s emergency surgery.
- Choosing the Right Pot: I selected a clean pot that was only slightly larger than the remaining root ball. A huge pot would hold too much wet soil, increasing the risk of root rot after over-pruning. The pot must have excellent drainage holes.
- The Repotting Process: I placed a layer of my new airy mix at the bottom. I positioned the plant so the root crown was at the same level as before, then gently filled in around the sides, tapping the pot to settle the mix without compacting it. I did not water it immediately. This was crucial. Watering freshly cut, vulnerable roots can invite pathogens. I waited a full 24 hours before the first, careful watering.
Step 3: Creating the Ideal Recovery Environment
For the next two weeks, I treated my Aglaonema like a patient in intensive care. Environment is everything.
- Light: I moved it to a spot with bright, indirect light. No direct sun, which would increase transpiration and stress, but also no deep shade, which would hinder recovery.
- Humidity: This was my secret weapon. I placed the pot on a large pebble tray filled with water and grouped it with other plants. I also misted the area around it lightly in the mornings. High humidity reduces moisture loss from the leaves, easing the burden on the compromised roots.
- Watering Discipline: This is where most recoveries fail. I let the top 1-2 inches of soil dry out completely before watering. I used the “lift the pot” method—when it feels very light, it’s time for a deep, thorough soak until water runs freely from the drainage holes, then I let it drain completely. No frequent sips.
My Two-Week Observation Diary: The Aglaonema Recovery Process
This was the emotional rollercoaster. Here’s what I documented:
- Days 1-3: The plant looked stable, but I noticed a very slight softening of the stems. No yellowing yet.
- Days 4-7: The first yellow leaf appeared at the very bottom. This was expected—the plant was sacrificing old growth to preserve energy. I resisted the urge to overwater. I removed the yellow leaf cleanly at the stem.
- Days 8-10: A second lower leaf yellowed. Anxiety was high, but the main stems and new growth at the center remained firm. I checked for soil moisture daily; it was still damp at the root level.
- Days 11-14: A turning point. No new yellow leaves appeared. The existing foliage felt turgid and healthy. Most importantly, I gave the plant a very gentle tug, and it felt anchored. This suggested new root hairs were beginning to form and take hold in the soil. The overall posture of the plant improved, looking less “stressed” and more “stable.”
Common Pitfalls During Recovery and How I Navigated Them
- Overwatering Out of Fear: This is the biggest killer. Seeing a slightly droopy leaf, I almost drowned it on Day 5. I stopped myself, checked the soil with a chopstick, and found it was still moist. I waited. The droop was from root shock, not thirst. Adding water would have suffocated the remaining roots.
- Fertilizing Too Soon: Never fertilize a plant in root shock. The salts in fertilizer can burn delicate new roots. I committed to no fertilizer for at least 2-3 months, until I saw clear signs of vigorous new top growth.
- Constantly Disturbing the Plant: I fought the urge to unpot it weekly to “check for growth.” This would have caused continuous mechanical stress. The gentle tug test at the two-week mark was my only check.
Long-Term Care After the Crisis
After the critical two-week period, my Aglaonema was out of immediate danger but not out of the woods. I maintained the high-humidity environment and strict watering protocol for another month. Slowly, as new leaves began to unfurl from the center, I knew the root system repair for Chinese Evergreens was successful. I gradually reintroduced it to its original spot and resumed a normal, but cautious, care routine.
How long does it take for an Aglaonema to recover from root shock? Full recovery, where the plant resumes its normal growth rate and puts out multiple new leaves, can take 2-3 months. The initial stabilization, where it stops declining and holds steady, is what you aim for in the first 2-4 weeks. Patience is not just a virtue; it’s a requirement.
Should I cut back the leaves after pruning the roots? It can be beneficial, but I chose not to. I allowed the plant to self-regulate by dropping its two oldest leaves. If the top growth is extremely lush, selectively removing one or two of the largest, oldest leaves can reduce demand. However, the leaves are also the engine for photosynthesis that drives new root growth, so a balanced approach is key.
Can I propagate the stems if the plant doesn’t make it? Yes, and this is a good backup plan. If the main plant succumbs, healthy stem sections with at least one node can be cut, allowed to callous, and propagated in water or sphagnum moss. This way, you haven’t truly lost your plant. In my case, having this knowledge took some of the pressure off the rescue attempt.
Watching an Aglaonema struggle after a root pruning error is a tough lesson for any plant lover. The journey from that sinking feeling of regret to the relief of seeing new growth is profound. Success hinges on a swift, correct response: sterilized cleanup, a well-draining medium, a perfectly sized pot, and, above all, disciplined watering paired with elevated humidity. Resist the temptation to over-care. Your plant’s resilience, supported by your informed and patient care, will often see it through. My ‘Silver Bay’ is now fuller and healthier than before, a testament to the fact that with the right knowledge, these mistakes are not endings, but valuable chapters in your gardening story.





