 bluename
 How to Care for Aglaonema With Sensitive Roots: A Plant Lover’s Survival Guide
I’ve killed my fair share of plants. But nothing frustrated me more than watching a beautiful, vibrant Aglaonema slowly decline despite my best efforts. The leaves would yellow, growth would stall, and that lush beauty would just fade away. I followed all the general advice—moderate light, occasional watering—yet something was off. It wasn't until I lost a prized ‘Silver Bay’ to root rot that I had a revelation: the problem wasn't the plant above the soil; it was my fundamental misunderstanding of what was happening below it. I was dealing with an Aglaonema with sensitive roots. This isn't just a minor trait; it's the single most important factor in determining whether your Chinese Evergreen thrives or barely survives. For the next two weeks, I dedicated myself to cracking the code, adapting my care routine specifically for this vulnerability. What I learned transformed my approach and saved my entire collection.
Understanding the Delicate Root System of Aglaonema
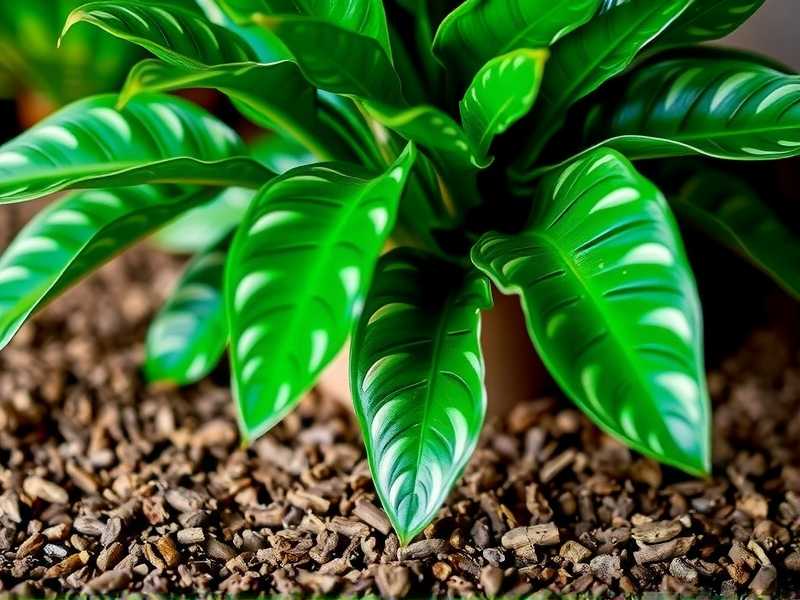
Most care guides treat Aglaonema roots like any other houseplant's, but that's a critical mistake. These roots are surprisingly fine and delicate, more akin to a network of tiny threads than thick, sturdy cords. They are highly susceptible to two extremes: suffocation in dense, moisture-logged soil and stress from rapid moisture fluctuations.
According to the American Horticultural Society (AHS), many tropical foliage plants, including Aglaonemas, have evolved root systems that excel in well-aerated, forest-floor environments rich in organic matter. They are not equipped to handle the prolonged, soggy conditions that heavy, water-retentive potting mixes create in our homes. When these sensitive roots sit in wet soil, they quickly succumb to rot pathogens, cutting off the plant's entire supply of water and nutrients—a cruel irony where overwatering leads to a dehydrated plant.
My ‘Red Siam’ was a perfect example. It was in a standard all-purpose potting mix. While other plants were fine, the Aglaonema was always droopy after watering, then perked up only to wilt again quickly. The soil seemed either swampy or bone-dry, with no happy medium. The roots were telling me they couldn't breathe.
The Two-Week Rescue Protocol: A Step-by-Step Journey
I decided to intervene with a struggling ‘Maria’ that showed classic signs of root distress: slow growth and a few yellowing lower leaves. Here was my hands-on process.
Week 1: Assessment and Repotting
First, I gently removed the plant from its pot. The evidence was clear: while not fully rotted, the root ball was dense, and the outer soil was much wetter than the core. Many roots were a dull tan instead of a healthy creamy white. I didn't need to do drastic surgery, but a change of environment was non-negotiable.
The Critical Step: Mixing the Perfect Soil This is where everything changes. I abandoned all pre-mixed soils and created my own well-draining potting mix for sensitive roots. My formula, backed by resources from the Royal Horticultural Society (RHS) on aroid cultivation, was:
- 40% High-quality potting mix (as a base)
- 30% Orchid bark (for chunkiness and aeration)
- 20% Perlite (for drainage and oxygen pockets)
- 10% Horticultural charcoal (to keep the mix fresh and absorb toxins) This combination is loose, airy, and drains almost instantly while retaining just enough moisture for the roots to access.
I chose a pot only one inch larger in diameter than the root ball. A pot too large holds excess soil that stays wet, directly threatening the sensitive Aglaonema roots. The new pot had multiple, large drainage holes. I carefully teased out the old soil, placed the plant in the new pot with my custom mix, and watered it thoroughly until water ran freely from the bottom. This "settling in" water was the last heavy drink it would get for a while.
Week 2: The Observation and Adjustment Phase
I placed the repotted ‘Maria’ in bright, indirect light—a north-east facing window—and resisted the overwhelming urge to water it. My goal was to monitor the plant's response to the new, aerated environment.
- Days 1-3: The plant looked a bit shocked, which is normal. No improvement, but no further decline.
- Days 4-7: Here’s where I saw the first sign of success. The slight, constant droop in the stems began to firm up. The leaves looked more rigid. The soil surface dried out noticeably within 4 days, but I knew the interior might still have moisture.
- Days 8-14: This was the confirmation phase. I finally watered when my moisture meter read "dry" 2 inches deep, and when the pot felt significantly lighter. The watering experience was different: instead of the water sitting on top, it immediately percolated through the mix and out the bottom. The plant drank efficiently without sitting in a puddle.
After two weeks, the yellowing had stopped completely. No new leaves had emerged yet (that would come later), but the existing foliage was perkier, glossier, and showed no further distress. The plant had stabilized.
Common Pitfalls I Encountered (And How to Fix Them)
My journey wasn't flawless. Here are the mistakes I made so you can avoid them.
1. The "Schedule" Trap: I used to water every Sunday. This was a disaster. Watering Aglaonema based on soil dryness, not the calendar, is paramount. My fix: I now use the "finger test" and a moisture meter in tandem. I only water when the top 1.5-2 inches of the custom mix are completely dry.
2. Pot Aesthetics Over Function: I loved a beautiful, glazed ceramic pot with a tiny drainage hole. It killed a plant. Now, I almost exclusively use unglazed terracotta pots. Their porous nature allows the soil to breathe and dry more evenly, which is ideal for preventing root rot in Aglaonema. If I use a decorative pot, it's always as a cache pot, with the plant in a snug, well-draining plastic nursery pot inside.
3. Misreading Leaf Signals: I saw drooping leaves and assumed it was thirsty, leading to overwatering. I learned that drooping can mean both over and under-watering. The key is to check the soil first. Crispy brown tips often indicate low humidity or chemical buildup, while widespread yellowing, especially in lower leaves, often points to soggy roots.
Optimizing the Entire Environment for Root Health
Root care doesn't exist in a vacuum. The environment you create above the soil directly impacts the roots below.
Light and Water Synergy: Your Aglaonema's light level dictates its water needs. My plant in brighter light dries out faster and can be watered more frequently (but still only when dry!). The same plant in low light will need water far less often. This is the cornerstone of Aglaonema root care tips: always correlate your watering to the light and temperature conditions.
The Humidity Factor: While Aglaonemas tolerate average humidity, moderate humidity (around 50-60%) promotes overall plant vigor, allowing it to support a healthy root system more efficiently. I use a simple pebble tray filled with water beneath my plant's pot to provide a gentle, localized humidity boost.
Fertilizing with Caution: Sensitive roots are easily burned by strong fertilizer. I now use a balanced, liquid houseplant fertilizer diluted to half the recommended strength, and only during the active growing season (spring and summer). In the low-light winter months, I withhold fertilizer entirely, as the roots are not actively seeking nutrients.
When to Repot and When to Leave Alone Don't repot on autopilot. Aglaonemas actually like being slightly root-bound. The signal to repot is when roots are visibly circling the bottom of the pot or growing out of the drainage holes, and the plant's growth has slowed despite proper care. Even then, only size up minimally. Unnecessary repotting is a major stressor for those delicate roots.
Frequently Asked Questions
My Aglaonema's leaves are yellowing. Does it need more water or less? Check the soil first. If it's wet or soggy, it's almost certainly less water—you may be overwatering and risking root rot. Let the soil dry out deeply. If the soil is bone-dry and the pot is light, it's thirsty. Yellowing from overwatering is often more widespread, while under-watering might show as yellowing starting at the edges or with crispy leaves.
What's the absolute best type of pot for an Aglaonema with sensitive roots? For beginners, an unglazed terracotta pot is your safest bet. Its breathability helps prevent overwatering by wicking away excess moisture from the soil. Ensure it has at least one large drainage hole. Plastic pots are fine if you are very disciplined with watering, but they retain moisture longer.
How often should I really be watering? I refuse to give you a schedule because it's the wrong question. The right frequency could be every 7 days in a hot, bright summer and every 21 days in a cool, dim winter. Instead, make a habit of checking the soil moisture weekly. Stick your finger into the top few inches. If it's dry, water thoroughly. If it's still damp, wait. This simple habit is more valuable than any fixed timetable.
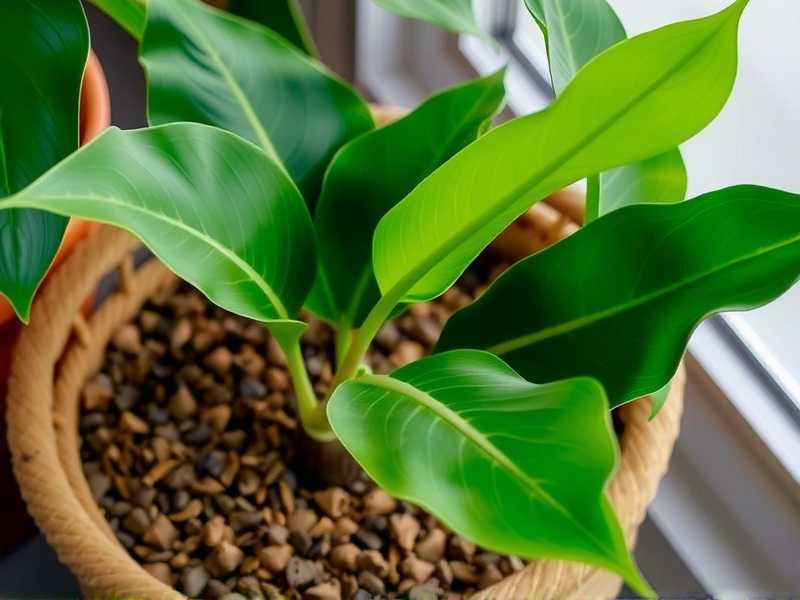
Caring for an Aglaonema with sensitive roots is less about constant intervention and more about setting up the right foundation and then listening to your plant. It requires a shift from a watering can to a detective's mindset. By prioritizing a chunky, airy soil mix, choosing a breathable pot, and letting dryness be your guide, you create an environment where those delicate roots can thrive. The reward is a resilient, stunning plant that grows with confidence. My ‘Maria’ is now pushing out new, perfectly formed leaves—a silent thank you from the roots up.





