 bluename
 How to Fix Aglaonema Leaves Drooping After Watering: A Plant Lover’s Recovery Guide
There’s a special kind of panic that sets in when you water your beloved Aglaonema, expecting it to perk up, only to watch its leaves go limp and droopy instead. I’ve been there. You’ve followed the care instructions, given it what you thought was a drink, and now it looks worse than before. If your Chinese Evergreen is suffering from Aglaonema leaves drooping after watering, you’re not alone. This common issue is almost always a cry for help related to its roots and environment, not a sign you’re a bad plant parent. Over the next sections, I’ll walk you through the exact, hands-on steps I took to diagnose and nurse my own Aglaonema back to health, sharing the mistakes I made and the solutions that finally worked over a critical two-week observation period.
Understanding Why Your Aglaonema Droops After a Drink
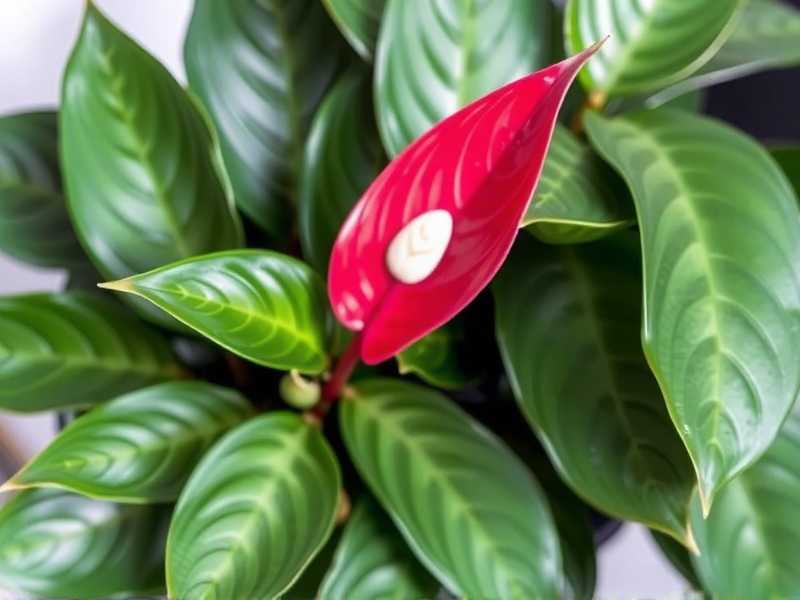
The immediate assumption is often, “I must not have watered enough,” leading to more water. This is usually the worst thing you can do. Drooping after watering is primarily a root problem signal. The roots are compromised and cannot absorb the water you’ve provided, or they are being actively harmed by it.
The primary culprit is overwatering and root rot. Aglaonemas prefer their soil to dry out partially between waterings. Consistently wet soil suffocates the roots, preventing them from taking up oxygen and nutrients. They begin to decay, turning brown, mushy, and smelly. A rotten root system is like a broken pump; even if water is present, it can’t transport it to the leaves, which then droop from dehydration despite the wet soil. It’s a cruel irony.
Secondary factors include poor drainage and compacted soil. A pot without drainage holes or using a dense, moisture-retentive mix acts like a bathtub, drowning the roots. Even with good intentions, the plant sits in excess water. Furthermore, a sudden change in environment—like a temperature drop or draft after watering—can shock the plant and slow its water uptake, leading to temporary drooping.
My Step-by-Step Rescue Mission and 2-Week Recovery Log
Here is the precise process I followed, turning my drooping Aglaonema into a firm, perky plant again.
Week 1: Diagnosis and Immediate Intervention
Day 1: The Unpotting and Root Inspection. I gently tipped the plant out of its pot. The soil felt cold and soggy. I carefully washed the roots under lukewarm water to see the damage. True to my fear, many roots were dark brown and sloughed off to the touch—classic root rot symptoms. Healthy roots should be firm and white or light tan.
Day 1: The Surgical Trim. Using sterilized scissors, I cut away every single soft, rotten root back to healthy tissue. It felt drastic, but as the Royal Horticultural Society (RHS) advises, removing all compromised material is non-negotiable to stop the spread of decay. I also trimmed any severely yellowed or drooping leaves to help the plant focus its energy on regeneration.
Day 1: Repotting for a Fresh Start. I chose a clean pot with excellent drainage, only slightly larger than the remaining root ball. The key was the soil mix. I created an airy, well-draining blend using two parts standard potting mix, one part perlite, and one part orchid bark. This mix, recommended by many horticultural experts for aroids, ensures oxygen reaches the roots and water flows through quickly. I repotted gently, firming the soil just enough to support the plant.
Day 1-3: The Critical Pause. I did not water the plant after repotting. The roots were wounded and the new potting mix had slight moisture. Watering now would risk reinfection. I placed the plant in a warm spot with bright, indirect light (away from direct sun) and left it completely alone to recover from the shock of repotting.
Day 4: First Careful Watering. After 72 hours, I performed a thorough but careful watering. I used room-temperature water and poured it evenly until it ran freely from the drainage holes, ensuring the entire root ball was moistened. I immediately emptied the saucer underneath. This is the proper watering technique for Aglaonema I should have used all along.
Day 5-7: Observation and Environment Tuning. The plant still looked droopy and sad—this was expected. I resisted the urge to intervene. I ensured the room temperature stayed consistently above 65°F (18°C) and increased ambient humidity by placing the pot on a pebble tray. According to the American Horticultural Society’s (AHA) principles of plant stress management, stable, warm, and humid conditions are vital for root regrowth and reducing transplant shock.
Week 2: Signs of Life and Establishing a New Routine
Day 8-10: The First Hint of Hope. I noticed the stems seemed slightly less limp. No new drooping occurred. The soil surface was drying out, a good sign the mix was working. I continued to monitor light and humidity closely.
Day 11-14: Firming Up and New Growth. By the end of the second week, the remaining leaves had visibly firmed up. They weren’t perfect, but the severe droop was gone. Most excitingly, I spotted a tiny new leaf sheath emerging from the base—the ultimate sign of recovery. The plant was putting energy into new growth, confirming the root system was functional again.
My Biggest Mistake and How You Can Avoid It
My initial error was sticking to a rigid “once-a-week” watering schedule. I learned that watering frequency must be dictated by soil dryness, not the calendar. I now always check the soil moisture before watering. My reliable method is the finger test: I insert my finger about 2 inches into the soil. If it feels dry at that depth, it’s time to water. If it’s still damp, I wait. For those unsure, a simple moisture meter can take the guesswork out completely.
Another pitfall was using a decorative pot without drainage. I’ve since switched to using functional nursery pots placed inside decorative cache pots, allowing me to lift the inner pot for watering and ensure it never sits in water.
Preventative Care: Keeping Your Aglaonema Perky Long-Term
Master the “Soak and Dry” Method. Water deeply and thoroughly when needed, then let the plant experience a dry period. This cycle encourages strong, deep root growth as the roots seek out moisture.
Choose the Right Home. Always use pots with drainage holes and a well-aerated potting mix. Refresh the soil every 2-3 years to prevent compaction.
Listen to Your Plant. Drooping can sometimes mean underwatering, but the context is key. Check the soil! If it’s bone dry and the pot is light, a good drink will have the plant perking up in hours. If the soil is wet and the plant is drooping, think roots, not thirst.
FAQs
Can a droopy Aglaonema leaf recover? If the drooping is due to temporary thirst (underwatering), it will often firm up within hours of watering. If the drooping is caused by chronic overwatering and root damage, the existing leaves may not fully recover their original turgor, but the plant will stop further drooping and direct energy to new, healthy growth. Severely yellowed leaves will not recover and should be removed.
How long does it take for an overwatered plant to recover? After addressing the root cause (repotting, etc.), visible improvement in leaf firmness can take 1-2 weeks. However, full recovery and a return to vigorous growth may take a month or more. Patience is essential, as the plant is rebuilding its foundational root system.
Should I mist my Aglaonema to help with drooping? Misting the leaves does little to address root-related drooping and can promote fungal leaf diseases if done excessively. To aid recovery, focus on increasing ambient humidity around the plant using a pebble tray or humidifier, which is a more consistent and effective method supported by both RHS and AHA guidelines for tropical plant care.
Watching your Aglaonema struggle is disheartening, but it’s a resilient plant. The journey from drooping despair to perky recovery hinges on understanding the language of the soil and the roots beneath. By moving away from a scheduled routine and towards a responsive, observant care style—checking moisture, ensuring stellar drainage, and providing stable warmth—you build a foundation where fixing drooping Aglaonema leaves becomes a one-time lesson, not a recurring nightmare. The sight of that first new, firm, and beautifully patterned leaf pushing through will make all the careful effort worthwhile.





